


Previously in this post I detailed getting started with Local PowerShell Jupyter Notebooks. In this post I show how to take an existing Docker Community Reference CSharp Jupyter Stack Container Image and update it for Dot Net Interactive and PowerShell to enable containerized Docker PowerShell Jupyter Notebook. I also show how to automate the build of that Docker Image using a Dockerfile, and how to run that PowerShell Jupyter environment in Binder building from the Dockerfile via my GitHub Repo. Finally if you just want a Docker Container Image, I’ve also published it to Docker Hub here.
You may also be interested in my Microsoft Reactor session “Elevate your documentation with PowerShell Jupyter Notebook“.
1. Local Manual Docker PowerShell Jupyter Notebook
Prerequisites
- You will need Docker installed locally and configured for Linux Containers
- You will need ~4.5Gb of available diskspace.
Process Overview
- pull the Community Reference CSharp Jupyter Container Image
- update the image for;
- PowerShell 7
- Dot Net Core 3.1 SDK
- Dot Net Interactive
- Create a Jupyter Notebook Start Script
- Save and Commit the Image
- Start the Image
Pull Community Reference Image
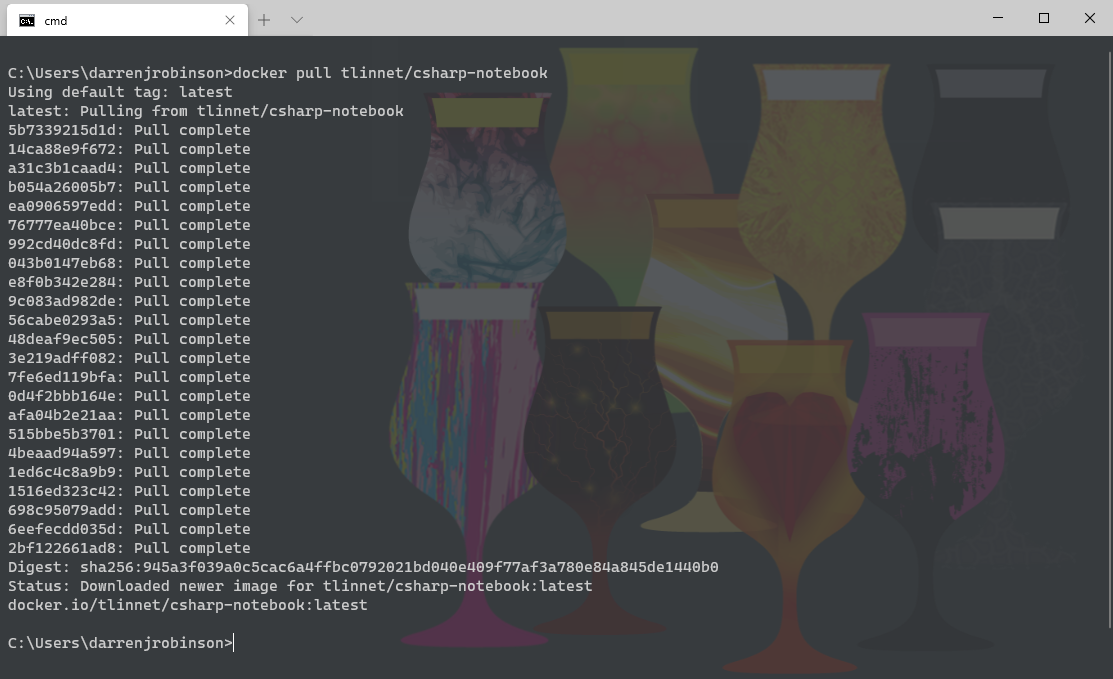
As per the introduction we will start with a Docker Image that is already a community stack reference image for CSharp as it already has Jupyter and its dependencies. The tlinnet/csharp-notebook container image uses Ubuntu 18.04 so all the dependencies we need to install for PowerShell Jupyter Notebook will be for Ubuntu 18.04.
docker pull tlinnet/csharp-notebook
Start the Image
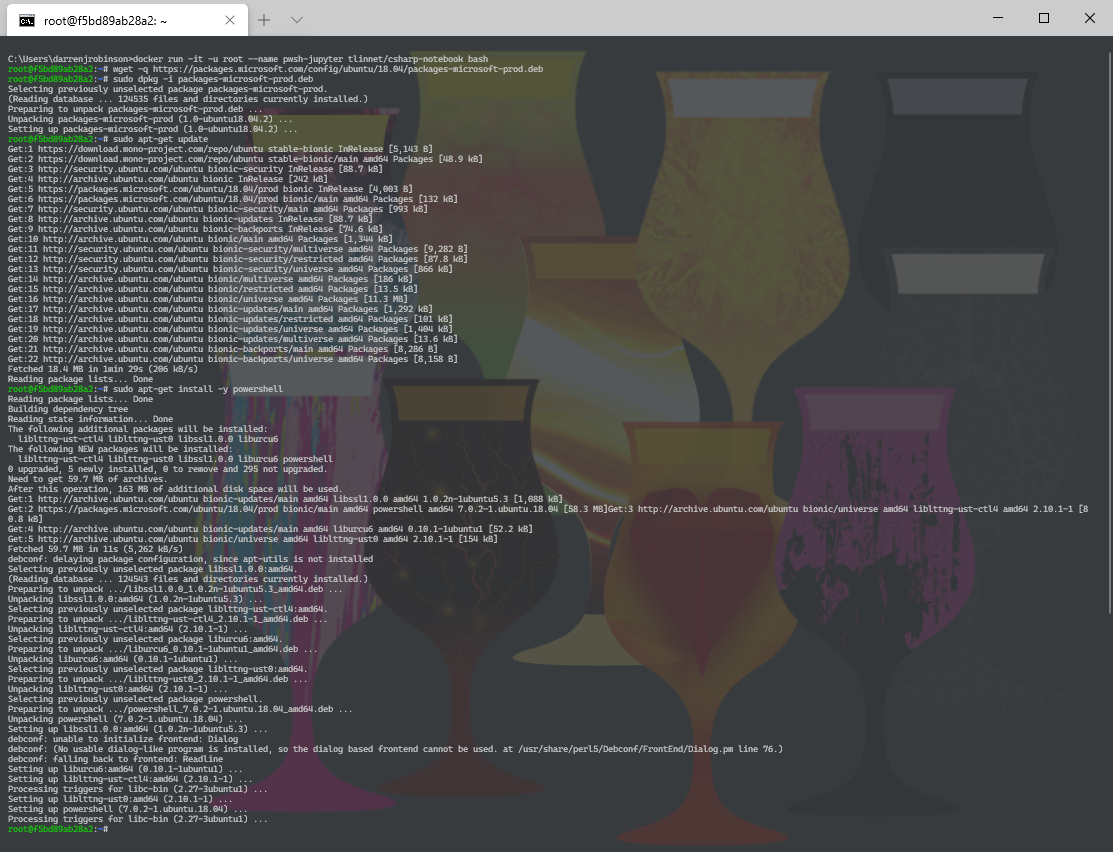
With the image now local let’s start it with root privileges so we can update it.
docker run -it -u root --name pwsh-jupyter tlinnet/csharp-notebook bash
Install PowerShell
First up we will want to install PowerShell. This will install the latest version of PowerShell (currently 7.0.2).
wget -q https://packages.microsoft.com/config/ubuntu/18.04/packages-microsoft-prod.deb
sudo dpkg -i packages-microsoft-prod.deb
sudo apt-get update
sudo apt-get install -y powershell
Install Dot Net Core SDK
Update: April 2021
The .NET 5 SDK is required for the latest version of .NET Interactive and PowerShell 7.1+ support.
Next, we will need to install the latest Dot Net Core SDK.
sudo apt-get install -y apt-transport-https && sudo apt-get update && sudo apt-get install -y dotnet-sdk-3.1
sudo apt-get install -y dotnet-sdk-5.0

Dot Net Interactive
Update: April 2021.
The myget dotnet repo (detailed below) is now deprecated.
The latest versions of dotnet-interactive can now be obtained from Nuget.
Omit the –add-source and –version switches to obtain the latest package from Nuget.
Then we need to install Dot Net Interactive. Substitute version 1.0.136005 for the latest version available.
dotnet tool install -g Microsoft.dotnet-interactive --version 1.0.136005 --add-source "https://dotnet.myget.org/F/dotnet-try/api/v3/index.json"

Configure environment paths for .dotnet tools
The following is required for the future when running the container image. We need to add the path to .dotnet/tools.
Edit the ~/.bashrc file to include the path to .dotnet tools. Use nano to update .bashrc
nano ~/.bashrc
# Add path to .NET Tools:
export PATH=$PATH:~/.dotnet/tools
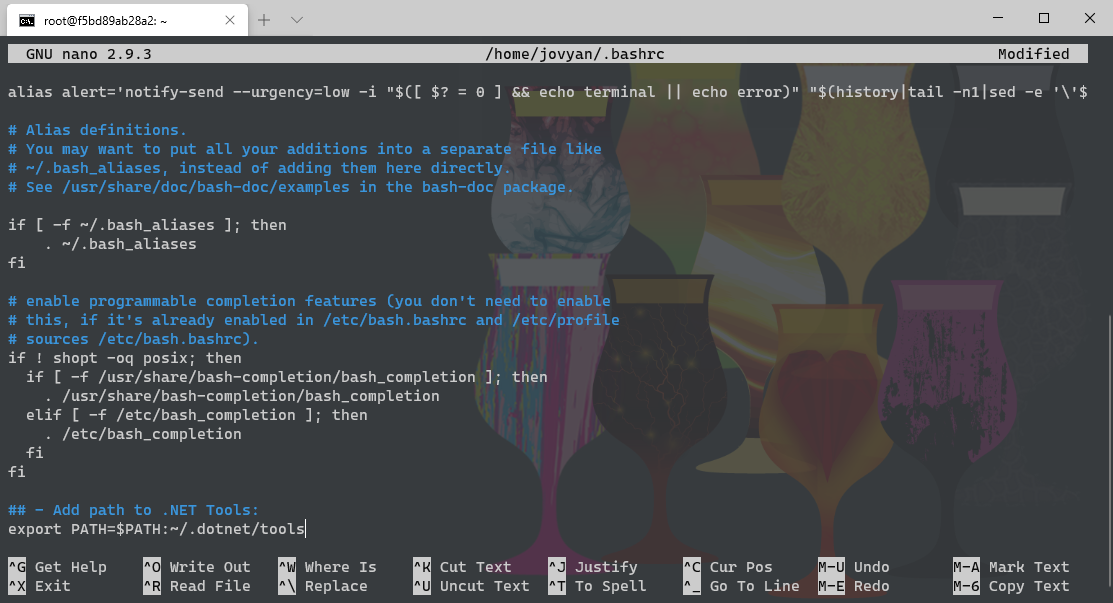
Control + x and Y to save.
Register Dot Net Interactive for Jupyter
We then need to register the Dot Net Interactive Kernels for Jupyter.
export PATH=$PATH:~/.dotnet/tools
dotnet interactive jupyter install

Validate our Jupyter Kernels
We can then validate our .NET kernels were successfully registered.
jupyter kernelspec list

Create a Jupyter Notebook Start Script
The final part of the configuration is to use nano again, to create a small bash script to start Jupyter Notebook.
nano start-jupyternotebook.sh
#!/bin/bash
export PATH="$PATH:/home/jovyan/.dotnet/tools"
jupyter notebook --allow-root
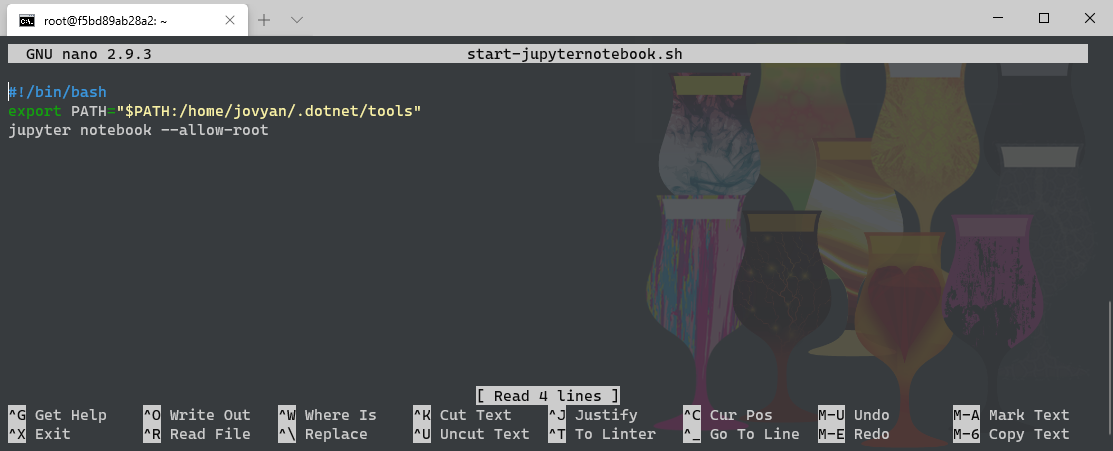
Control + x and Y to save.
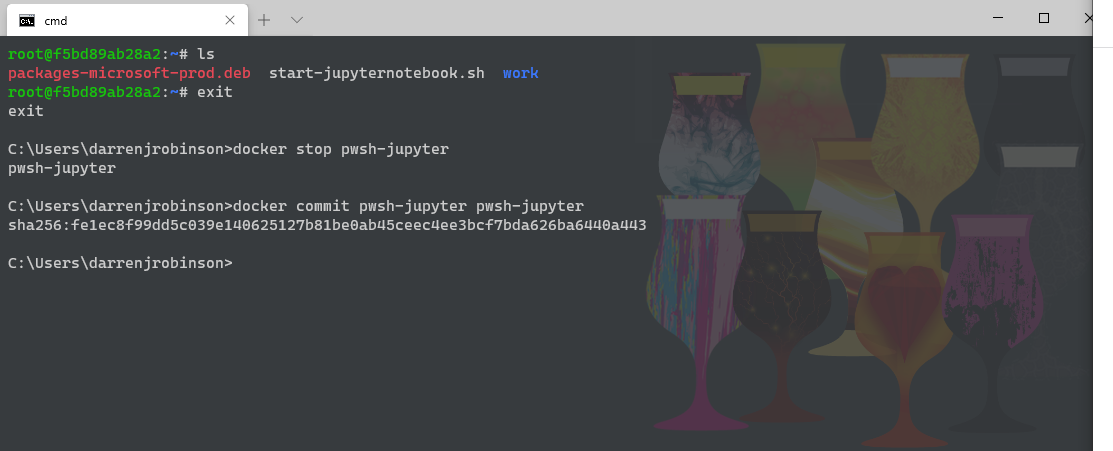
Stop the Image and update the Container Image
With our customizations complete, we can stop the image and save our Container Image.
exit
docker stop pwsh-jupyter
docker commit pwsh-jupyter pwsh-jupyter
Start PowerShell Jupyter Docker Image
We can then start our Container Image and start Jupyter Notebook. We will also take our localhost home directory and make it available inside the container (so you can load and save your Notebooks to the localhost). Start the image from a command prompt path that is a parent for you home directory or working documents files.
Note: If this is the first time you’ve done this, you will get a prompt from Docker requesting access to your local hard disk.
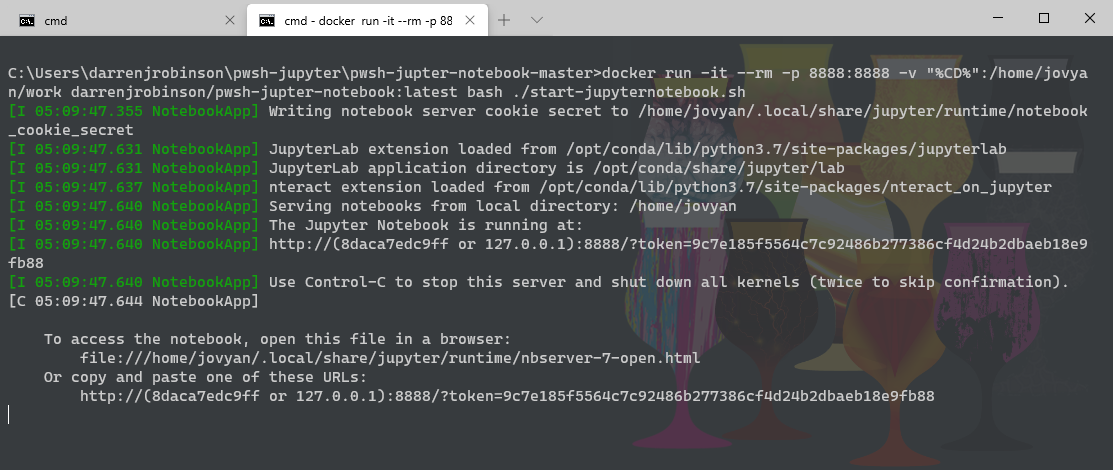
docker run -it --rm -p 8888:8888 -v "%CD%":/home/jovyan/work pwsh-jupyter bash ./start-jupyternotebook.sh
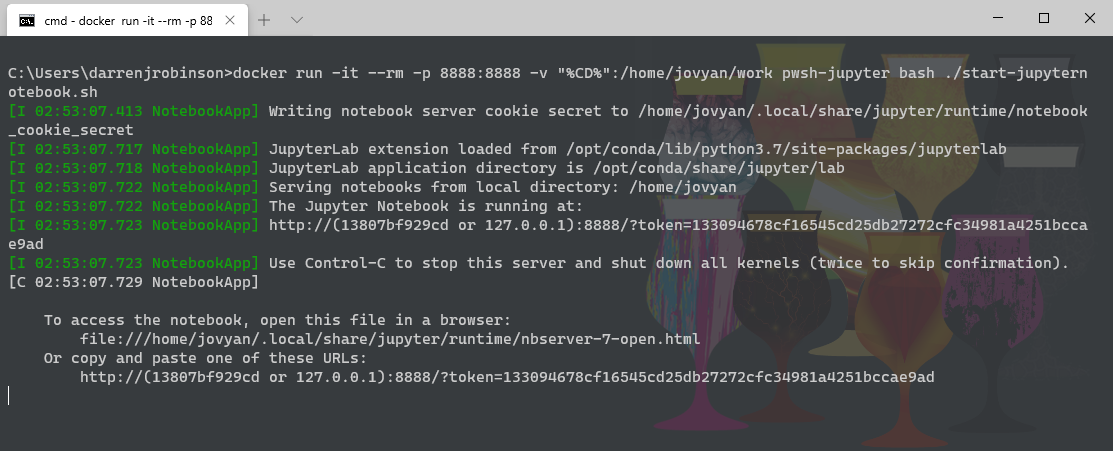
Copy the localhost URL with token key from the console window and paste it into your browser and the Jupyter dashboard will load.
e.g. from the screenshot above the URL is:

From the New menu we now have the .NET interactive kernels. We can choose .NET (PowerShell) and start a new PowerShell Jupyter Notebook.

We can validate our PowerShell environment by running the $psversiontable PowerShell command.

2. Build a Container Image from Dockerfile
The above method is all well and good, but what if you need to do it on multiple machines or in the cloud? For that we will need to automate it. Clone my PowerShell Jupyter Notebook Dockerfile Repo from https://github.com/darrenjrobinson/pwsh-jupyter-notebook . With the zip file downloaded from the GitHub link above and expanded you will have the Dockerfile and the config directory that contains the startup script.
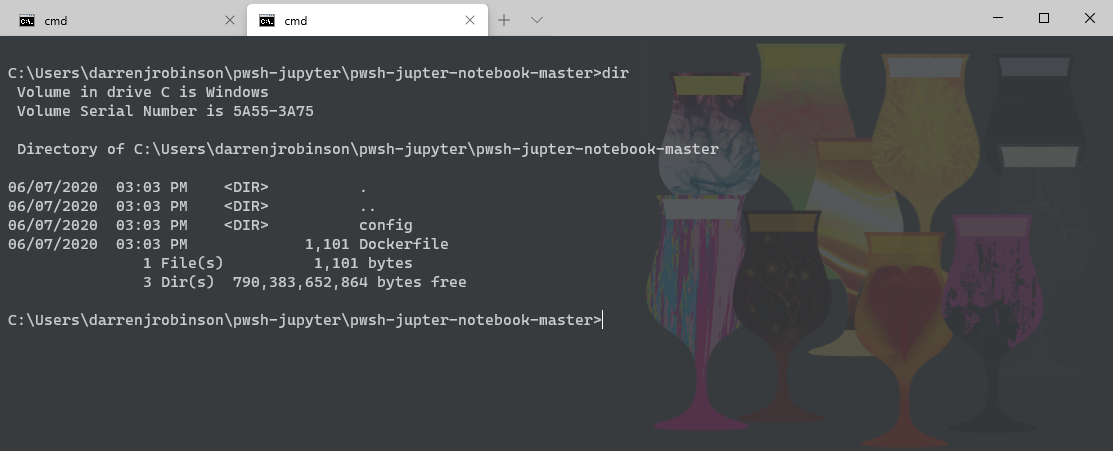
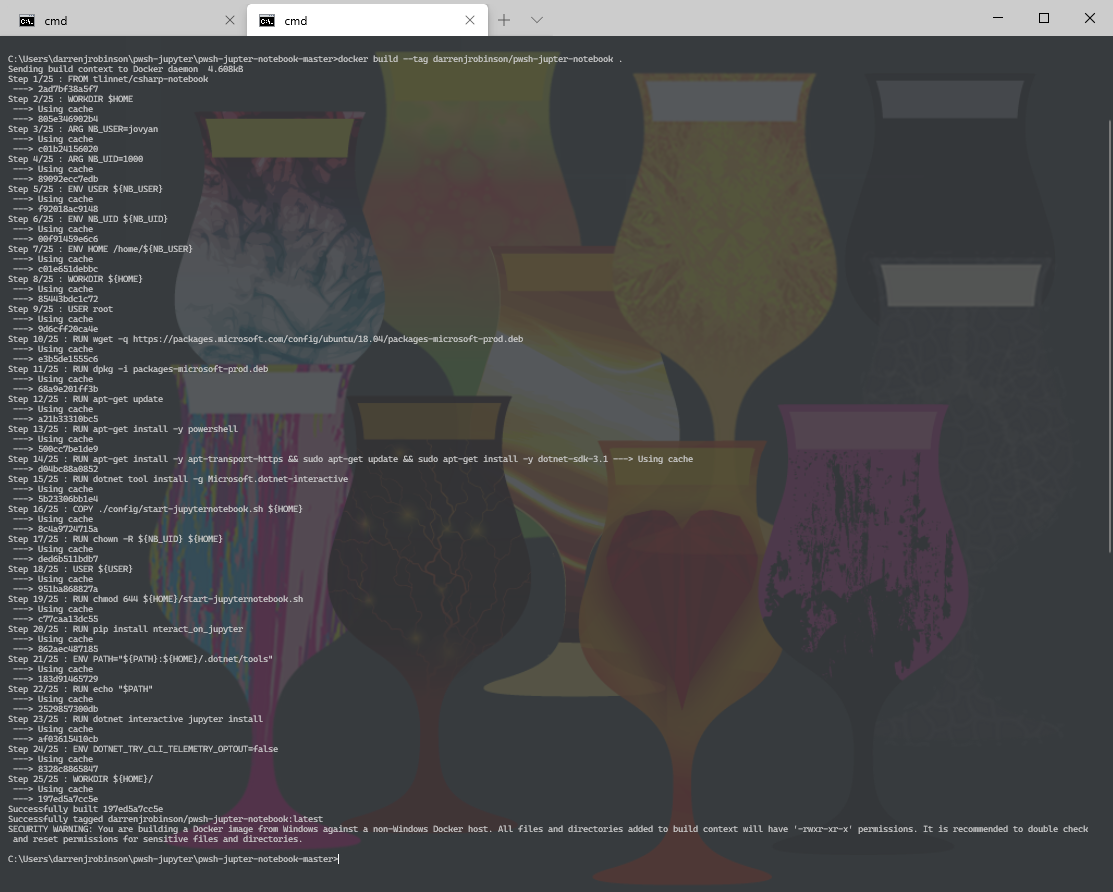
Build the Docker Image from Dockerfile
docker build --tag darrenjrobinson/pwsh-jupyter-notebook .
Run the Docker Image
docker run -it --rm -p 8888:8888 -v "%CD%":/home/jovyan/work darrenjrobinson/pwsh-jupyter-notebook:latest bash ./start-jupyternotebook.sh
You can then navigate to the instance using a browser and the URL shown in the session.
3. Run a Docker Container Image in Binder
Binder is an online service for running Jupyter Notebook. The link below will spin up a Docker Container with the image detailed in this post.
https://mybinder.org/v2/gh/darrenjrobinson/pwsh-jupyter-notebook/master

Once started you can start a New PowerShell Notebook and start powershelling.

4. Docker Hub
Update: 29 Jan 2021 – The published Docker Image has been updated for dotnet Interactive version 1.0.155302
Here is the link to my published Docker PowerShell Jupyter Image on Docker Hub. https://hub.docker.com/repository/docker/darrenjrobinson/pwsh-jupyter-notebook
Summary
In this post I’ve shown how to take a community reference Jupyter Notebook image and update it to enable PowerShell Jupyter Notebook. I’ve then shown how to automate the generation of the Docker Container Image and finally how to run my PowerShell Jupyter Notebook online using Binder. Enjoy.