I write a lot of articles on Azure services such as Azure Functions, Microsoft Graph, and Azure Cognitive Services. Almost every post has a screenshot of the Azure Portal that needs some of the data to be obfuscated. It turns out I’ve been doing that all wrong with my manual efforts to mask Azure Portal Content.
Alex Karcher from the Microsoft Azure Functions team during the Azure Functions Live – March 2020 stream last week was showing a demo on Azure Functions and network configuration options. He was asked from the live stream chat for details on how his browser was configured to automatically mask or hide sensitive Azure Portal Content such as Subscription ID, GUID‘s, Connection Strings, and the authenticated users’ email.
He was using a browser extension that I wasn’t (obviously) previously aware of named appropriately Azure-Mask.
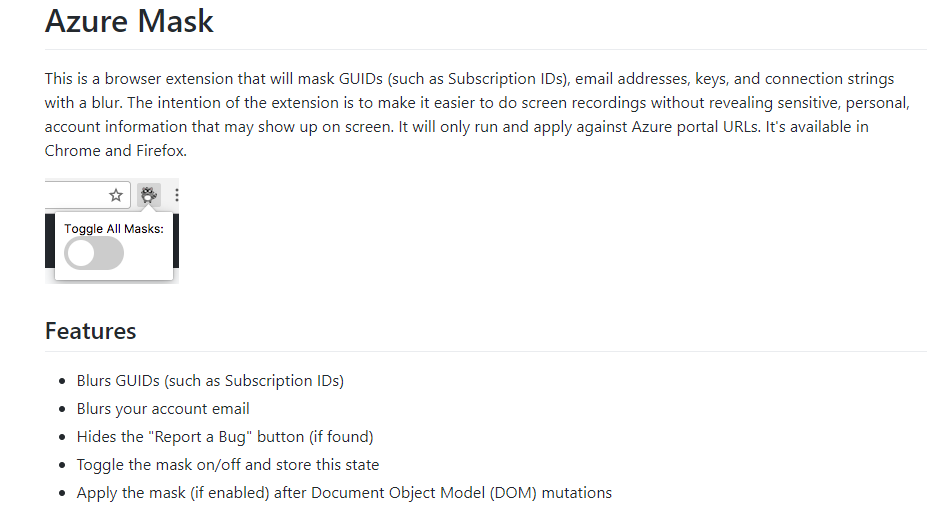
UPDATE December 2021: Azure Mask is now in the Chrome Web Store and can be added directly to Chrome and Edge (Chromium). The manual process below is no longer required.
For a number of different reasons the extension isn’t available in the Chrome Web Store or the Microsoft Edge Addon Store. See below for manually installing the extension for Google Chrome and Microsoft Edge Chromium edition. It also works in InPrivate and

Manually Installing the Azure-Mask Extension
As mentioned above the extension is compatible with Google Chrome and Microsoft Edge (Chromium Edition). As the extension isn’t listed in the app stores it must be installed manually. This is the process to do that.
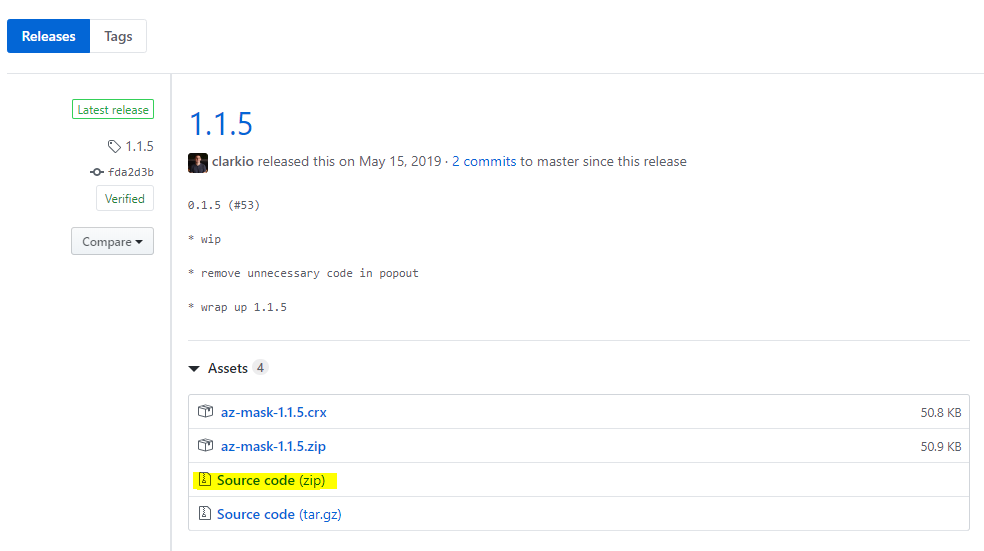
First download the extension. From the GitHub repo releases download the Source code (zip) file to your local computer and expand the archive.
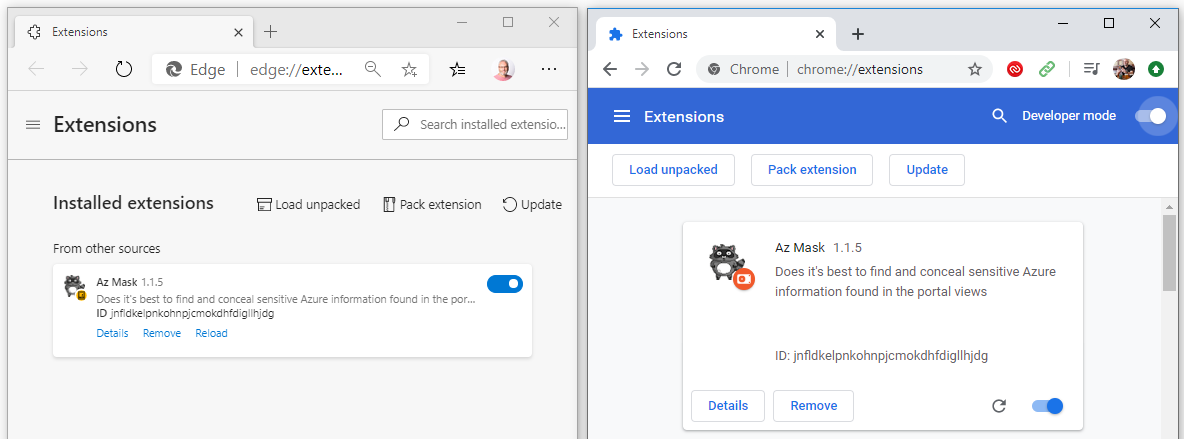
Then you need to enable Developer Mode. In Edge Chromium navigate to edge://extensions/ and enable the ‘Developer mode‘ slider.

In Chrome navigate to chrome://extensions/ and enable the ‘Developer mode‘ slider.

Now select “Load unpacked“.

Navigate to the ‘src‘ folder under the location you expanded the Azure-Mask source to.

Enable the Extension slider and you’re almost there.
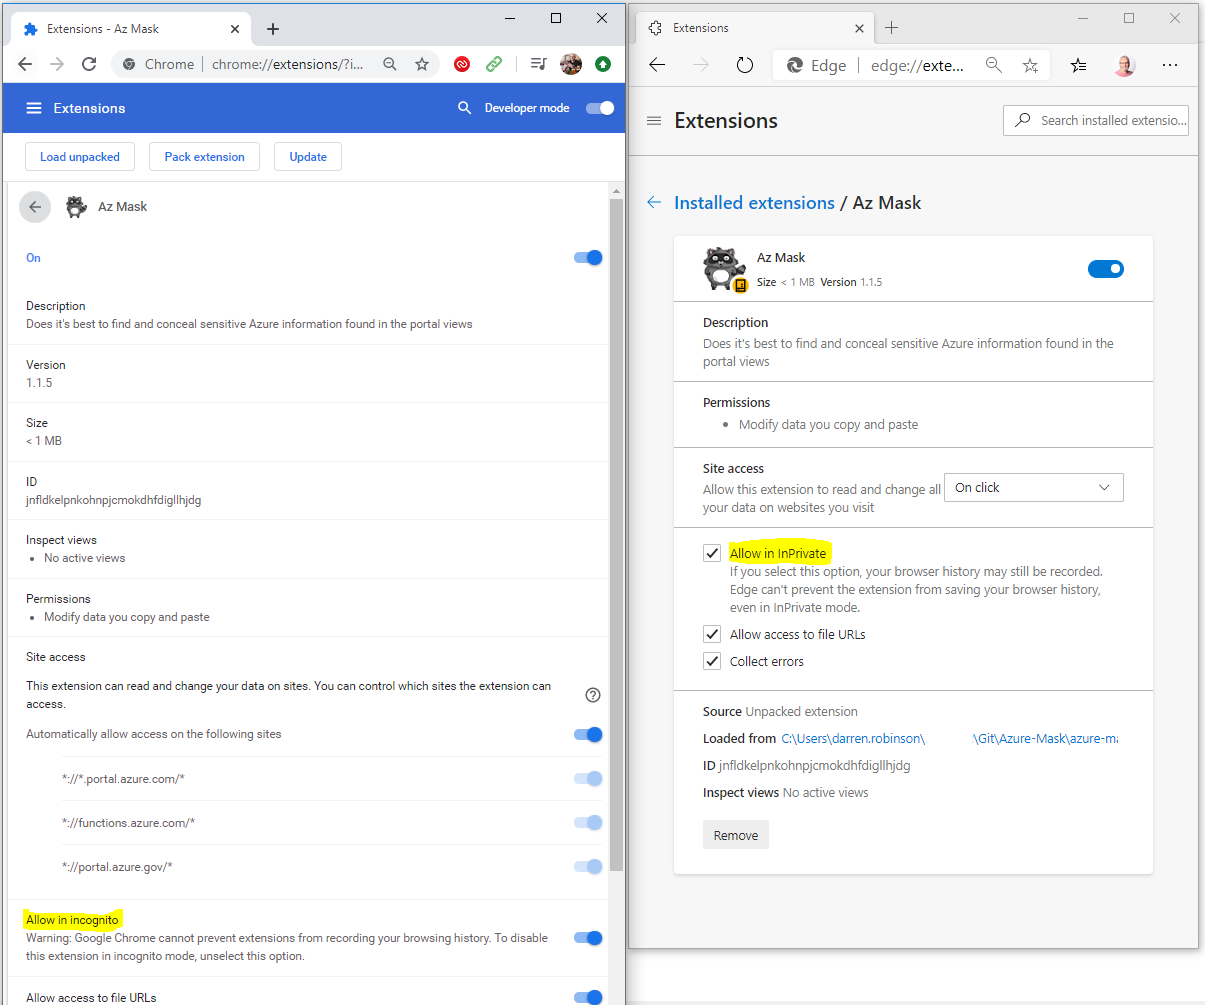
To configure the Mask Azure Portal Content extension, select Details. I’ve highlighted the options to allow the extension in InPrivate and Incognito modes (see warning associated with each). The rest is self-explanatory.
Using the Azure Mask Extension
That’s it, you’re done. You’ve enabled the extension and you’re good to go. In the top right corner when in the Azure Portal you will see that your email address is gone.

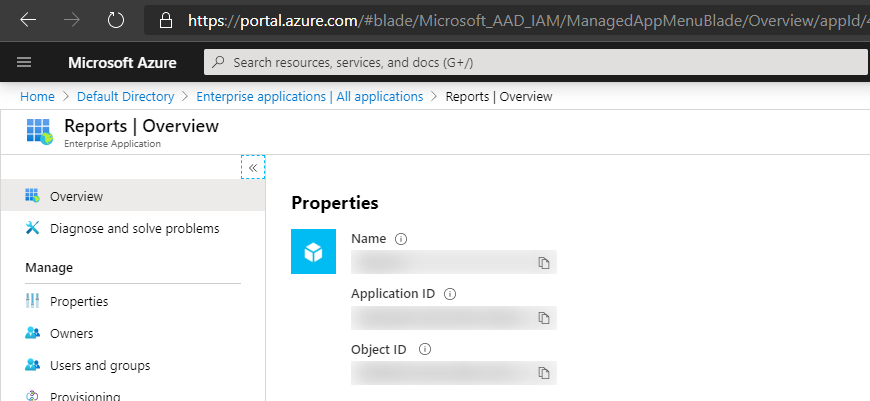
On Overview tabs of blades items such as Application ID, Object ID are masked.
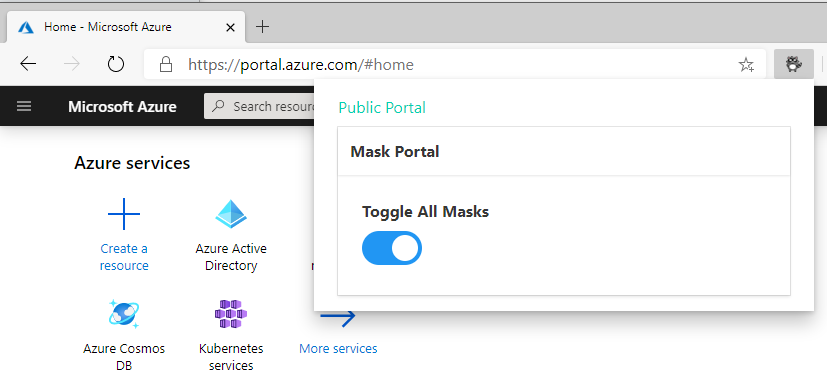
To disable simply select the Azure Bit Raccoon from your extensions bar and toggle the masks.
Summary
Huge thanks to the Azure Cloud Developer Advocates et al that have developed this extension. If only I’d have known about it a few years ago. If you don’t already have it and are regularly doing demo’s or guides, go get Azure-Mask and mask Azure Portal Content automatically.


