Introduction
Yes, that title is quite a mouthful. And this post is going to be quite long. But worth the read if you are having to create a number of rules in Microsoft/Forefront Identity Manager, or even more so the same rule in multiple environments (eg. Dev, Staging, Production).
My colleague David Minnelli introduced using the Lithnet RMA PowerShell Module and the Import-RMConfig cmdlet recently for bulk creation of MIM Sets and MPR’s. David has a lot of the background on Import-RMConfig and getting started with it. Give that a read for a more detailed background.
In this post I detail using Import-RMConfig to create a Set, Workflow, Synchronization Rule and Management Policy Rule to populate a Development AD Domain with Users from a Production AD Domain. This process is designed to run on a combined MIM Service/Sync Server. If your roles a separated (as they likely will be in a Production environment) you will need to run these scripts on the MIM Sync Server (so it can query the Management Agents, and you will need to add in a line to connect to the MIM Service (eg. Set-ResourceManagementClient ) at the beginning of the script.
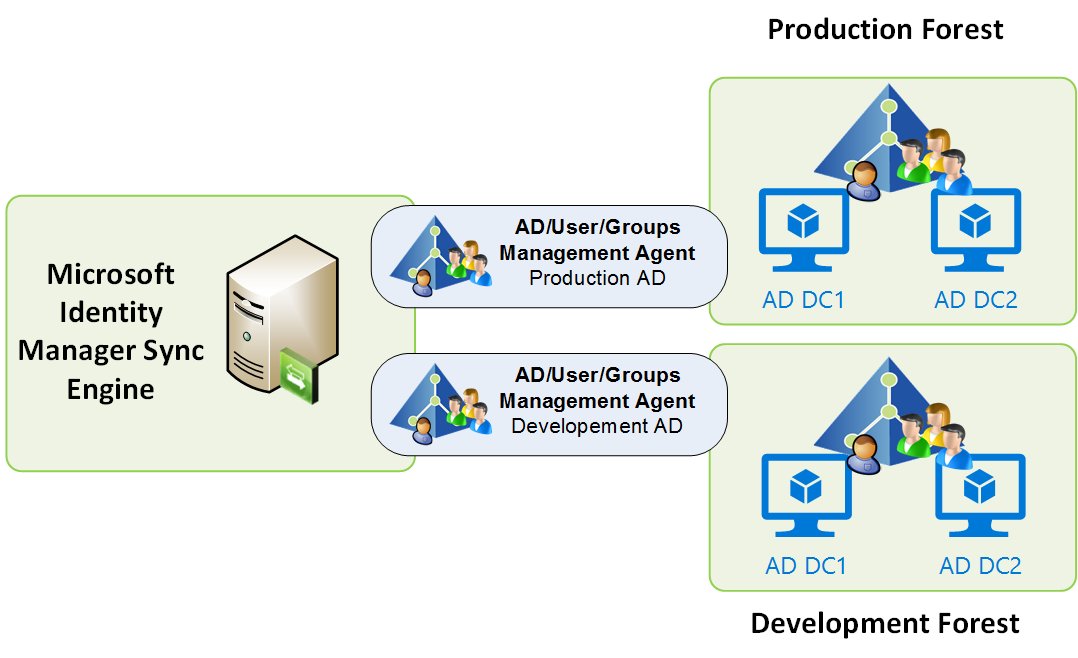
In my environment I have two Active Directory Management Agents, each connected to an AD Forest as shown below.

On each of the AD MA’s I have a Constant Flow Attribute (named Source) configured to flow in a value representing the source AD Forest. I’m doing this in my environment as I have more than one production forest (hence the need for automation). You could simply use the Domain attribute for the Set criteria. That attribute is used in the Set later on. Mentioning it up front so it make sense.
Overview
The Import-RMConfig cmdlet uses XML and XOML files that contain the configuration required to create the Set, Workflow, Sync Rule and MPR in the FIM/MIM Service. The order that I approach the creation is, Sync Rule, Workflow, Set and finally the MPR.
Each of these objects as indicated above leverage an XML and/or XOML input file. I’ve simplified base templates and included them in the scripts.
The Sync Rule Script includes a prompt to choose a folder (you can create one through the GUI presented) to store the XML/XOML files to allow the Import-RMConfig to use them. Once generated you can simply reference the files with Import-RMConfig to replicate the creation in another environment.

Creating the Synchronization Rule
For creation of the Sync Rule we need to define which Management Agent will be the target for our Sync Rule. In my script I’ve automated that too (as I have a number to do). I’m querying the MIM Sync Server for all its Active Directory MA’s and then providing a dialog to allow you to choose the target MA for the Sync Rule. That dialog simply looks like the one below.

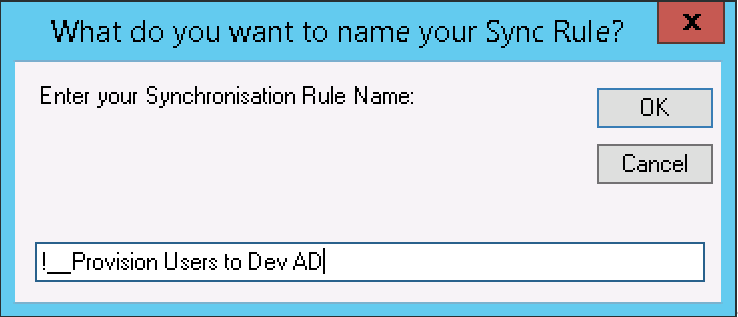
Creating the Sync Rule will finally ask you to give the Rule a name. This name will then be used as the base Display Name for the Set, MPR and Workflow (and a truncated version as the Rule ID’s).

The script below in the $SyncRuleXML section defines the rules of the Sync Rule. Mine is an Outbound Sync Rule, with a base set of attributes and transforming the users UPN and DN (for the differing Development AD namespace). Update lines 42 and 45 for the users UPN and DN your namespace.
Creating the Workflow
The Workflow script is pretty self-explanatory. A simple Action based workflow and is below.
Creating the Set
The Set is the group of objects that will be synchronized to the target management agent. As my Sync Rule is only for Users my Set is also only contains users. As stated in the Overview I have an attribute that defines the authoritative source for the objects. I’m also using that in my Set criteria.
Creating the Management Policy Rule
The MPR ties everything together. Here’s that part of the script.
Tying them all together
Here is the end to end automation, and the raw script that you could use as the basis for automating similar rule generation. The Sync Rule could easily be updated for Contacts or Groups. Remember the attributes and object classes are ‘case sensitive’.
- Through the Browse for Folder dialog I created a new folder named ProvisionDevAD

- I provided a Display Name for the rules

- I chose the target Management Agent

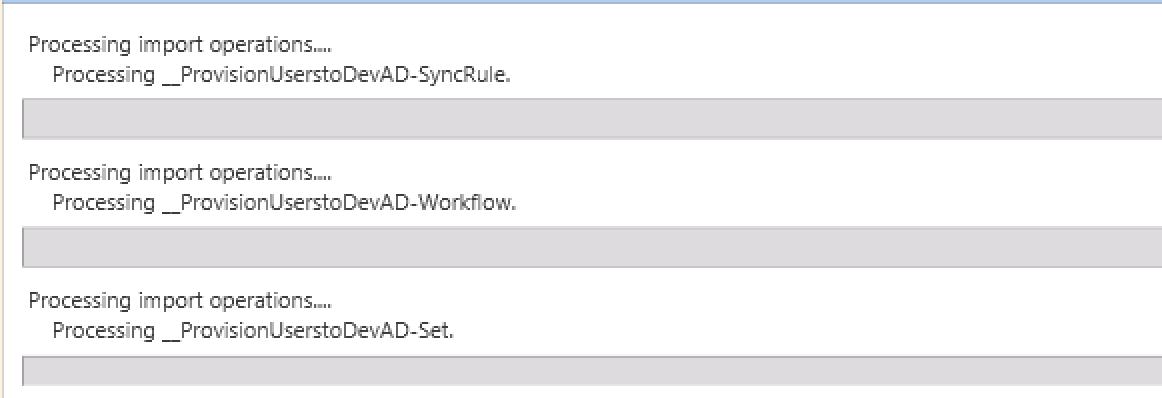
- The SyncRule, Workflow, Set and MPR are created. The whole thing takes seconds.

- Script Complete

Let’s take a look at the completed objects through the MIM Portal.
Sync Rule
The Sync Rule is present as we named it. Including the !__ prefix so it appears at the top of the list.

Outbound Sync Rule based on a MPR, Set and Workflow

The Resources will be created and if deleted de-provisioned.

And our base attribute flows.

Set
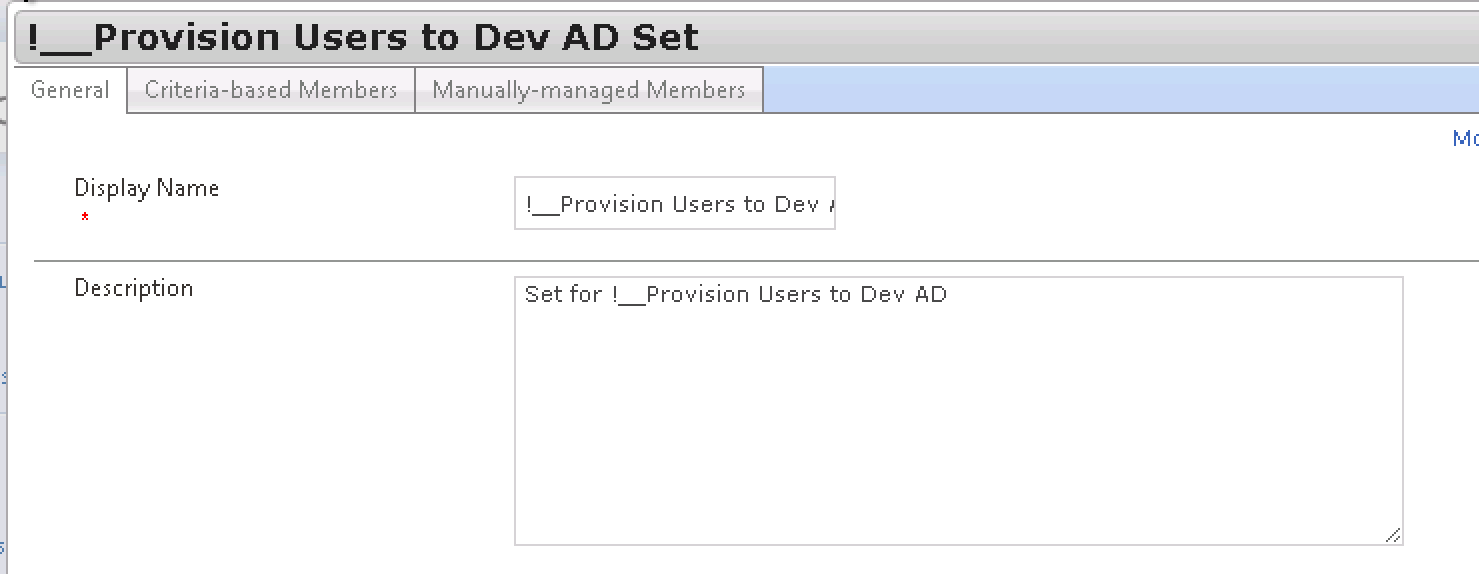
Our Set was created.

Our naming aligns with what we input

And a Criteria based Set. As per the Overview I have an attribute populated by a Constant flow rule that I based my set on. You’ll want to update for you environment.

Workflow
The Action Workflow was created

All looks great

And it applies our Sync Rule

MPR
And finally our MPR. Created as a Transition In MPR with Action Workflow

Set Transition and naming all aligned

The Transition Set configured for the Set that was created

And the Workflow configured with the Workflow that was just created

Summary
When you have a lot of Sync Rules to create, or you know you will need to re-create them numerous times, potentially in different environments automation is key. This just scratches the surface on what can be achieved, and made so much easier using the Lithnet PowerShell Modules.
Here’s is the full script. Note: You’ll need to make a couple of minor changes as indicated earlier, but you should be able to create a Provisioning Rule end to end pretty quick to validate the process. Then customize accordingly for your environment and requirements. Enjoy.


