Overview
Over the years I’ve transitioned through a number of laptops and for whatever reason they never fully get put out to pasture. Two specific laptops are used semi-regularly for functions associated with a few virtual machines they hold. Over the last 10 years or so, I’ve been a big proponent of VirtualBox. It’s footprint and functionality aligned with my needs. The downside these days is needing to sometimes carry two laptops just to use an application or two contained inside a Virtual Machine on VirtualBox.
It’s 2017 and time to get with the times. Dedicate an evening of working through the process of migrating those VM’s.
DISCLAIMER and CONSIDERATIONS Keep in mind that if you are migrating legacy operating systems, you’ll need a method to remote into them once they are in Azure. Check the configuration of them before you convert and migrate them. Do they have firewalls? Is the network interface on the VM configured for dynamic or static addressing? Do the VM have remote access configured, VNC, RDP, SSH. As they are also likely to be less secure my process below includes a Network Security Group as part of the Azure Resource Group with no rules specified. You’ll need to add some inbound rules for the method you’ll be using to remote into your Virtual Machine. And I STRONGLY suggest locking those rules down to a single host or home subnet.
The VM Conversion Process
This blog post covers the migration of a Windows Virtual Machine in VDI format from VirtualBox on SUSE Linux to Azure.
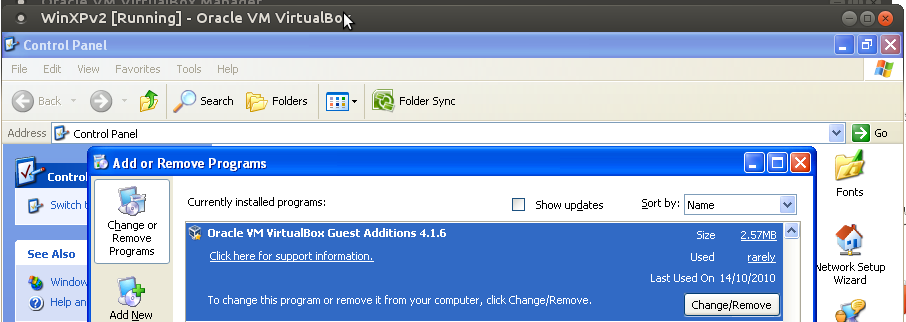
- With the VM Started un-install the VBox Guest Additions from the virtual machine
- Shutdown the VM
- In VirtualBox Manager select the VM and Settings
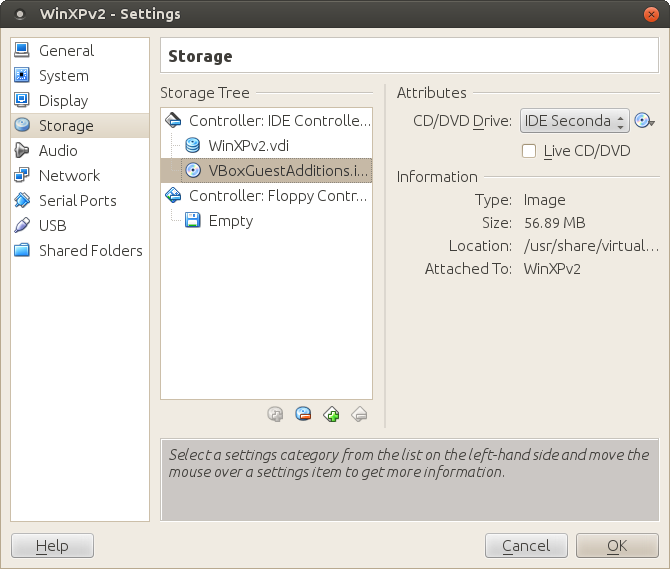
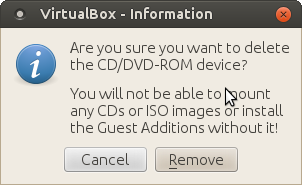
- Select Storage. If the VBoxGuestAdditions CD/DVD is attached then remove it.
- Take note of the VM’s disk(s) location (WinXPv2.vdi in my case) and naming. Mine just had a single hard disk. You’ll need the path for the conversion utility.
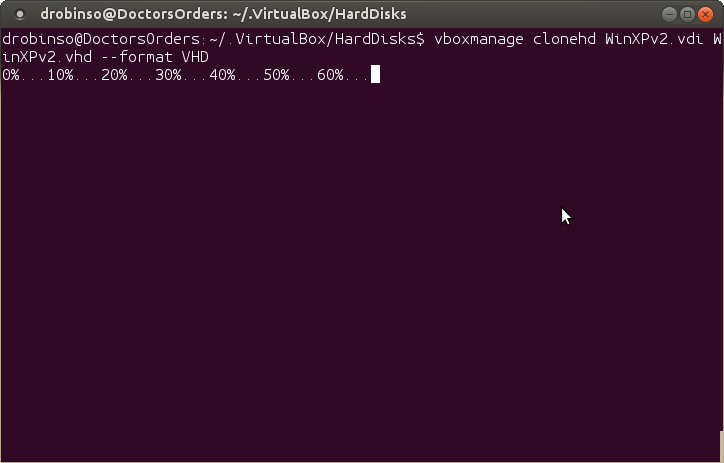
- Virtual Box includes a utility named vboxmanage. We can use that to convert the VM virtual hard disk from VDI to VHD format. Simply run vboxmanage clonehd –format VHD –variant Fixed
- You will need to make sure you have enough space on your laptop hard disk for the VHD which will be about the same size as your VDI Hard Disk
- If you don’t on Linux you’ll get a slightly cryptic message like
- Could not create the clone medium (VERR_EOF)
- VBOX_E_FILE_ERROR (0x80bb0004)
- the –variant Fixed switch is not shown in the virtual disk conversion screenshot (three images further down the page). One of my other VM’s was Dynamic. Size needs to be Fixed for the VHD to be associated with a VM in Azure
- Below shows determining an existing disk that is Dynamic and needs to be converted to Fixed
- If you don’t on Linux you’ll get a slightly cryptic message like
- You will need to make sure you have enough space on your laptop hard disk for the VHD which will be about the same size as your VDI Hard Disk
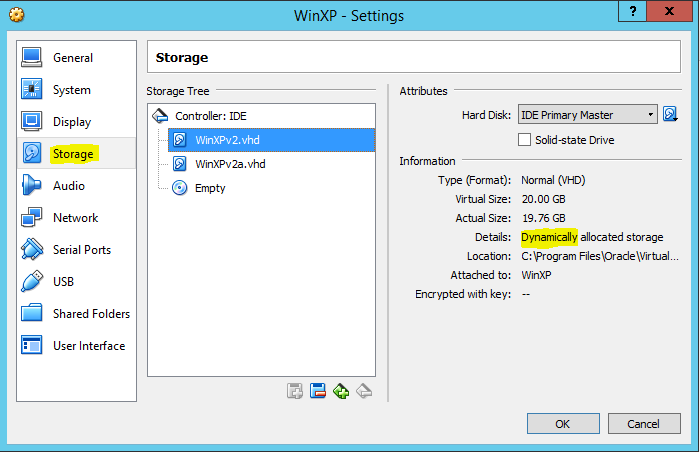
- Below shows determining an existing disk that is Fixed and doesn’t need to be converted

- Converting the VDI virtual disk to VHD
Preparing our Azure Environment for our new Virtual Machine
- Whilst the conversion was taking place I logged into the Azure Portal and created a new Resource Group for my VM to go into. I also created a new Storage Account in that Resource Group to put the VM’s VHD into. Basically I’m keeping these specific individual VM’s that serve a very specific purpose in their own little compartment.

- Using the fantastic Azure Storage Explorer which works on Linux, Mac and Windows I created a Blob Container in my newly created Storage Account named vhds.

Upload the Converted Virtual Hard Disk
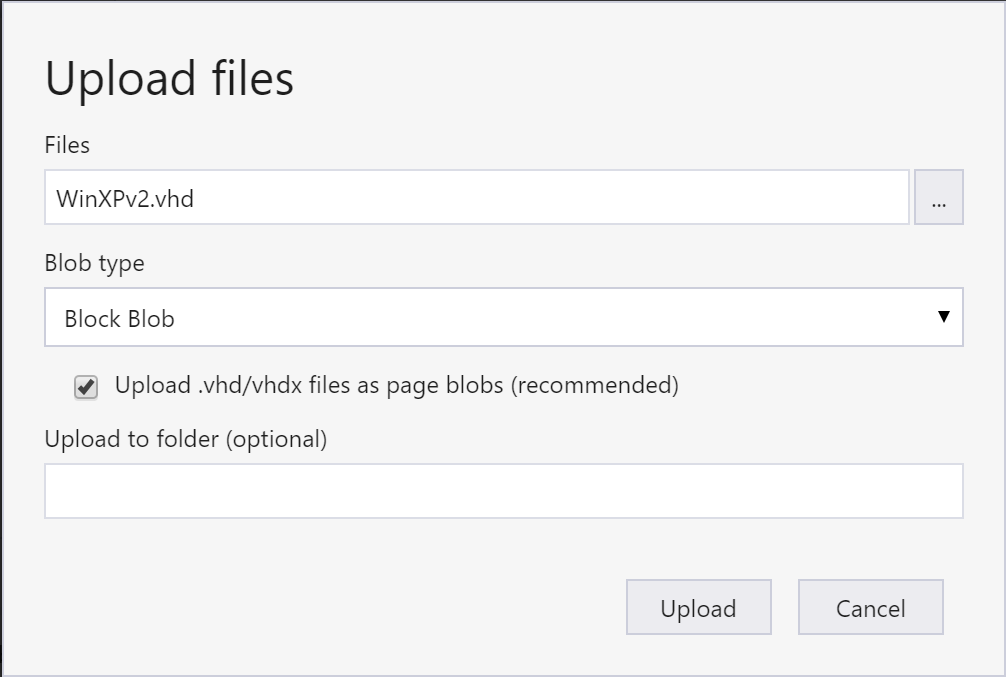
- By now my virtual disk had converted. Using the Azure Storage Explorer I uploaded my converted virtual disk. NOTE Make sure you have the ‘upload vhd/vhdx files as Page Blobs’ selected.
For a couple of other VM’s I wrote a little PowerShell script to upload the VHD’s to blob storage.
Create the Azure VM
The following script follows on from the Resource Group, Storage Account and the Virtual Machine Virtual Disk we created and uploaded to Azure and creates the VM to attached to the virtual disk.
All the variables are up front, we create the Network Security Group, Subnet and Virtual Network. Then the Public IP and Network Interface. Finally we define the details for the VM with the networking and the uploaded VHD before creating the VM.
And we’re done. VM created and started.

Happy days and good bye to a number of old laptops.

