Infrastructure-as-a-Service has provided the ability to quickly deploy hosts in Cloud environments such as Azure. However the certificate that comes with the host isn’t ready for Web Services. I hadn’t had to do this for quite some time and it came to my realisation again that whilst there are a few guides available they are for different scenarios than what I require. In my development environments I’m looking for an SSL Certificate that;
- is free
- can be verified through HTTP verification methods (not DNS as we obviously don’t own the *.cloudapp.azure.com namespace)
- can be used on Windows Server IIS Websites
- is trusted by the major browsers
- is trusted by Azure PaaS Services (e.g Azure API Management)
This blog post details the process to generate free SSL Web Server Certificates using ZeroSSL and Let’s Encrypt, along with the process to implement them on IIS on Windows. Specifically;
- Generating the Certificate using ZeroSSL
- Converting the certificate to PFX format for IIS
- Installing the Certificate on IIS
- Testing a website configured with the SSL Cert
Generating the Certificate
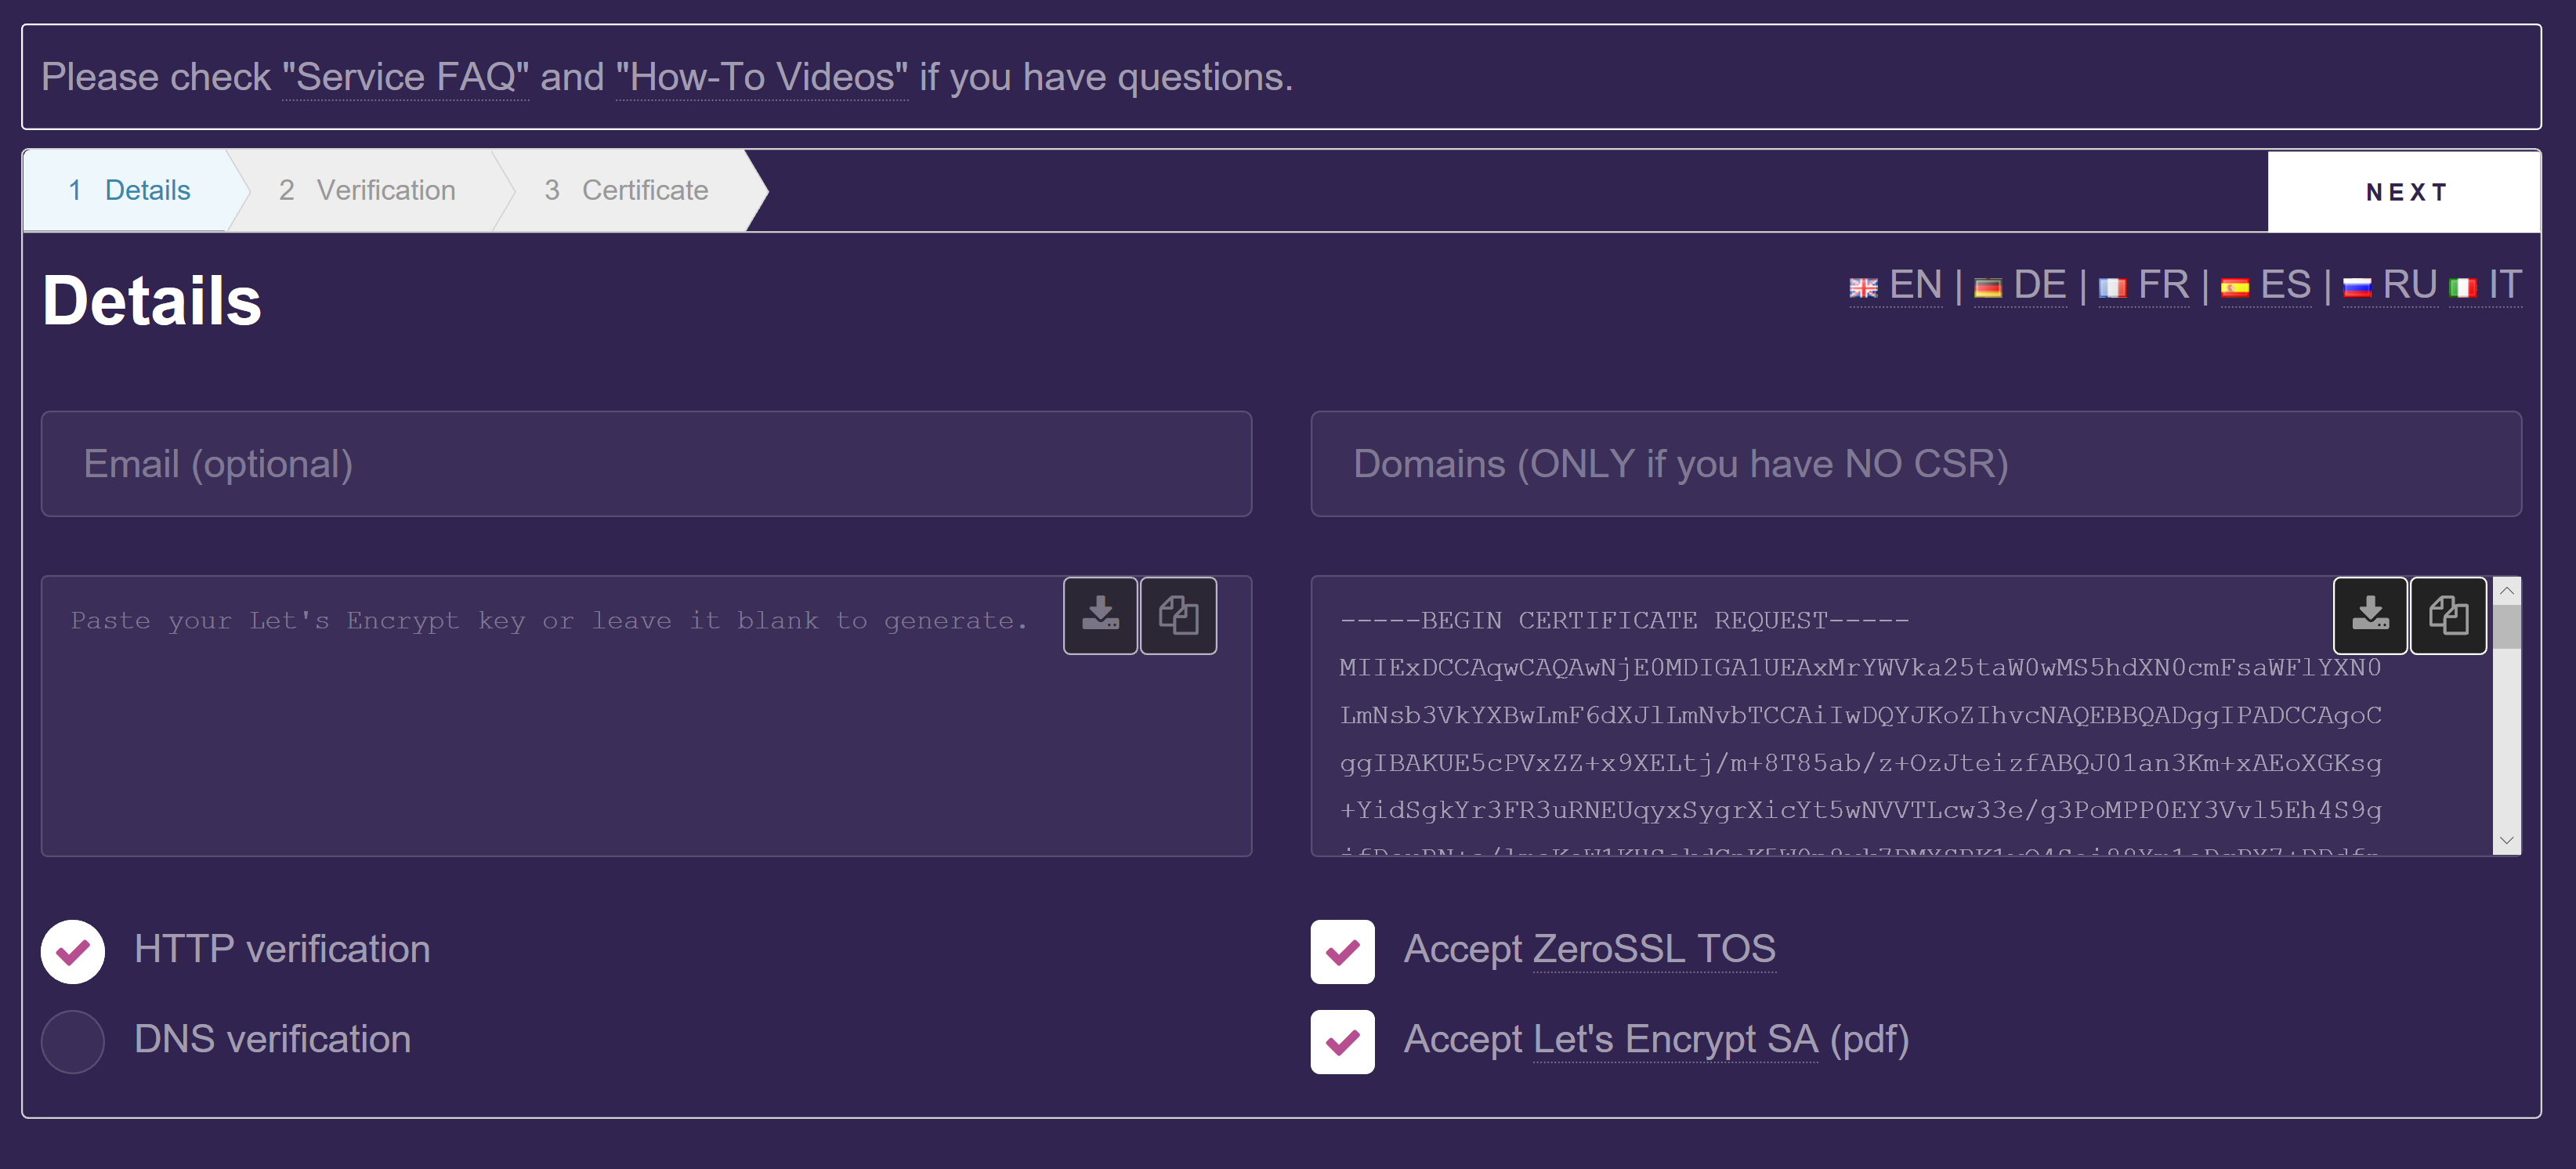
Start by navigating to ZeroSSL and select Start SSL Certificate Wizard
Enter the address of the host you are generating the certification for. This can be found from the Overview section of your Virtual Machine in the Azure Portal under DNS Name. Select Accept ZeroSSL TOS and Accept Let’s Encrypt SA (pdf) and select Next.

The Certificate Signing Request will be generated. Select Next.
The Account Key will be generated. You can save the CSR and Account Keys from this page. Select Next.

Create the folder structure in IIS as described in the ZeroSSL Verification page under your Windows Server IIS webroot. This by default will be c:\inetpub\wwwroot.

You will need to create the .well-known folder using a windows command prompt.

Create a web.config file in the acme-challenge directory so that IIS will provide access to the file created.
<configuration>
   <system.webServer>
     <staticContent>
      <mimeMap fileExtension="." mimeType="text/plain" />
     </staticContent>
   </system.webServer>
</configuration>
Ensure the permissions for the new directory and file will also allow access.

Click on the file link to make sure that ZeroSSL can access your IIS Website with the file in the path required. Depending on your Azure Networking, you may require an inbound NSG Rule for port 80 as shown below.

Once you have validated the file is accessible, select Next to allow ZeroSSL to verify you have created the file with the appropriate content to validate you own the host. You will then be provided with your certificate.

The top certificate file contains both your domain certificate and the issuer’s certificate.
- Save it to your local Windows 10 workstation with the .txt extension. e.g. ServerCerts.txt
The second file contains your domain key.
- Save the domain key to another file with the .txt extension e.g. ServerDomainKey.txt
Converting the Certificate
In order to be able to import the certificate in IIS we need it in PFX format. OpenSSL allows us to convert the .txt files into PFX format. OpenSSL is available Windows Subsystem for Linux by default. Jumping into a WSL window run OpenSSL with the following syntax referencing the two files you created above.
openssl pkcs12 -export -out ServerCert.pfx -inkey ServerDomainKey.txt -in ServerCerts.txt
Provide a secure password for the PFX file. You will need this when importing the certificate on your IIS webserver.

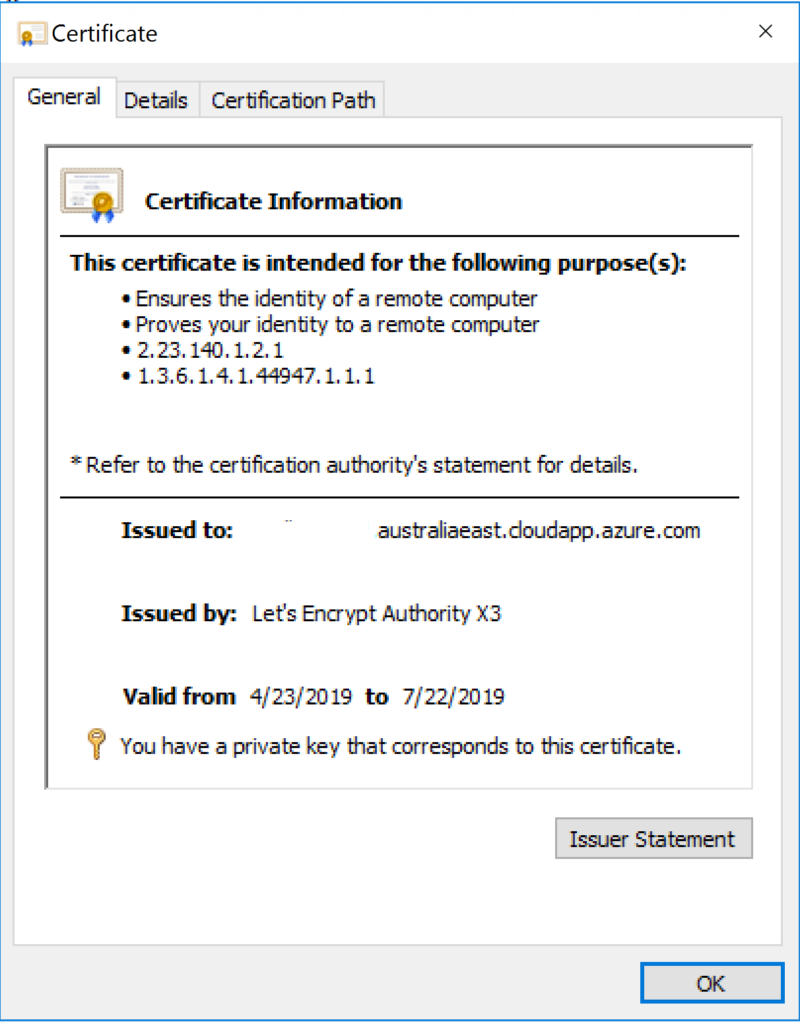
Checking out the certificate we can see that the certificate generated is a LetsEncrypt Cert for our Azure IaaS Host.
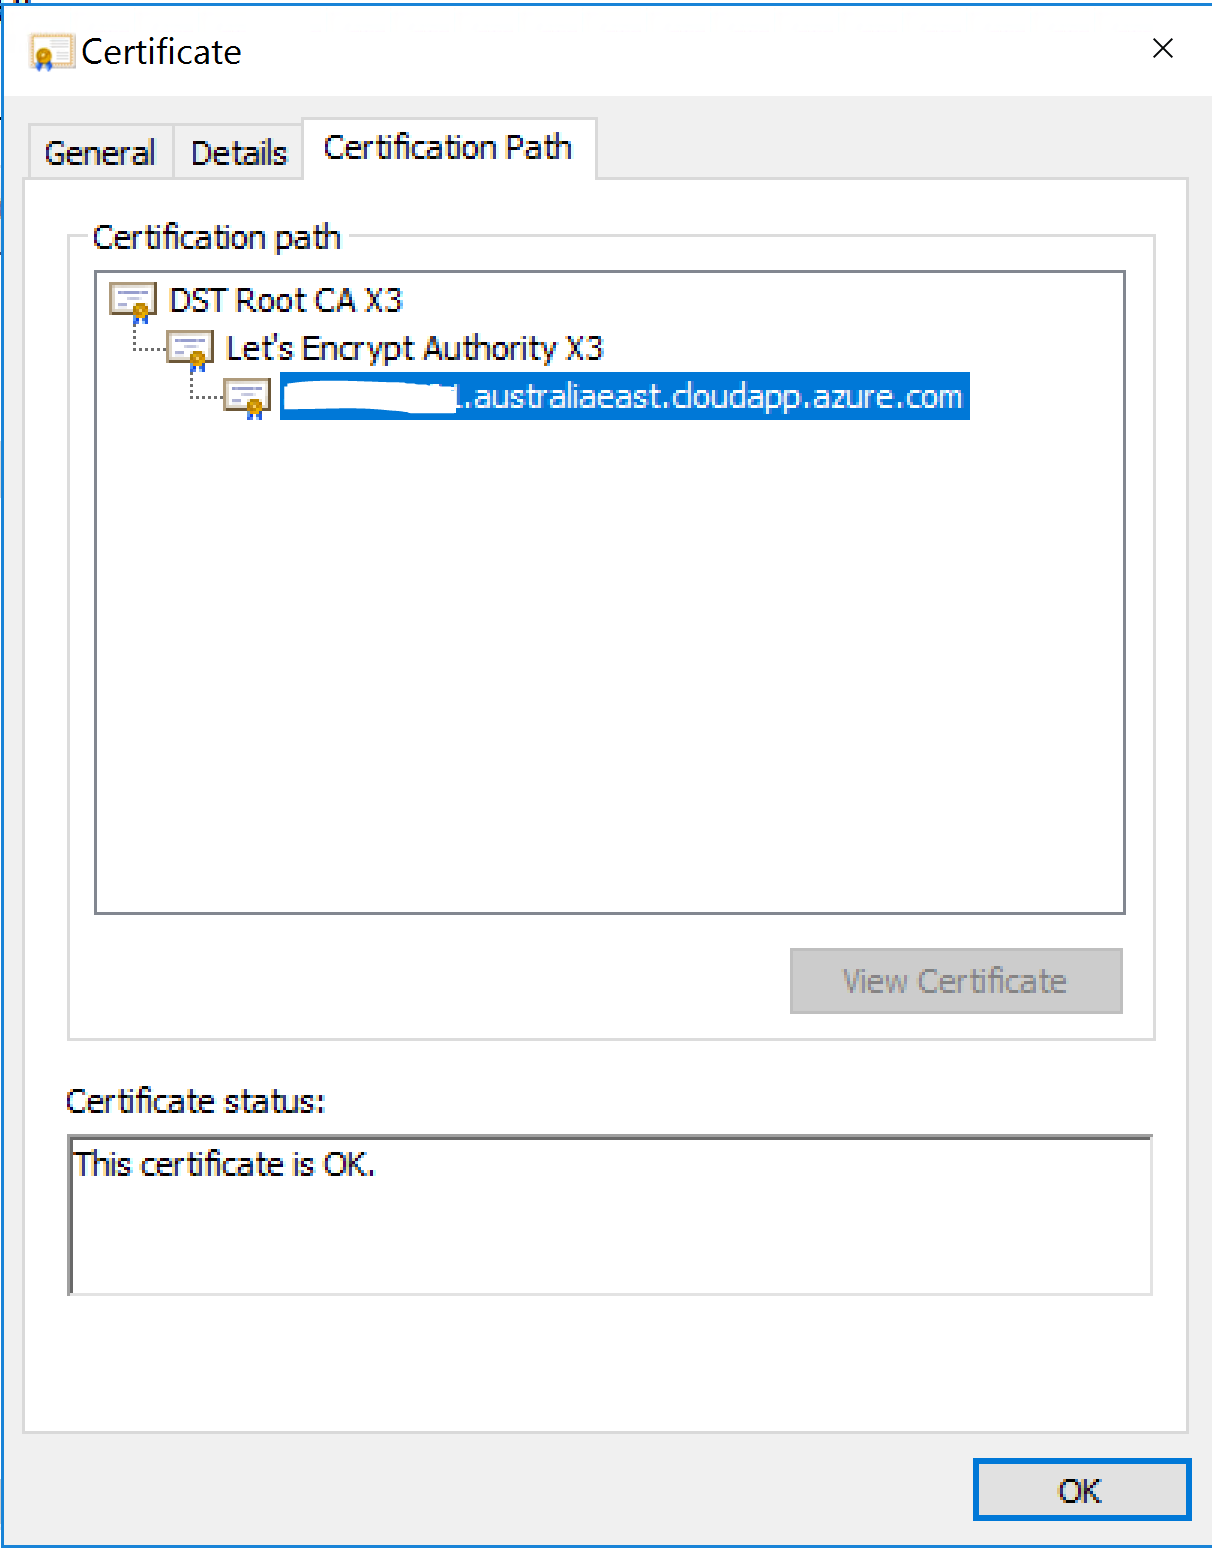
and the certificate path all looks good.
Installing the Certificate
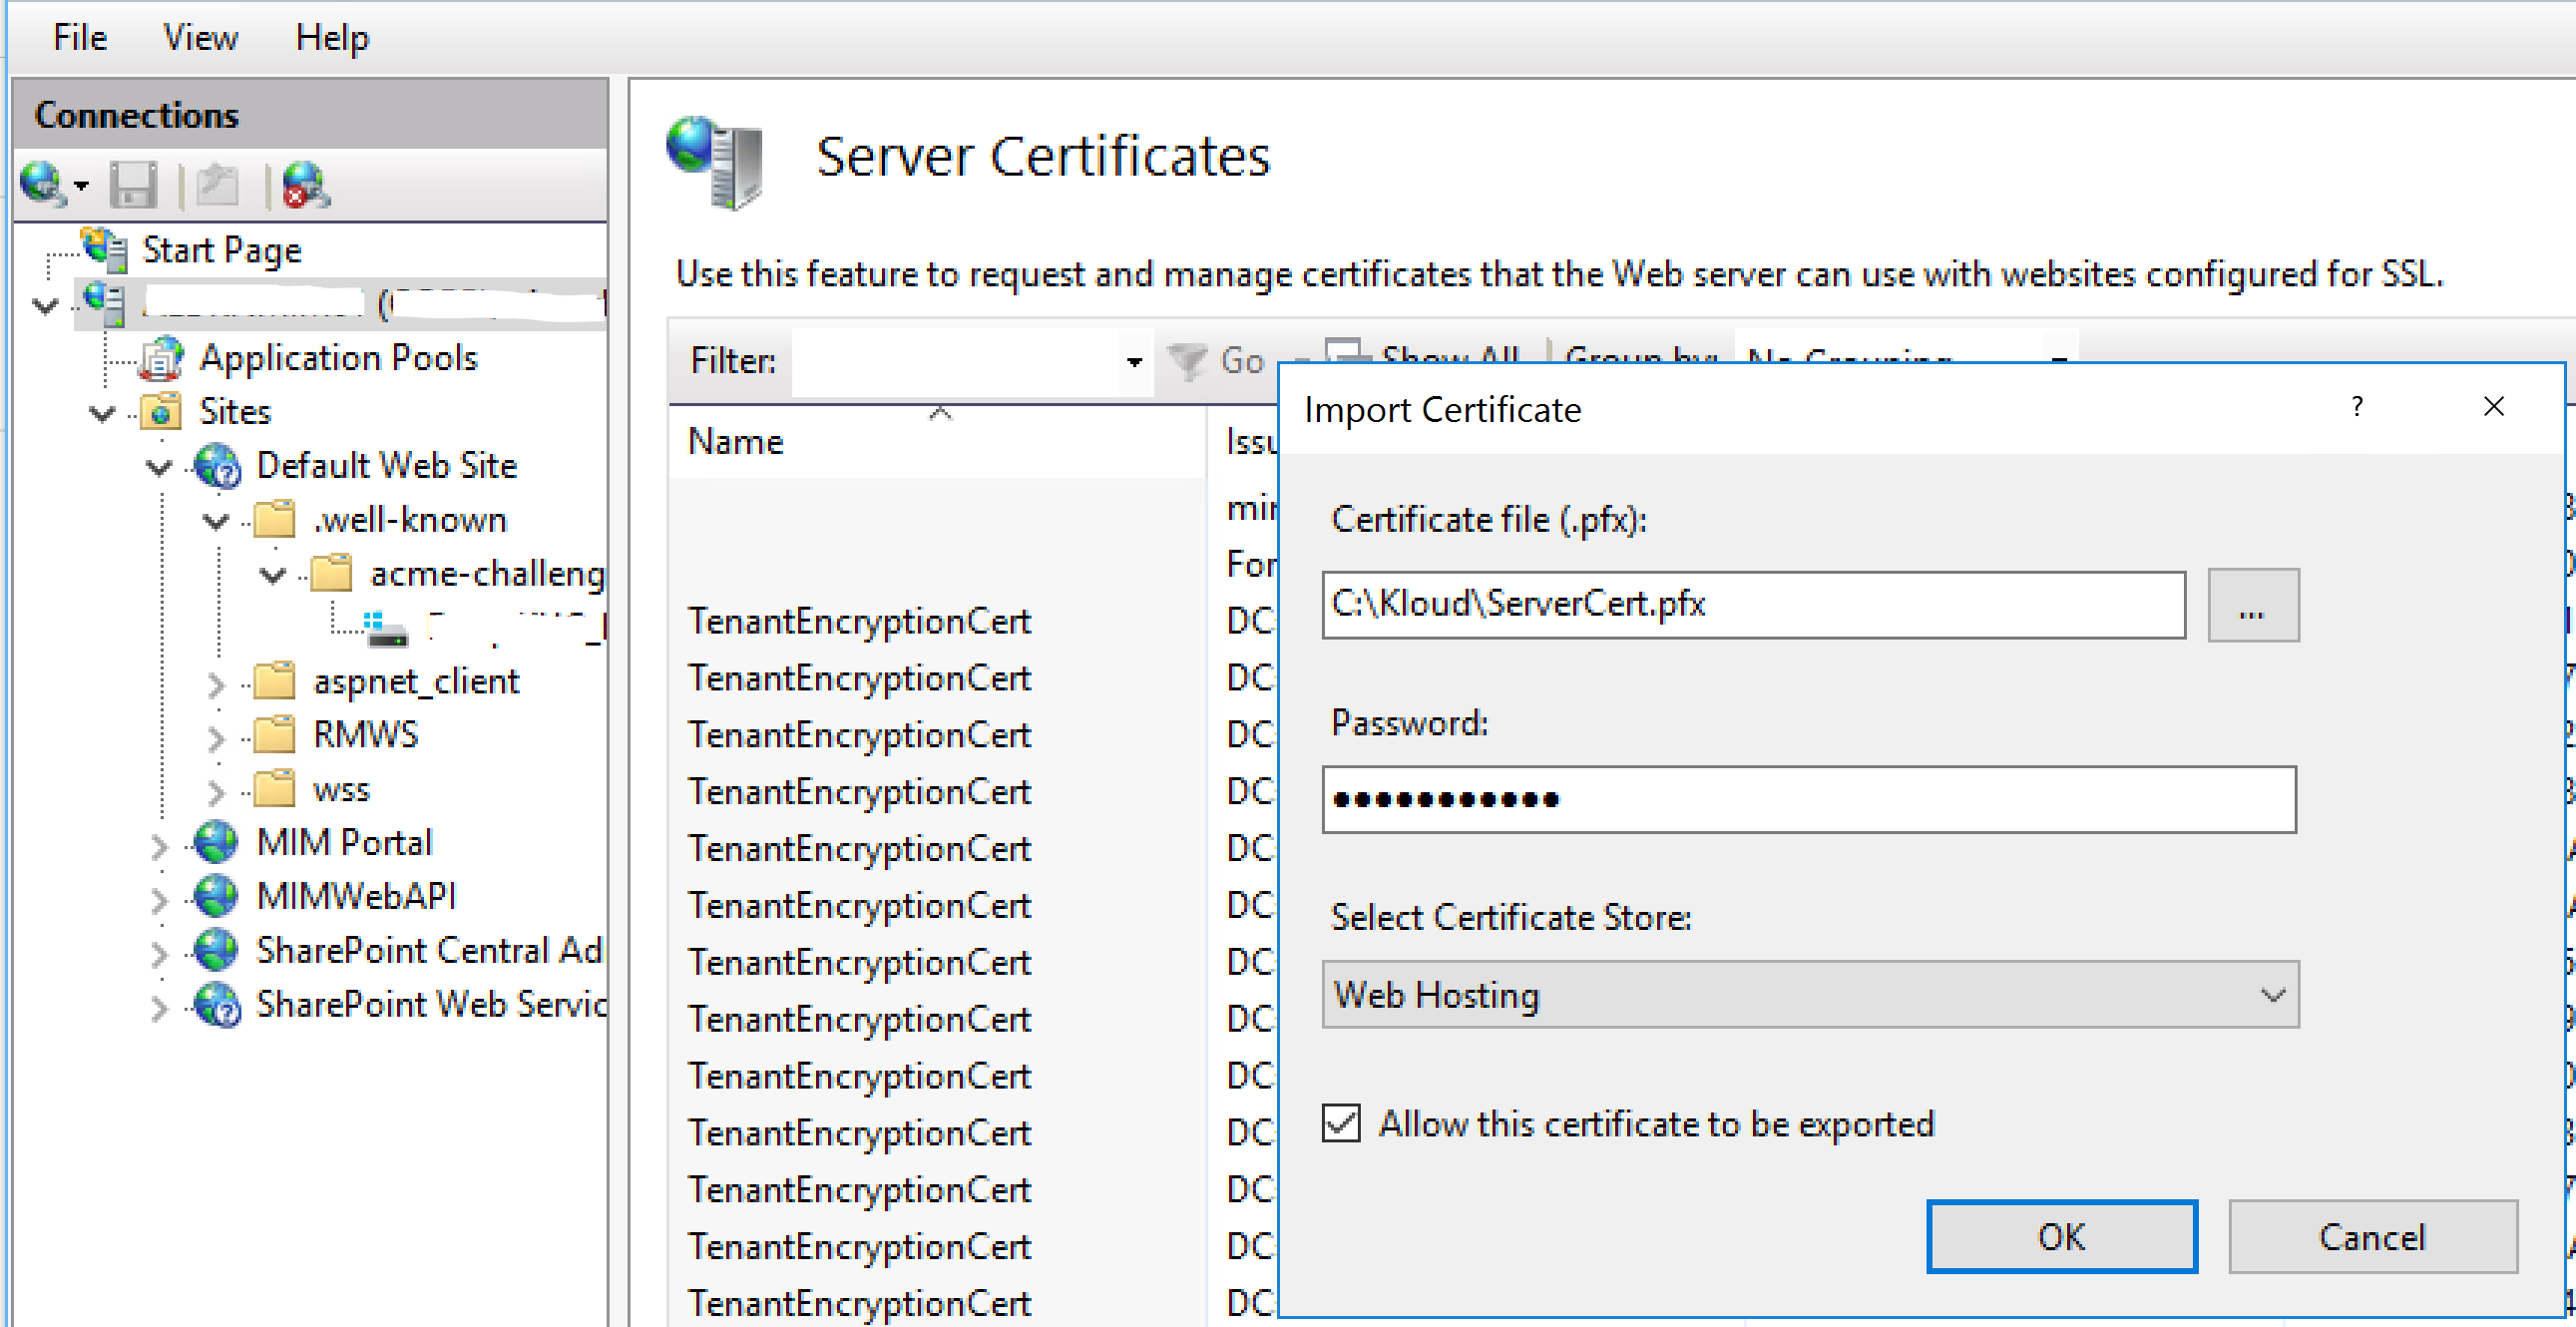
On our IIS Server under our IIS Host in Internet Information Server (IIS) Manager select Server Certificates and Import to import the new Certificate as shown below.
Then selecting the IIS Website we want the certificate for, select Bindings and edit your HTTPS binding selecting the new certificate.

Testing the Certificate
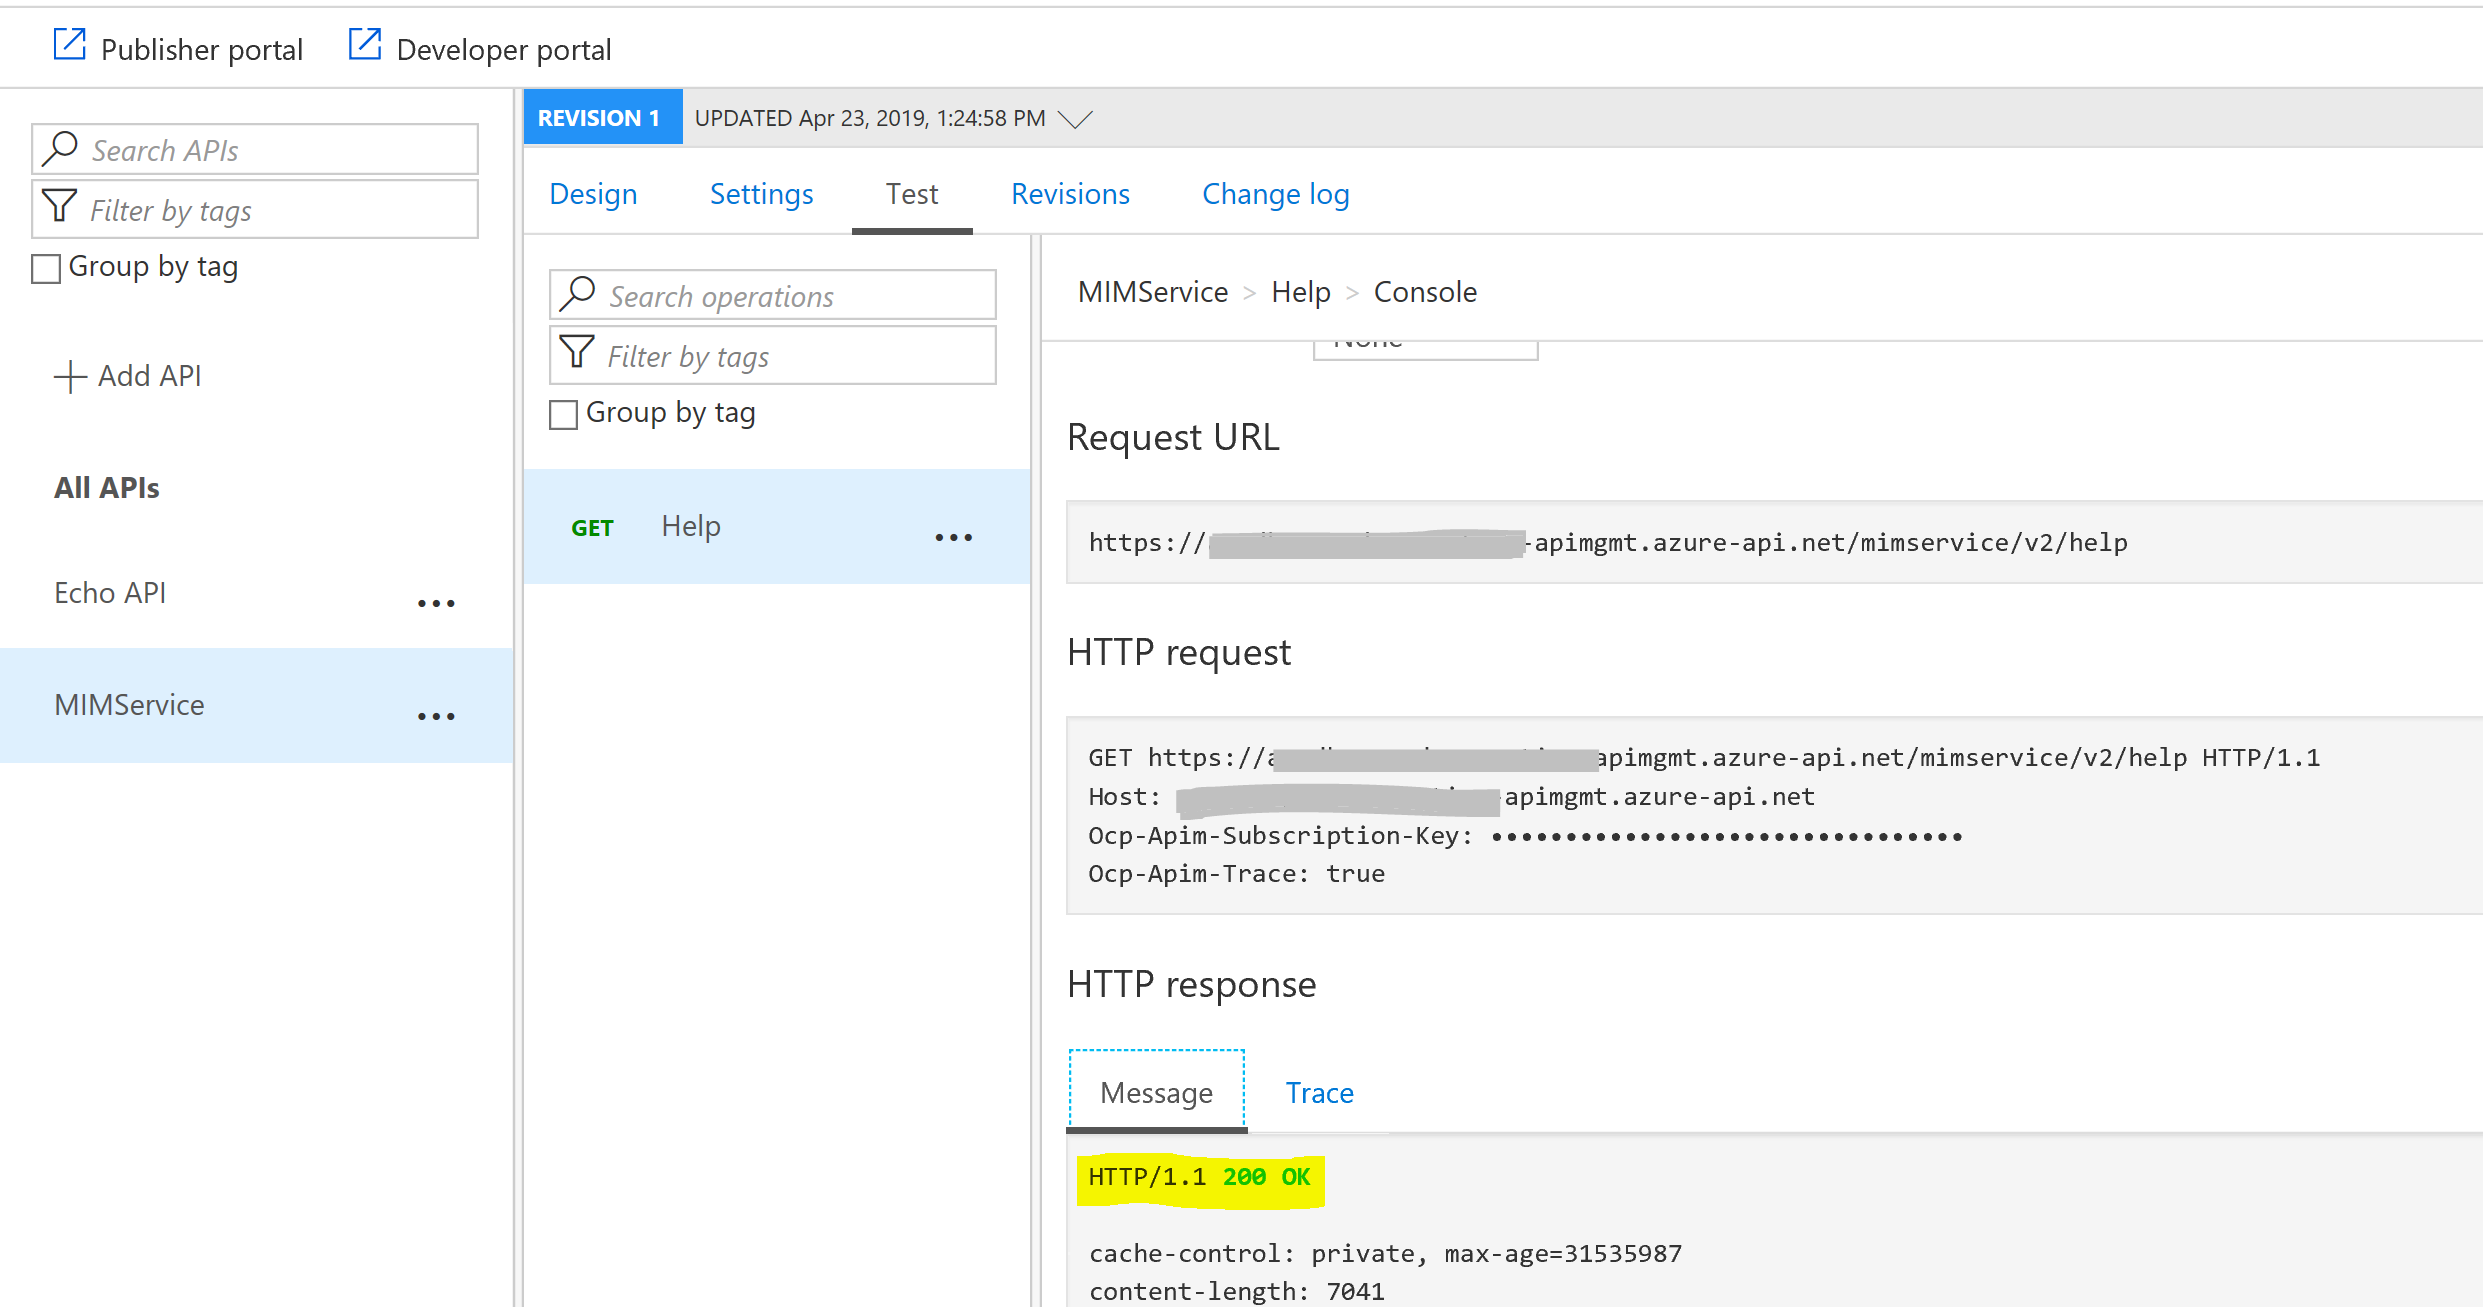
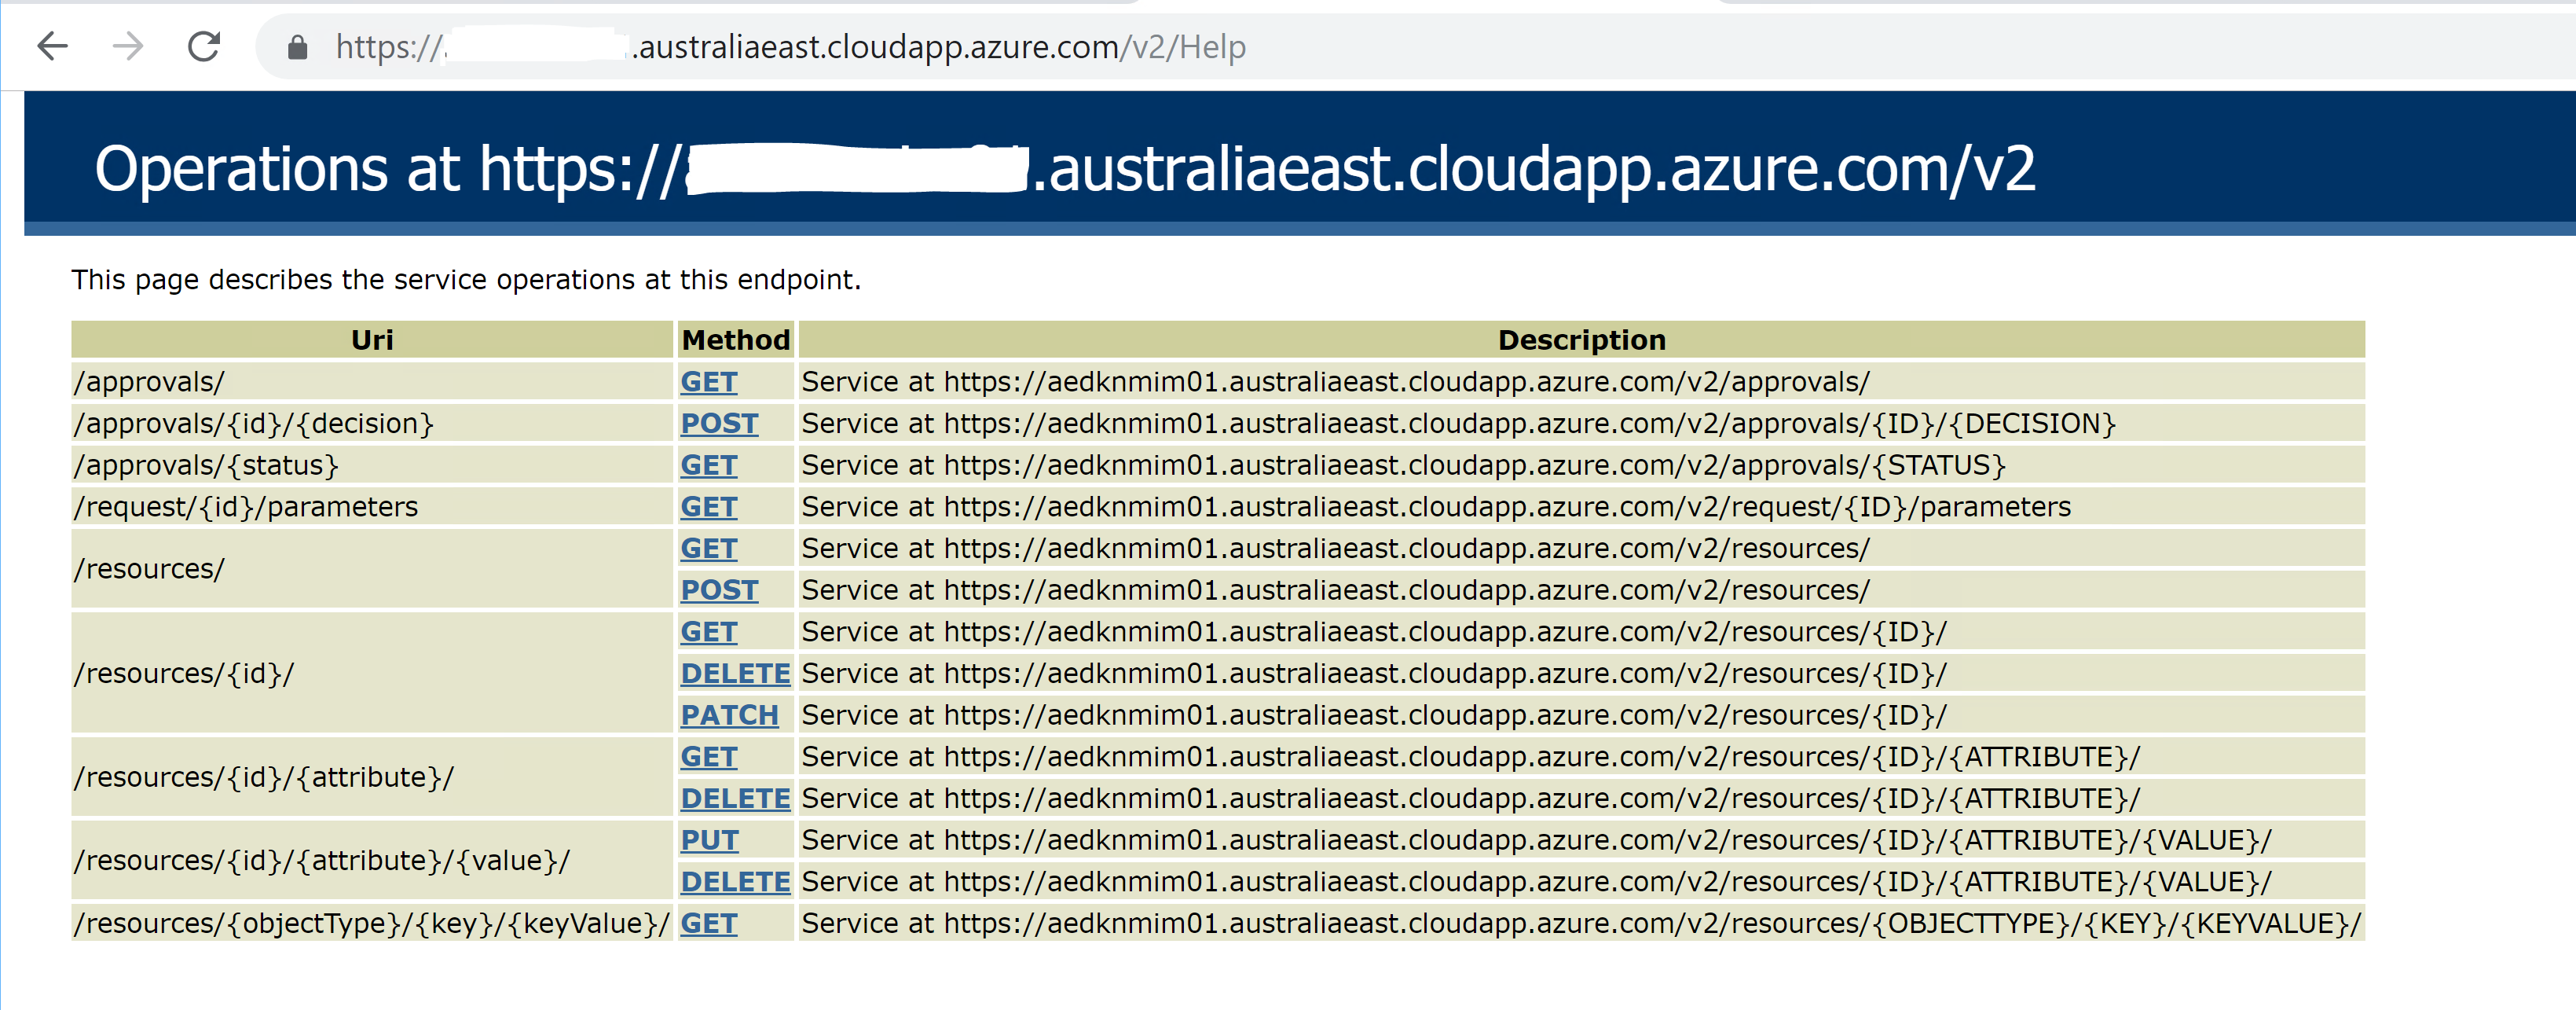
After an IIS Reset you should then be able to access the IIS based Website using HTTPS. In my case the Lithnet FIM/MIM Service REST API.
Summary
Now that I have documented the end to end process it will be much quicker next time generating a certificate for the next host. With the certificate details saved I can also easily update the certificate when it expires in three months time.
I also have Azure API Management integration with the MIM Service using the Lithnet FIM/MIM Service REST API up and running in another environment.