UPDATE: 10 October 2018
SailPoint now support and provide guidance on deploying
IdentityNow Virtual Appliances in Azure.
See this document on Compass for more details
Introduction
The CentOS image that SailPoint provide for the IdentityNow Virtual Appliance that performs integration between ‘Sources’ and IdentityNow is VMWare based. I don’t have any VMWare Infrastructure to run it on and really didn’t want to run up any VMWare environments for this component. All my other infrastructure is in Azure. I’d love to run my VA(s) in Azure too.
In discussions with SailPoint I understand it is simply a case that they haven’t certified their CentOS image on Azure. So I figured I’d convert the VM, get it into Azure and see if it works from my Sandpit environment. This blog post details deploying the SailPoint IdentityNow Virtual Appliance in Azure and how I got it working.
Disclaimer: If you use this for more than a Sandpit/Test environment let your SailPoint CSM know. This isn’t an approved process or a support configuration. That said it works for me.
Overview
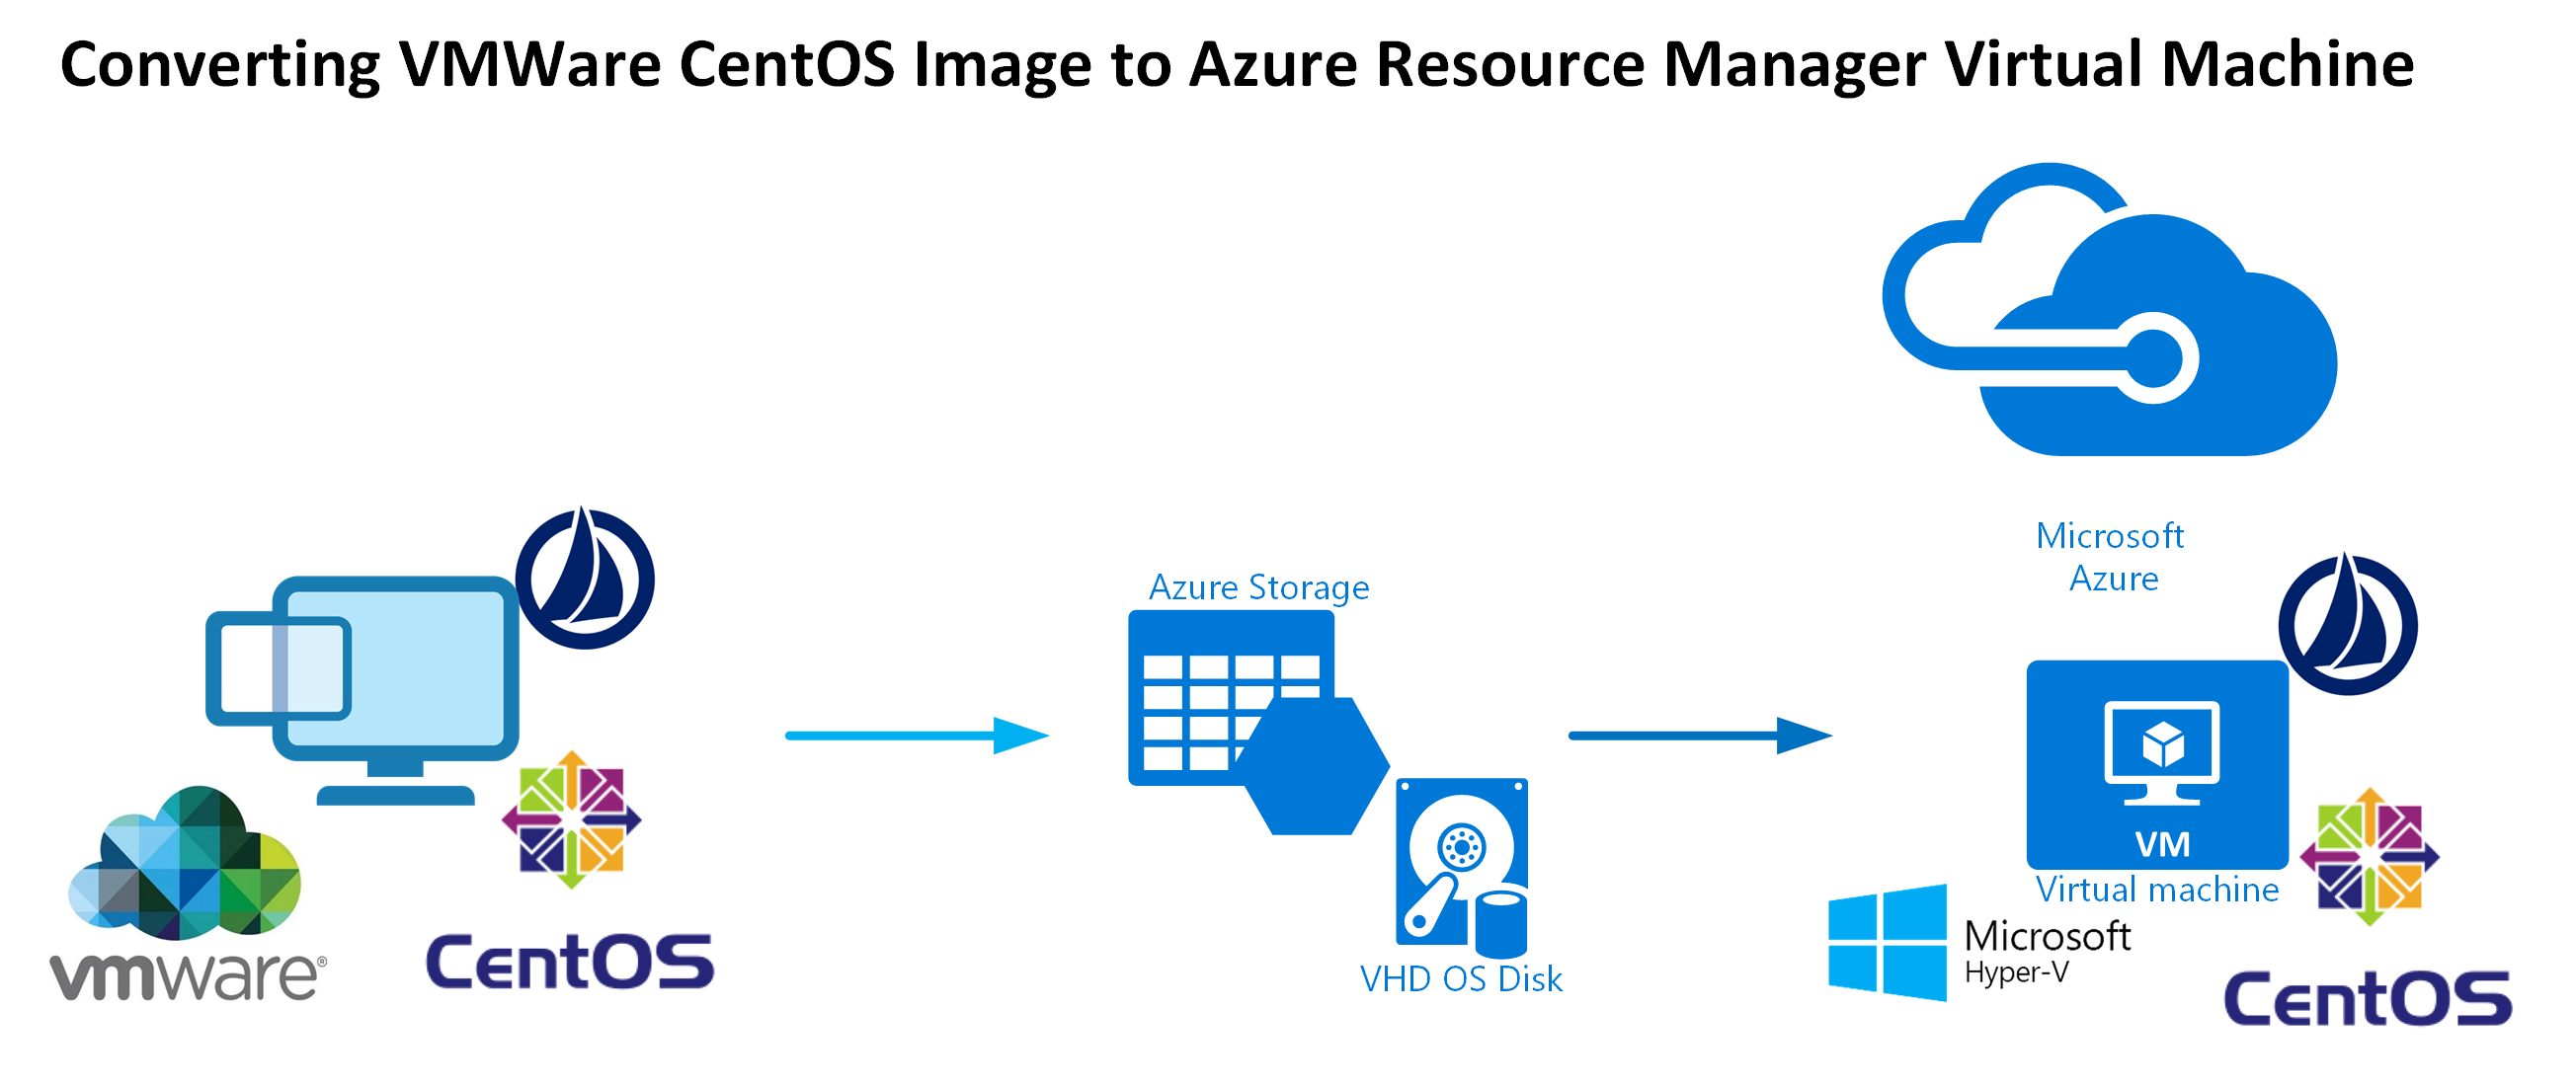
This is the high-level process I threw together that worked for me.
- Obtain the CentOS Image from the IdentityNow Virtual Appliance Setup
- Convert the VMWare VMDK image to Hyper-V VHD format using VirtualBox vboxmanage (free)
- From the Azure MarketPlace create a Seed VM based on CentOS (with new Resource Group, Storage Account, Virtual Network etc)
- Upload the VHD to the Azure Storage Account (associated with VM from Step 3) using Azure Storage Explorer
- Create a new VM based off the VM from Step 3 to use the disk from Step 4 as the Operating System disk
- Log in and configure the Virtual Appliance
Prerequisites
- Virtual Box (for the disk image converter). You could probably do it with other tools but I’ve used this before and it just works.
- Enough hard disk space for the VA image and the converted image. The base image is ~2.8Gb and when converted to a fixed disk image it becomes ~128Gb (which can compress to ~3Gb for initial upload).
- Azure Storage Explorer. We’ll need this to upload the converted virtual disk to Azure.
SailPoint Virtual Appliance CentOS VMWare Image
To download the CentOS VMWare Image login to the Admin section of your IdentityNow Tenant. Under Admin => Connections => Virtual Appliances create a New Cluster. Select that Cluster then Virtual Appliances => New
Download the Appliance Package
Converting the CentOS VMWare Virtual Disk to a Fixed Hyper-V Virtual Disk
I already had Virtual Box installed on my computer. I had to give the full path to VBoxManage (as shown below) and called it with the switches to convert the image;
vboxmanage clonehd –format VHD –variant Fixed
The –variant Fixed switch takes the dynamic image and converts it to Fixed as this is a requirement in Azure.
The image conversion started and completed in under ten minutes.
Creating an Azure CentOS VM
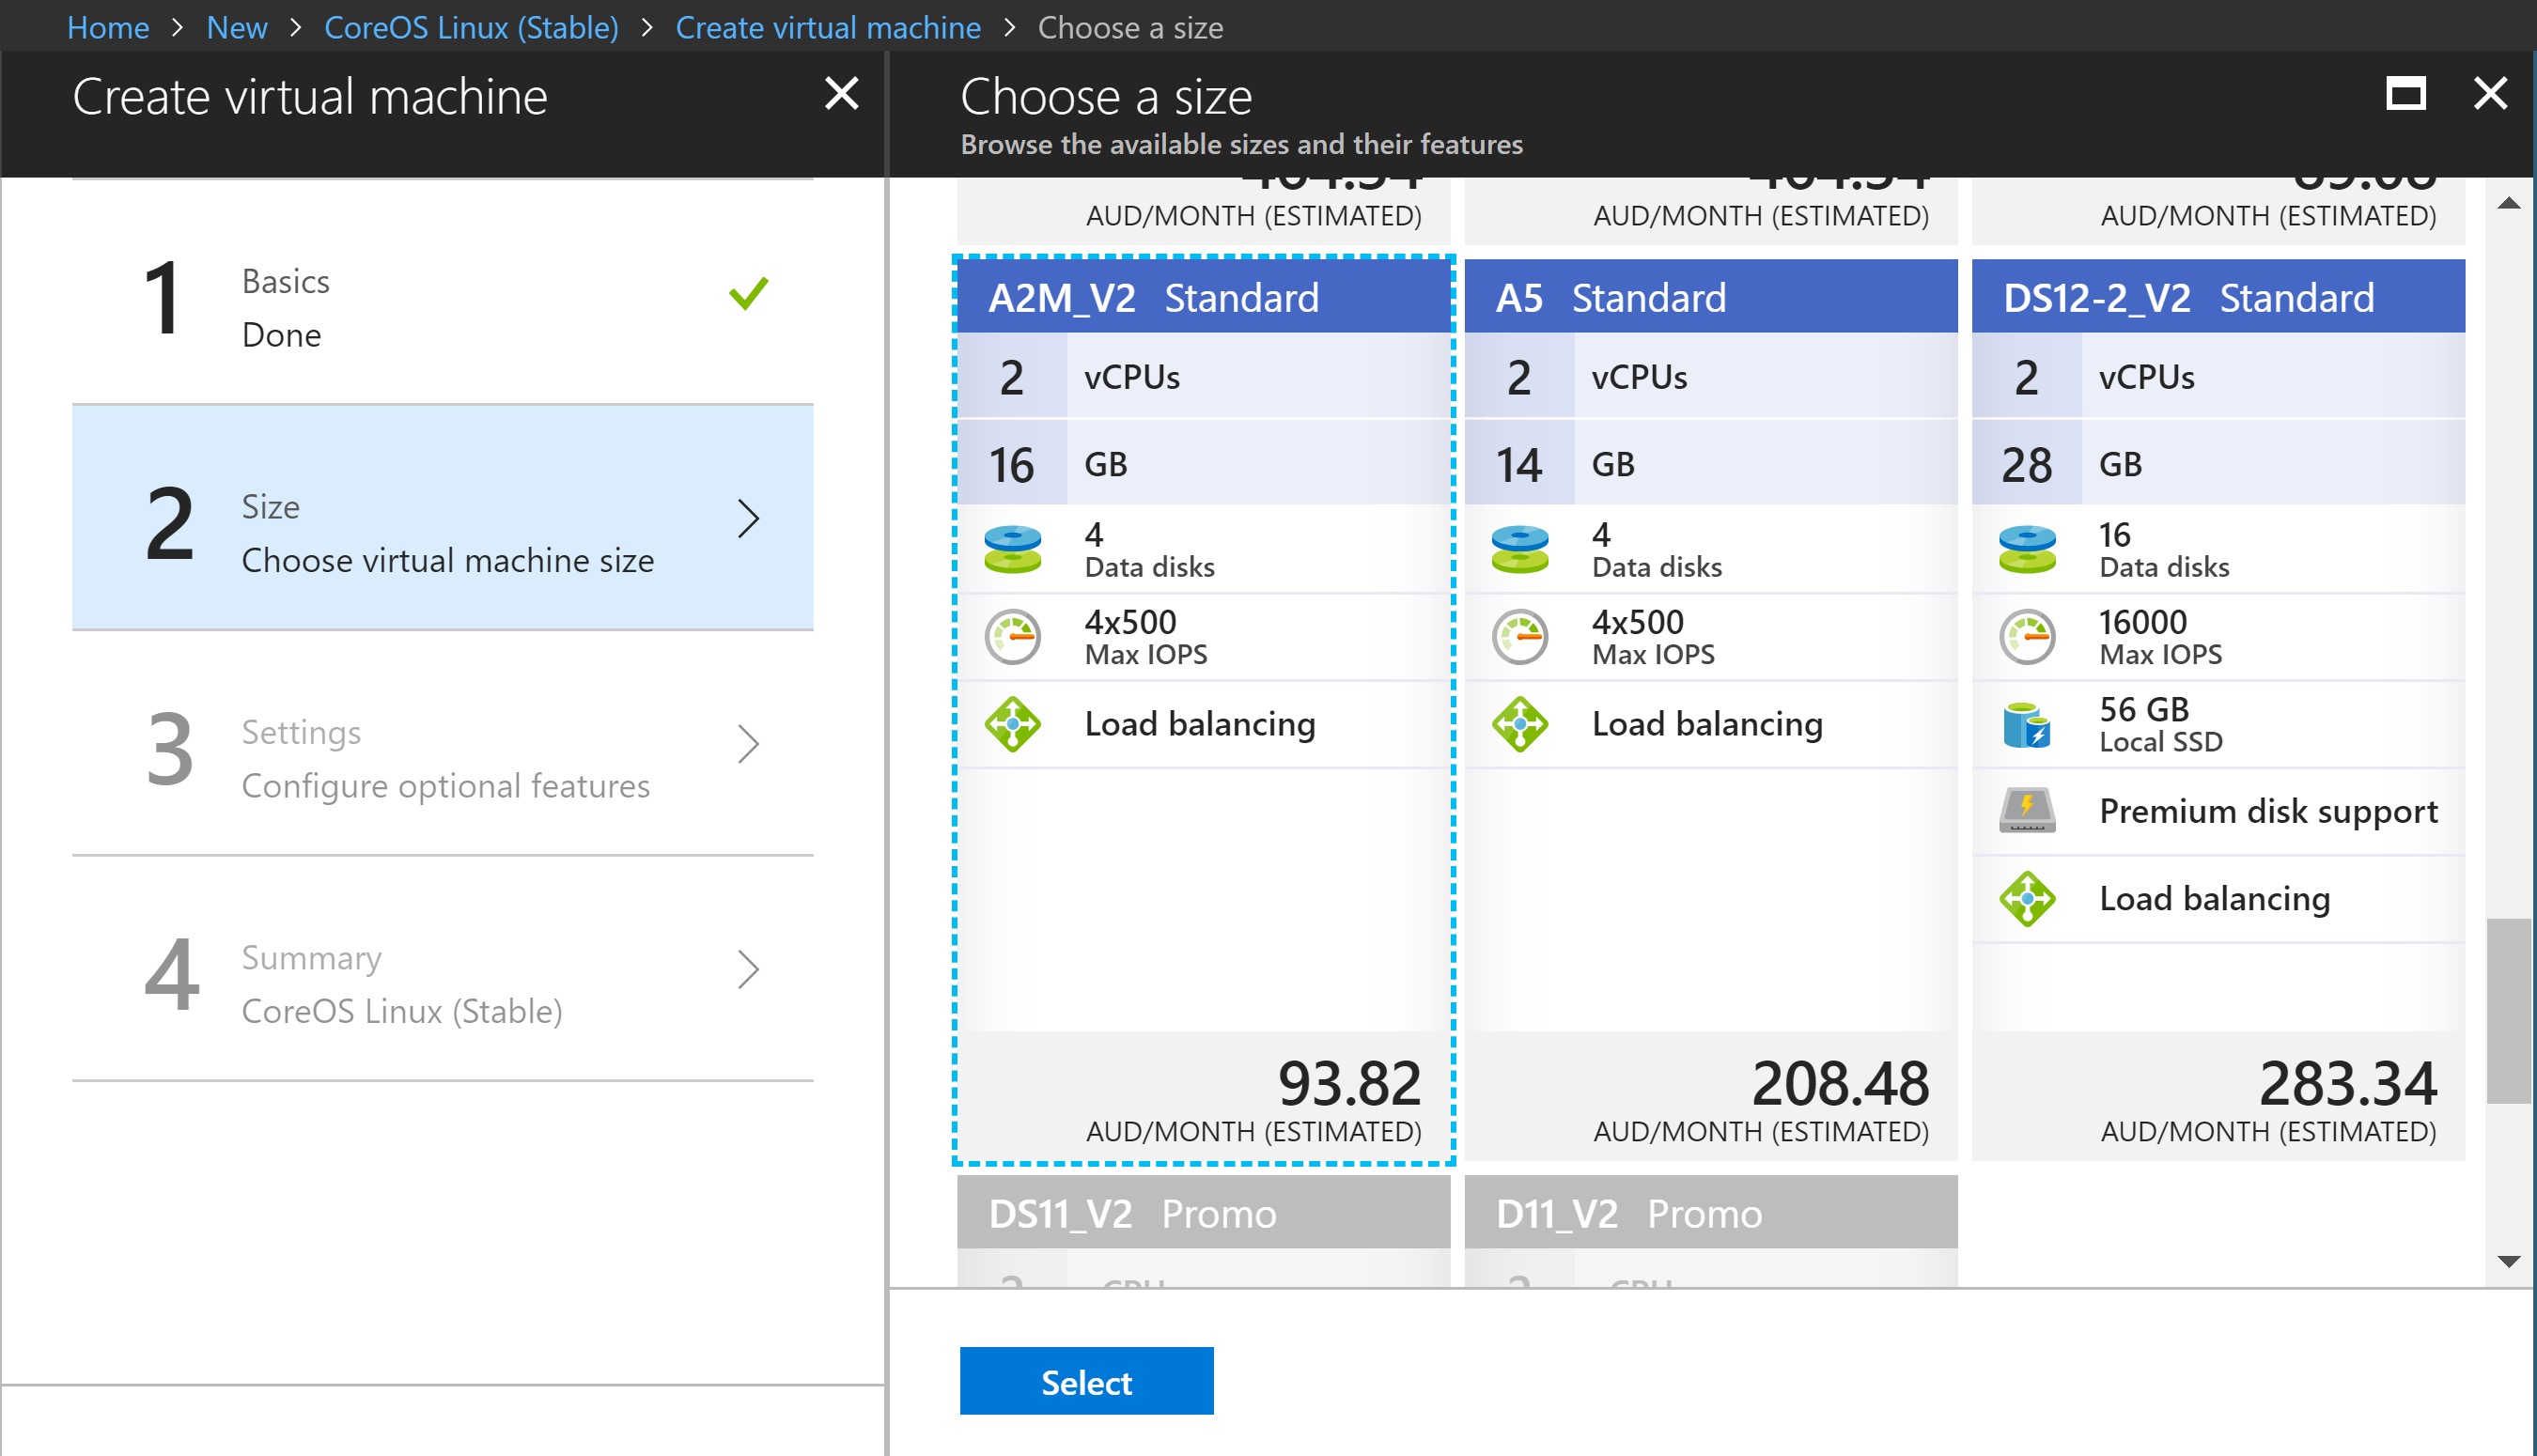
In the Azure Portal I created a New Resource and chose CoreOS.
I gave it a name, chose HDD as the disk type and gave it a Username and Password.
I chose sizing in line with the recommendations for a Virtual Appliance.
And kept everything else simple (for my sandpit environment).
After the VM had deployed I had a Resource Group with the necessary Virtual Network, Storage Account etc.
Upload the Converted Disk to Azure Storage
I created a vhd container (in the Storage Group associated with the VM I just created) to hold the new VHD. Using Azure Storage Explorer I then uploaded the converted image. Select Page Blob for the blob type.
You’ll want to have a decent internet connection to do this. I converted the SailPoint image on an Azure VM (to which I added a 256Gb data disk too). I then uploaded the new 128Gb VHD disk image from within Azure to the target Resource Group in about 75 minutes.
Below I show the SailPoint Virtual Appliance CentOS OS converted disk image uploaded to Azure Storage Account Blob Storage.
Generate SAS Token / Get Blob URI
We won’t used a SAS Token, but this just gives easy access to the Storage Blob URL. Right click on the VHD Blob and select Generate Shared Access Signature. Select Create.
Copy the URL. We’ll need parts of this for the script to create a new CentOS VM with our VA Disk Image.
Create the new VM for our Virtual Appliance
Update the script below for:
- The Resource Group you created the Seed VM in (line 2)
- The Seed VM Name (line 4)
- The Seed VM Subnet Name (line 6)
Each of those are easily obtained from the Seed VM Summary as highlighted below.
- update the Disk Blob details in Line 8 and 10 as copied earlier
After stepping through the script to create the new VM, and happy with the new name etc, I executed the New-AzureRMVM command.
And the VM was created in a couple of minutes.
Accessing the new VM
Getting the IP address from the new VM Summary I SSH’d into it.
And logged in with the default credentials from SailPoint. (Windows Subsystem for Linux is awesome).
Next Steps
- Change the password on your Virtual Appliance (passwrd)
- Create a DNS Name, update the configuration as per SailPoint VA Configuration tasks
- Create the VA and Test the Connection from the IdentityNow Portal
- Delete your original SeedVM as it is no longer required
- Add an NSG to the new VM
- Create another VM in a different location for High Availability and configure it in IdentityNow
Below shows my Azure based Virtual Appliance connected and all setup.
Summary
Whilst not officially supported it is possible to convert the SailPoint Virtual Appliance VMWare based image to an Azure compatible Hyper-V image and assign it as the Operating System disk on an Azure Linux (CoreOS) Virtual Machine. If you need to do something similar I hope my approach gives you some ideas.
If you then need to create another Virtual Appliance in Azure you have a Data Disk you can assign to a VM and upload to wherever it needs to be for creation of another Virtual Appliance VM.


