


Update Oct 2019: See this post for simplifying oAuth Authentication to Microsoft Graph using PowerShell and the MSAL (Microsoft Authentication Libraries)
Introduction
In September 2016 I wrote this post detailing integrating with the Azure Graph API via PowerShell and oAuth 2.0.
Since that point in time I’ve found myself doing considerably more via PowerShell and the Graph API using oAuth. I regularly find myself leveraging previous scripts to generate a new script for the initial connection. To the point that I decided to make this simpler and provide a nice clean starting point for new scripts.
This blog post details a simple script to generate a couple of PowerShell Functions that can be the basis for integration with Graph API using PowerShell via a WebApp using oAuth2.
Overview
This script will request the necessary information required to call into the Graph API and establish a session. Specifically;
- The API Endpoint. Historically there were many different API endpoints depending on what you are integrating with. Microsoft is moving to simplify this (great article here about the evolving API), but it is still a work in progress. For this example I’ll be using graph.microsoft.com which is where Microsoft are heading. If you need access to an API not currently on the Graph API see here to workout which API Endpoint fits your apps requirements. In short though typically all that changes between API’s is the Resource (API end-point) and the scope (what permissions your app will have). Variations to the primary Graph API endpoint is when you are integrating with applications such as OneNote (https://www.onenote.com/api), Office 365 Discovery Service (https://api.office.com/discovery/), One Drive etc.
- The ClientID and the ClientSecret associated with your WebApp that you have registered in the Application Registration Portal
- The Scope of the WebApp. To make it seamless this should be done via the WebApp registration in the Application Registration Portal and configured as part of the PowerShell web requests
Armed with this information the shell of a PowerShell script will be created that will;
- Authenticate a user to Graph API via Powershell and oAuth 2.0
- Request Authorization for the WebApp to access the Scope provided (if Admin approval scope is requested and the AuthN is performed by a non-admin an authorization failure message will appear detailing an Administrator must authorize).
- Obtain and Authorization Code which will contain the Bearer Token and Refresh Token.
- The Bearer token can be used to make Graph API calls for up to 1 hour.
- The Refresh token will allow you to request a new token and allow your script to be used again to interact via Graph API without going through the Authentication process again.
The following graphic shows this flow.

Create/Register your Application
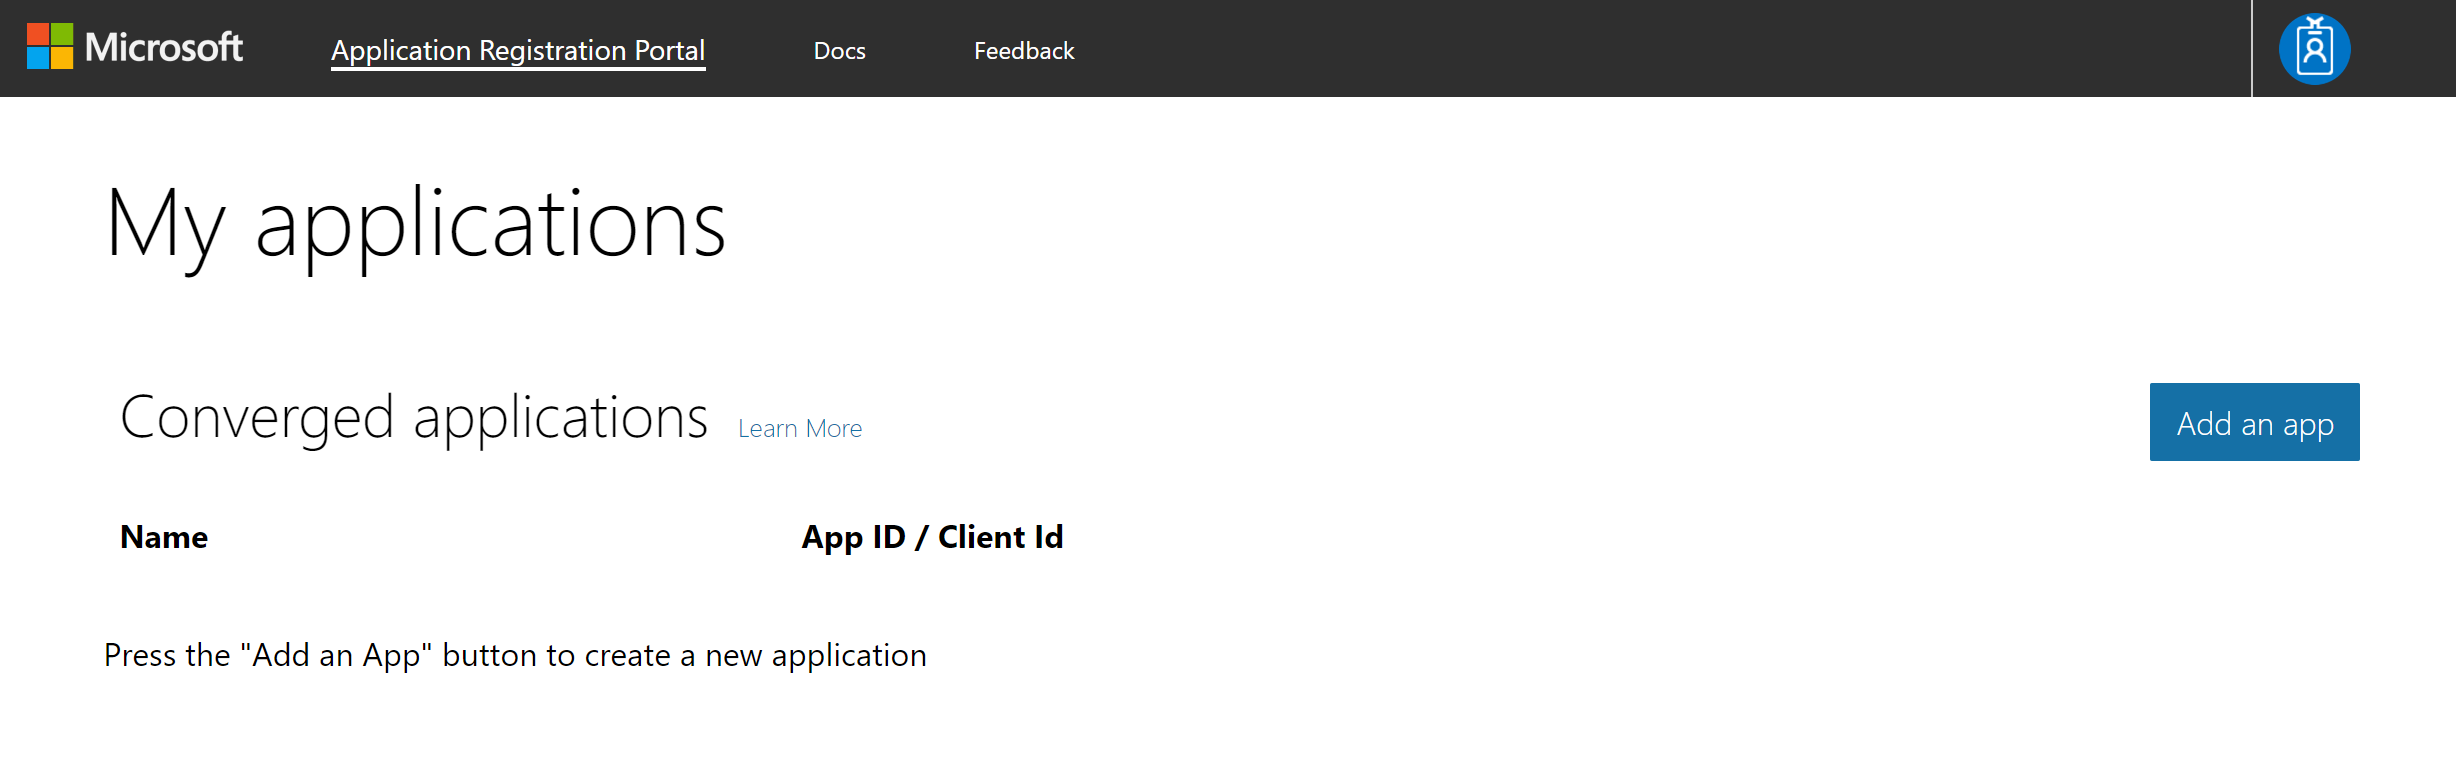
Go to the Application Registration Portal https://apps.dev.microsoft.com/ and sign in. This is the new portal for registering your apps. It will show any previous apps you registered within AzureAD and any of the new “Converged Apps” you’ve created via the new Application Registration Portal.
Select Add an app from the Converged applications list.
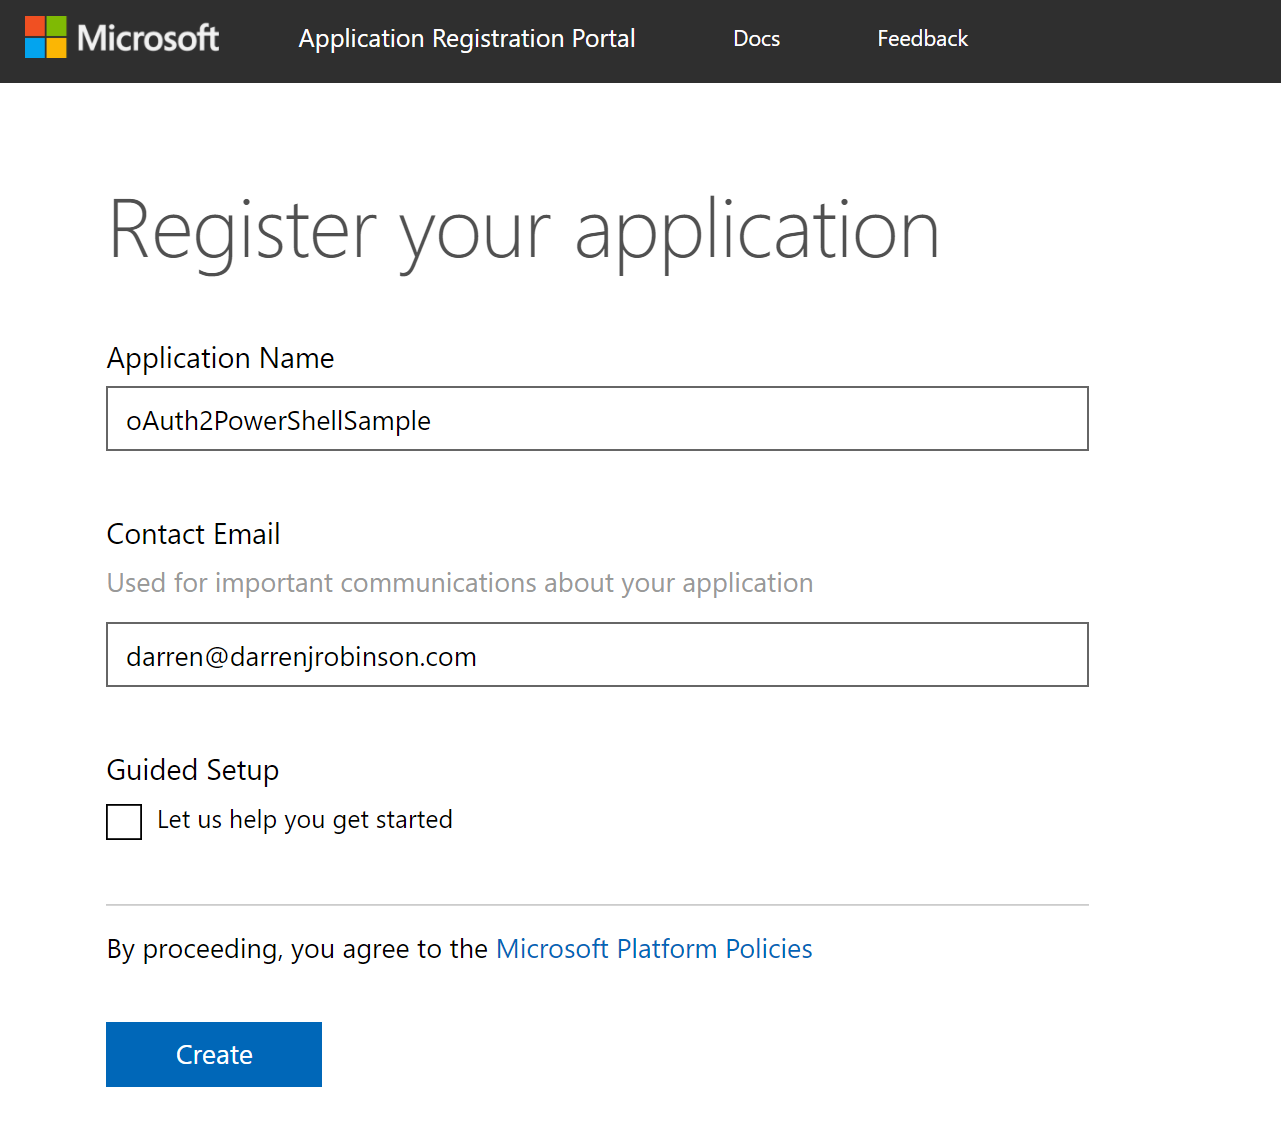
Give your app a name and select Create
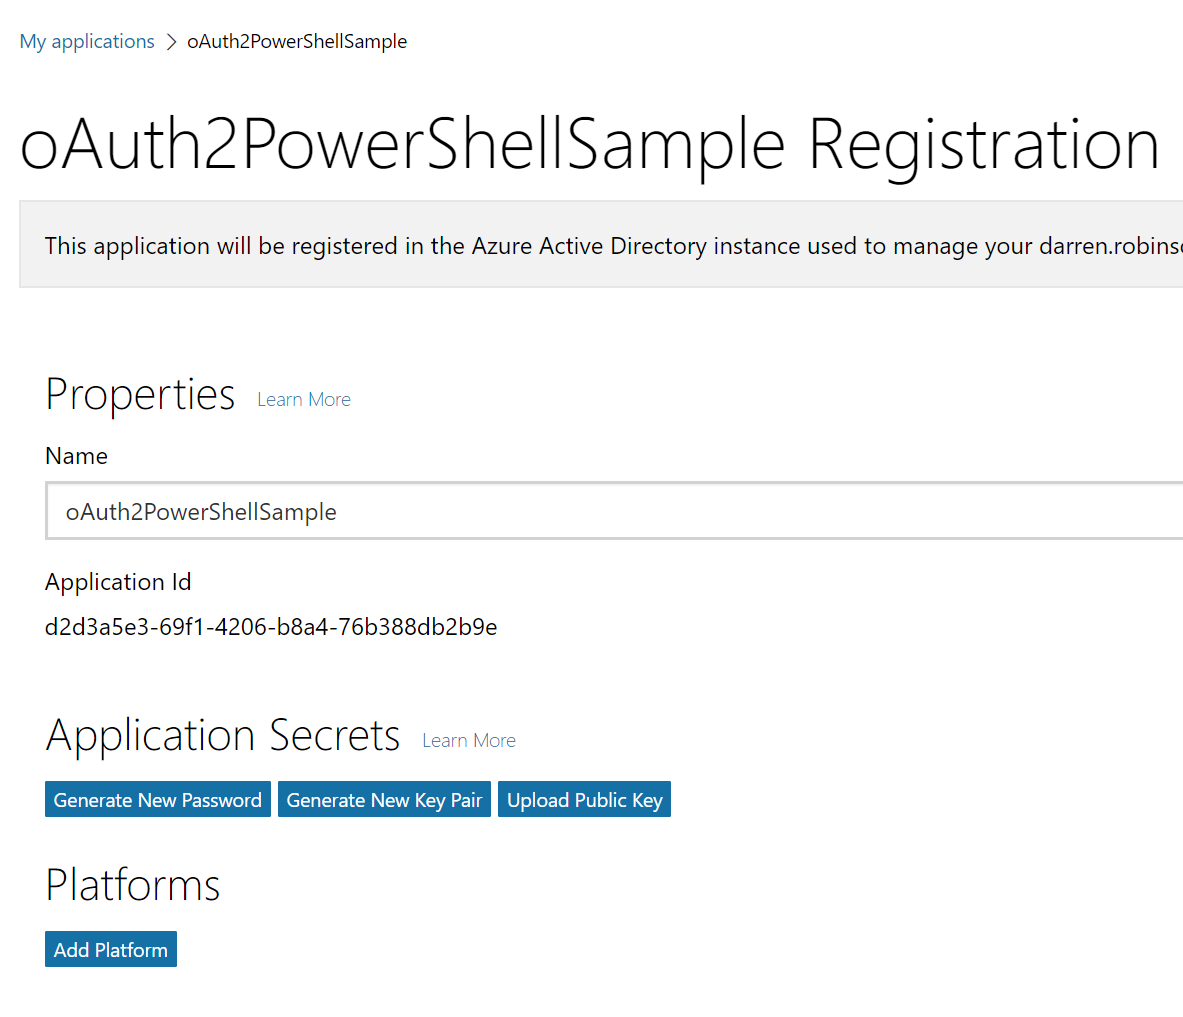
Record the Application ID (previously known as the Client ID) and select Generate New Password.
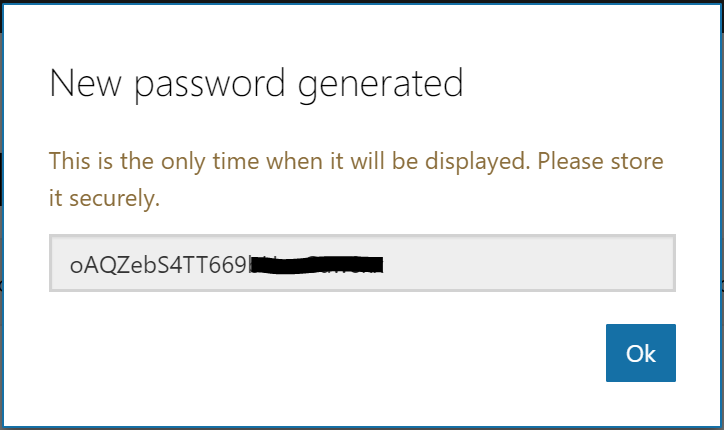
You will be provided your Client Secret. Record this now as it is the only time you will see it. Select Ok.
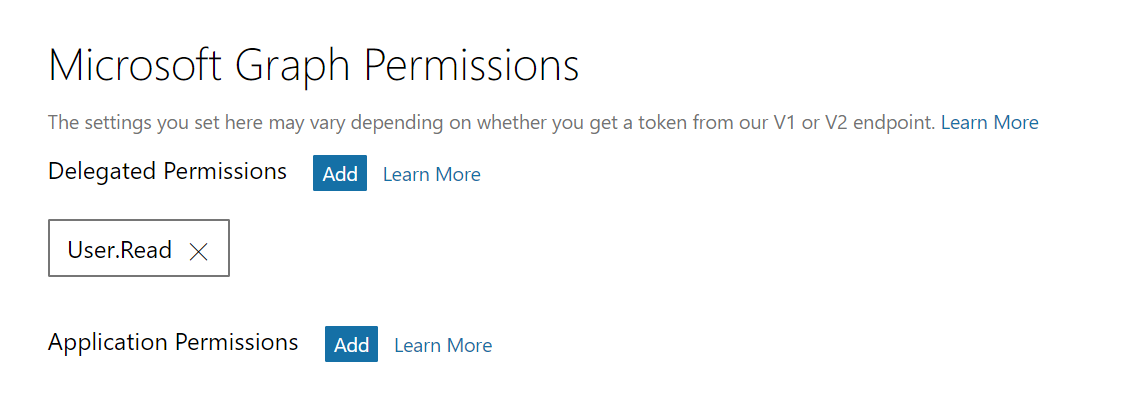
By default you will get User.Read permissions on the API. That is enough for this sample. Depending on what you will do with the API you will probably need to come and change the permissions or do it dynamically via the values you supply the $resource setting in your API calls.
Select Platforms, select Web and add a reply URL of https://localhost
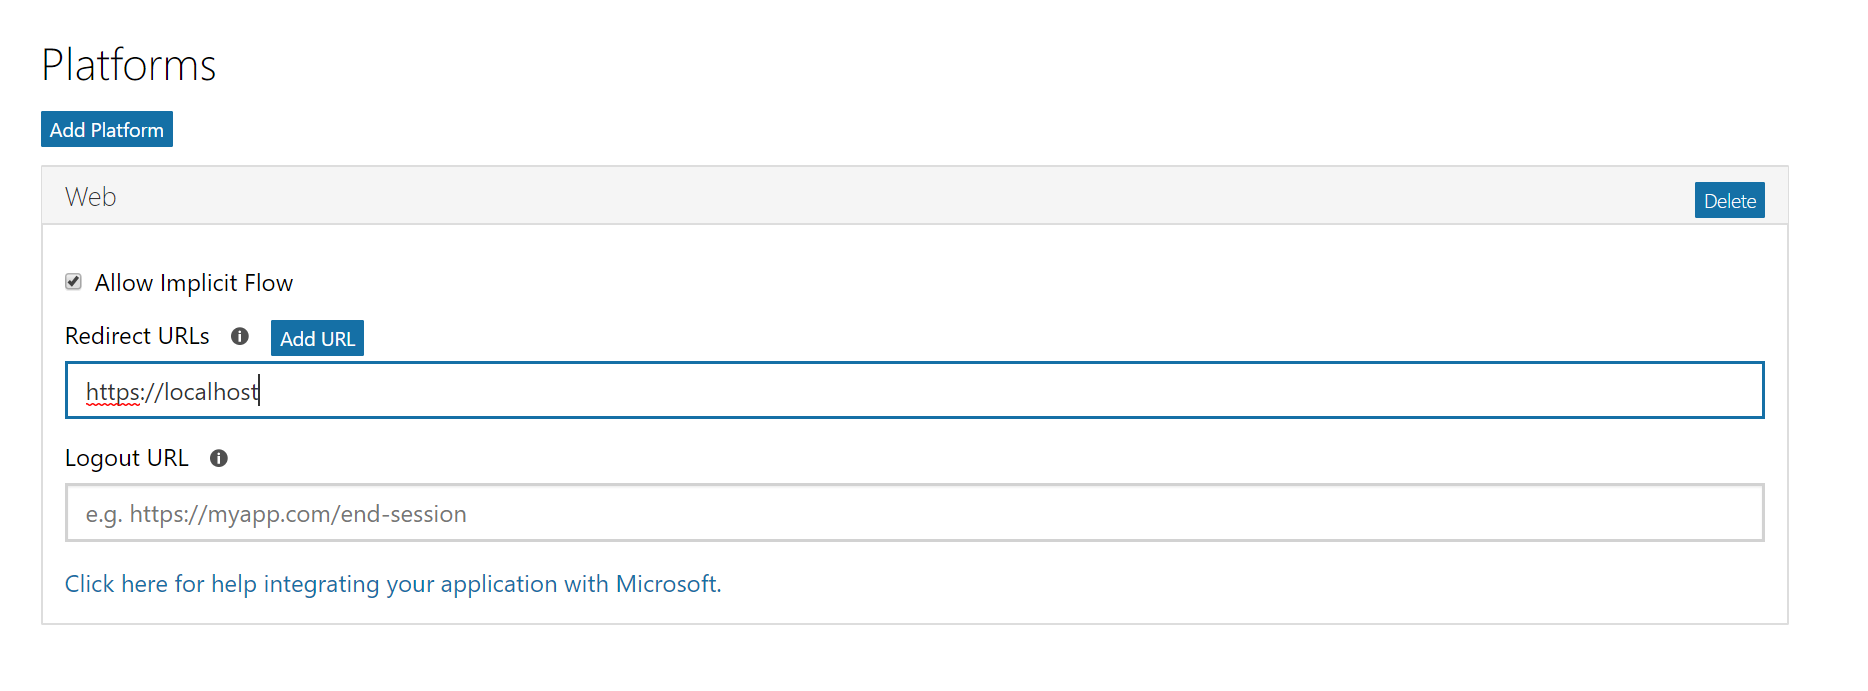
Scroll to the bottom of the Registration windows and select Save.
Generate your PowerShell Graph API oAuth Script
Copy the following script and put it into an Administrator PowerShell/PowerShell ISE session and run it.
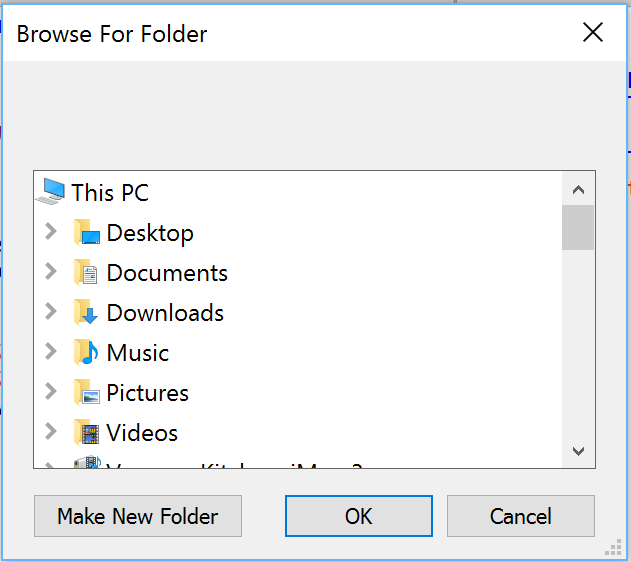
It will ask you to choose a folder to output the resultant PowerShell Script to. You can create a new folder through this dialog window if require.
The script will prompt you for the Client/Application ID, Client Secret and the Reply URL you obtained when registering the Web App in the steps above.
![]()
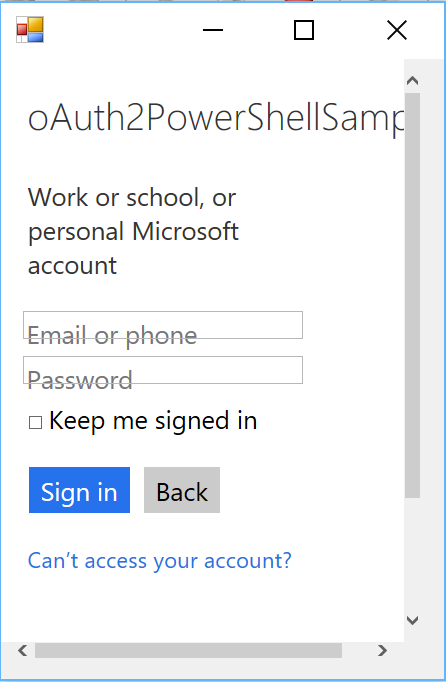
The script will be written out to the folder you chose in the first step and it will be executed. It will prompt you to authenticate. Provide the credentials you used when you created the App in the Application Registration Portal.
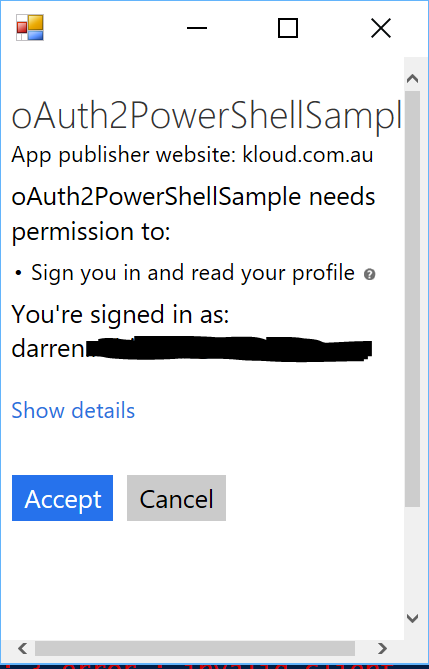
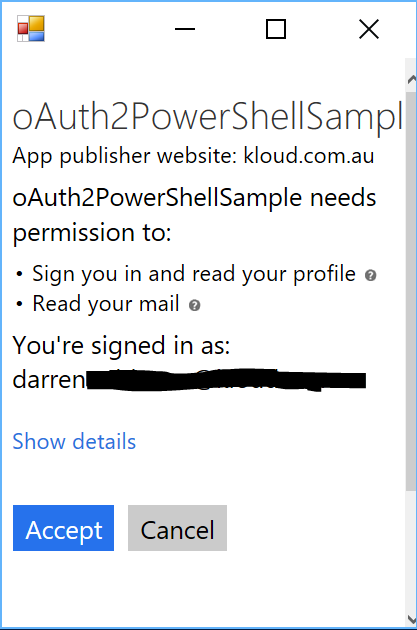
You will be prompted to Authorize the WebApp. Select Accept
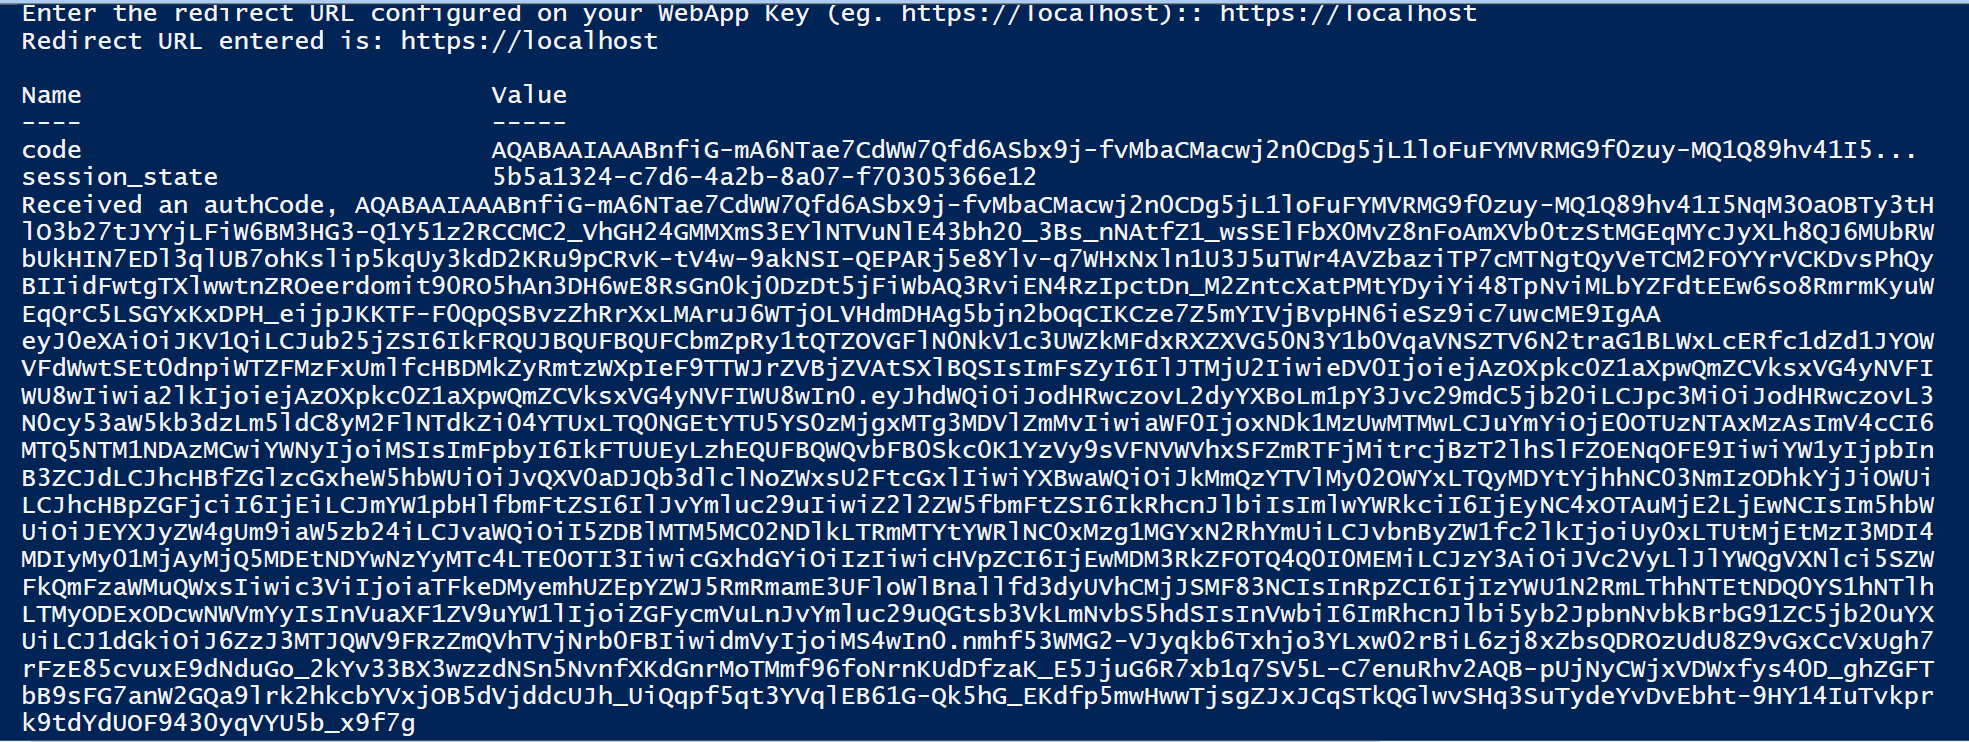
If you’ve executed the previous steps correctly you’ll receive an AuthCode in your PowerShell output window
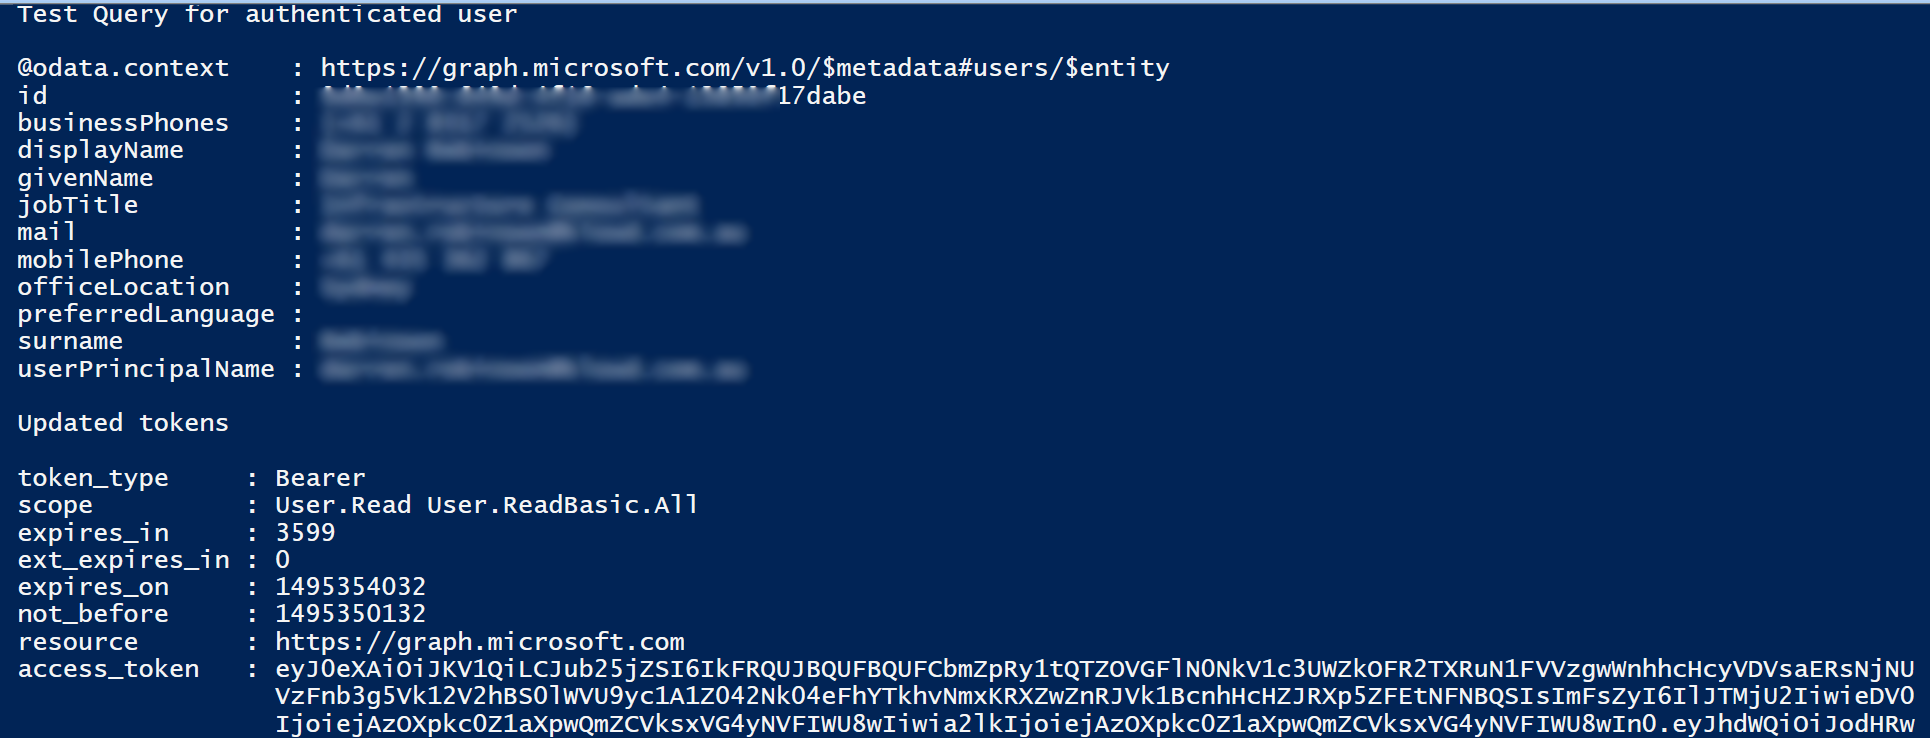
You’ll then see the output for a sample query for your user account and below that the successful call for a refresh of the tokens.
Summary
In the folder you chose you will find a PowerShell script with the name Connect-to-Microsoft-Graph.ps1. You will also find a file named refresh.token. You can use the script to authenticate with your new app, but more simply use the Get-NewTokens function to refresh your tokens and then write your own API queries to your app using the tokens. Unless you change the scope you don’t need to run Get-AzureAuthN again. Just use Get-NewTokens before your API calls.
e.g
Get-NewTokens
$myManager = Invoke-RestMethod -Method Get -Headers @{Authorization = "Bearer $accesstoken"
 'Content-Type' = 'application/json'} `
 -Uri "https://graph.microsoft.com/v1.0/me/manager"

 $myManager
Change the scope of your app to get more information. If you add a scope that requires Admin consent (and you’re not an admin), when prompted to authenticate you will need to get an Admin to authenticate and authorize the scope. Because you’ve changed the scope you will need to run the Get-AzureAuthN function again after updating $scope (as per below) and the dependent $scopeEncoded.
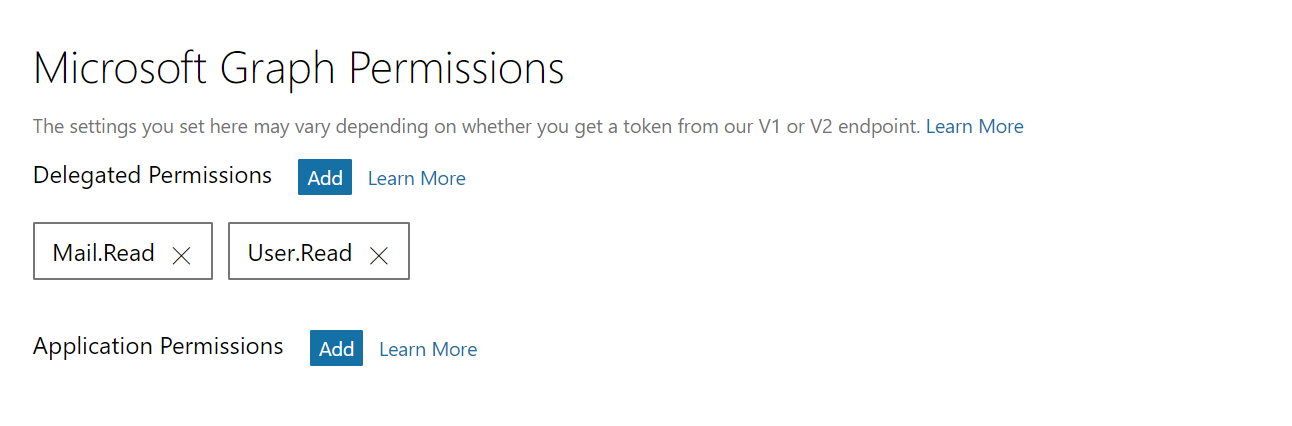
As the screen shot below shows I added the Mail.Read permission. I changed the $scope in the script so that it reflected the changes e.g
#Scope
$scope = "User.Read Mail.Read"
$scopeEncoded = [System.Web.HttpUtility]::UrlEncode($scope)
When running the script again (because of the change of scope) you will be prompted to confirm the change of access.
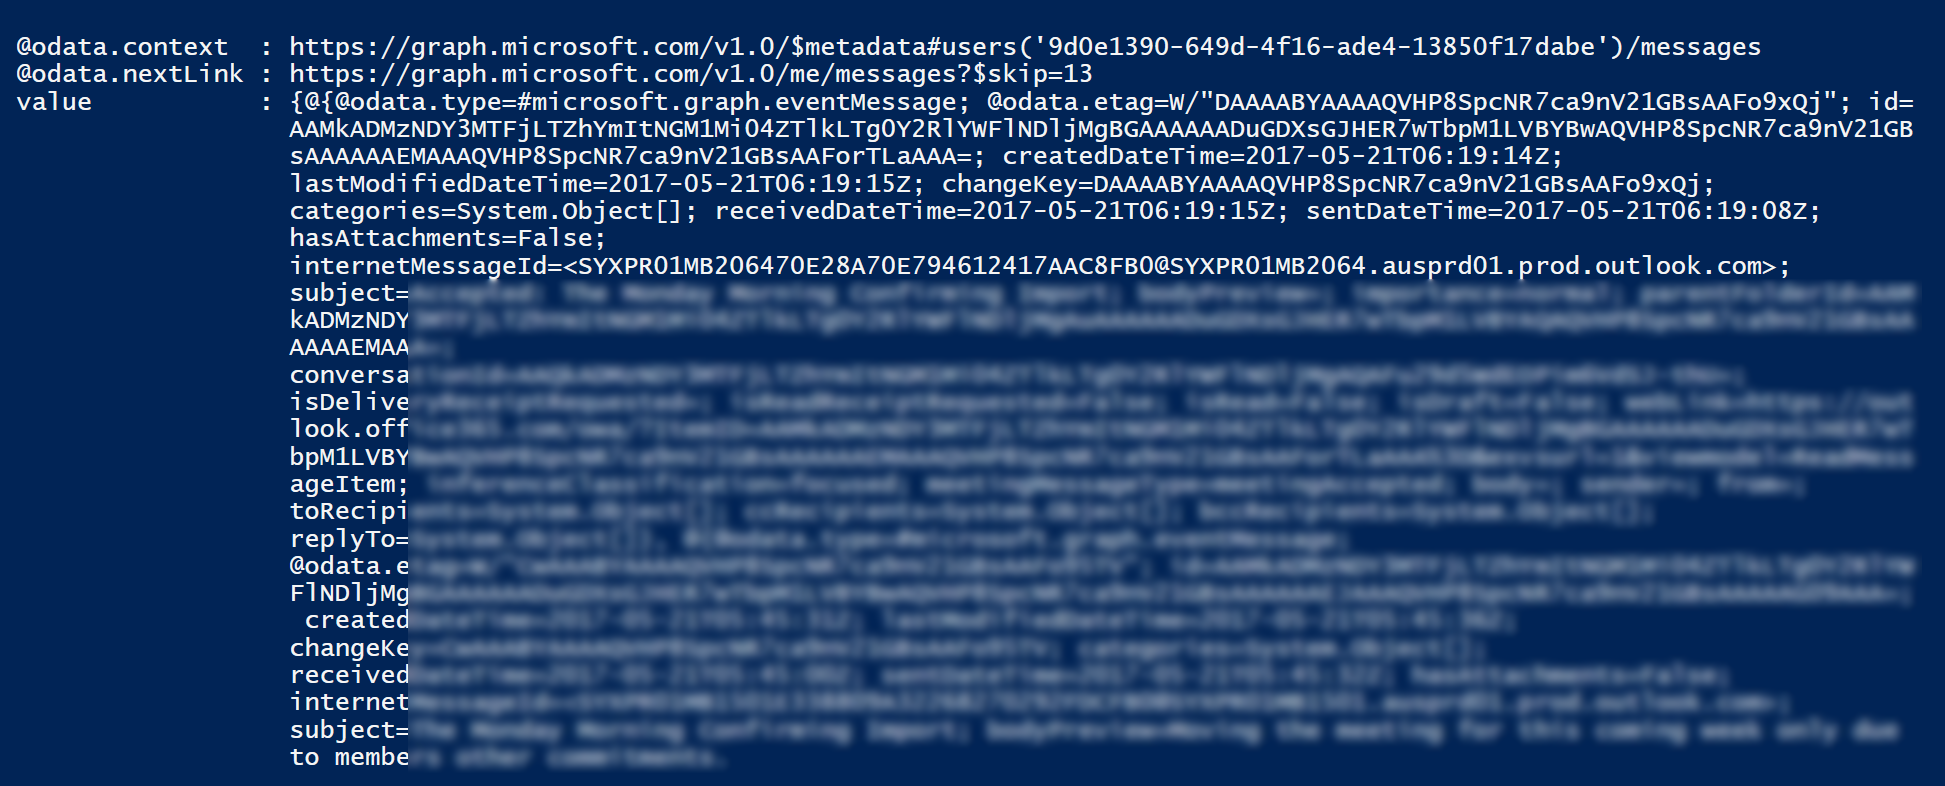
You can then query your inbox, e.g.
 $myMail = Invoke-RestMethod -Method Get -Headers @{Authorization = "Bearer $accesstoken"
 'Content-Type' = 'application/json'} `
 -Uri "https://graph.microsoft.com/v1.0/me/messages"
 $mymail
And there is mail messages from your inbox.
I hope that makes getting started with the oAuth2 Graph API via PowerShell a lot simpler than it was for me initially, with the differing endpoints, evolving API and the associated documentation somewhere in-between.