


This is the third and likely last post in this series. In Part 1 I introduced the capability to have Virtual PowerShell Environments using Docker and the full Windows 10 / Server 2019 Build 1809 container images. In Part 2 I detailed remotely access the Azure RM Windows 10 / Server 2019 host that contains the Docker Container with our full Windows 1809 environment (and therefore PowerShell Desktop).
In this post I’ll detail building a Docker Image based off of the Windows 1809 Container image. The resulting Docker Image will;
- create a base PowerShell environment with the necessary PowerShell Modules for performing common Azure based administrative activities
- using the Docker image for administrative functions
- be accessible to be started using SSH from other SSH Clients (e.g Putty)
Building a Docker Image based off Windows 1809 Container
Using the capabilities I showed in in Part 2 of this series I’m going to build the image from Azure Cloud Shell that I’ll use to SSH into the Windows 10 AzureRM hosted Virtual Machine.
Having logged in to Azure Cloud Shell and connected to my Azure VM via SSH as detailed in Part 2. I then created a new CMD file named NewImage1809.cmd that has the following command inside it.
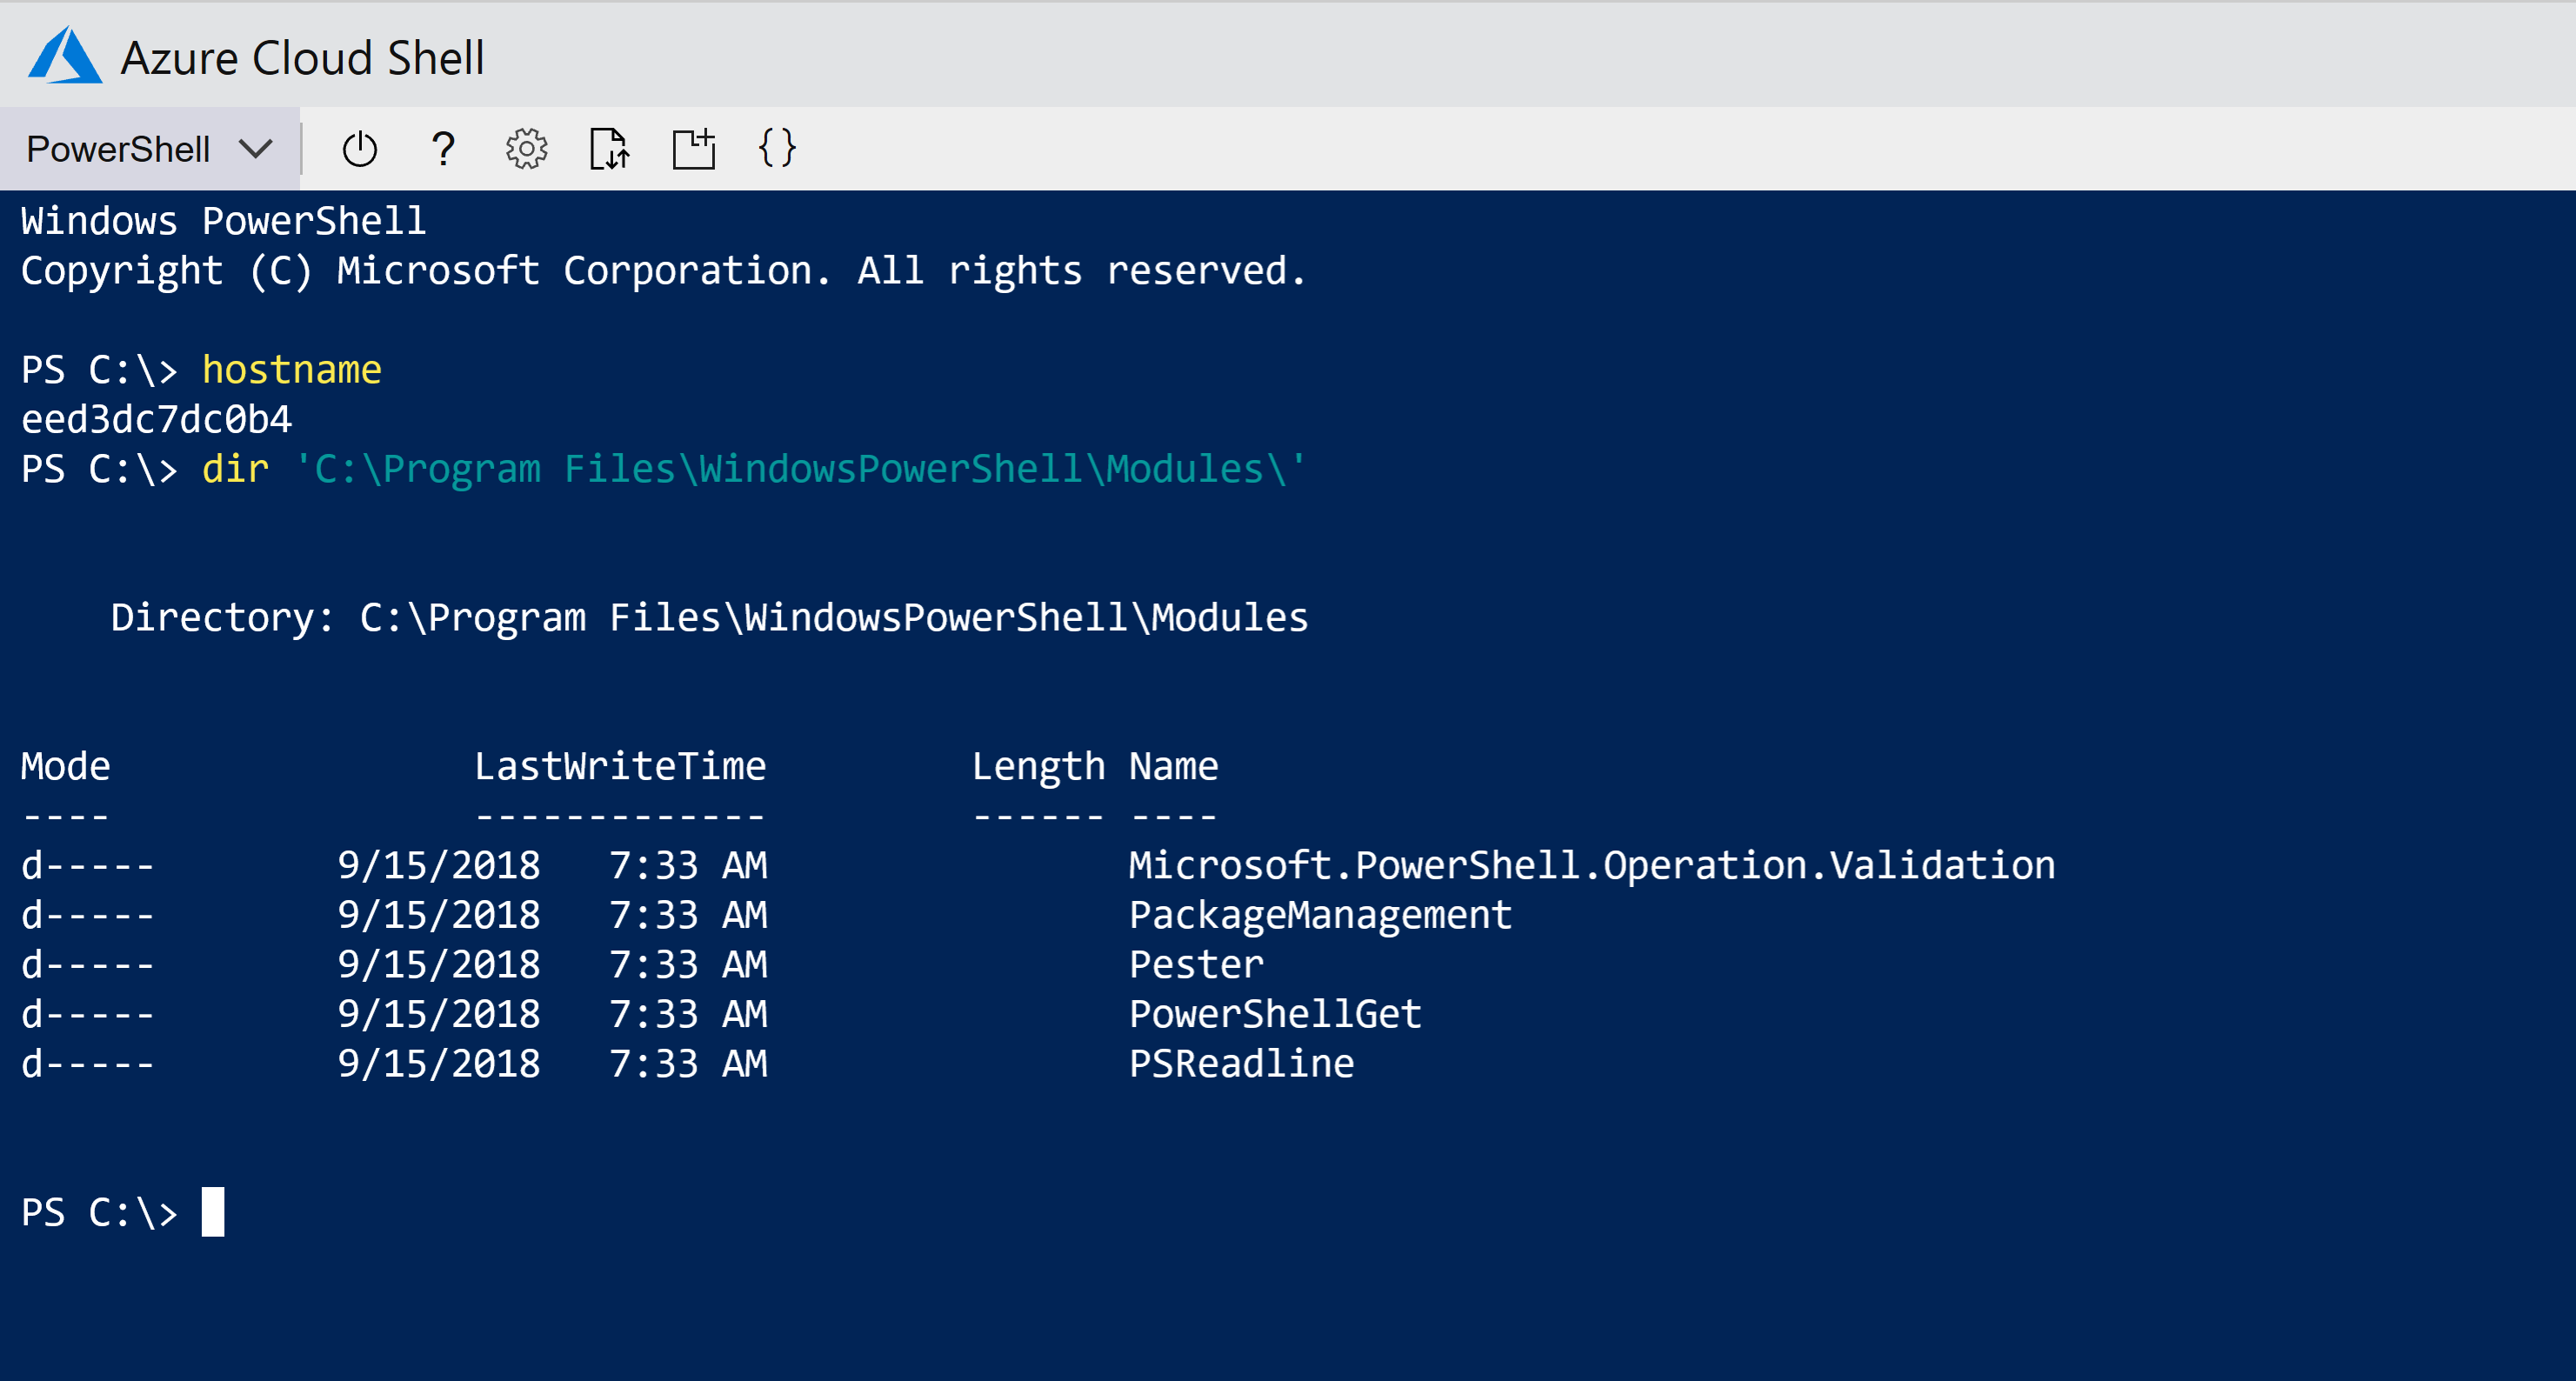
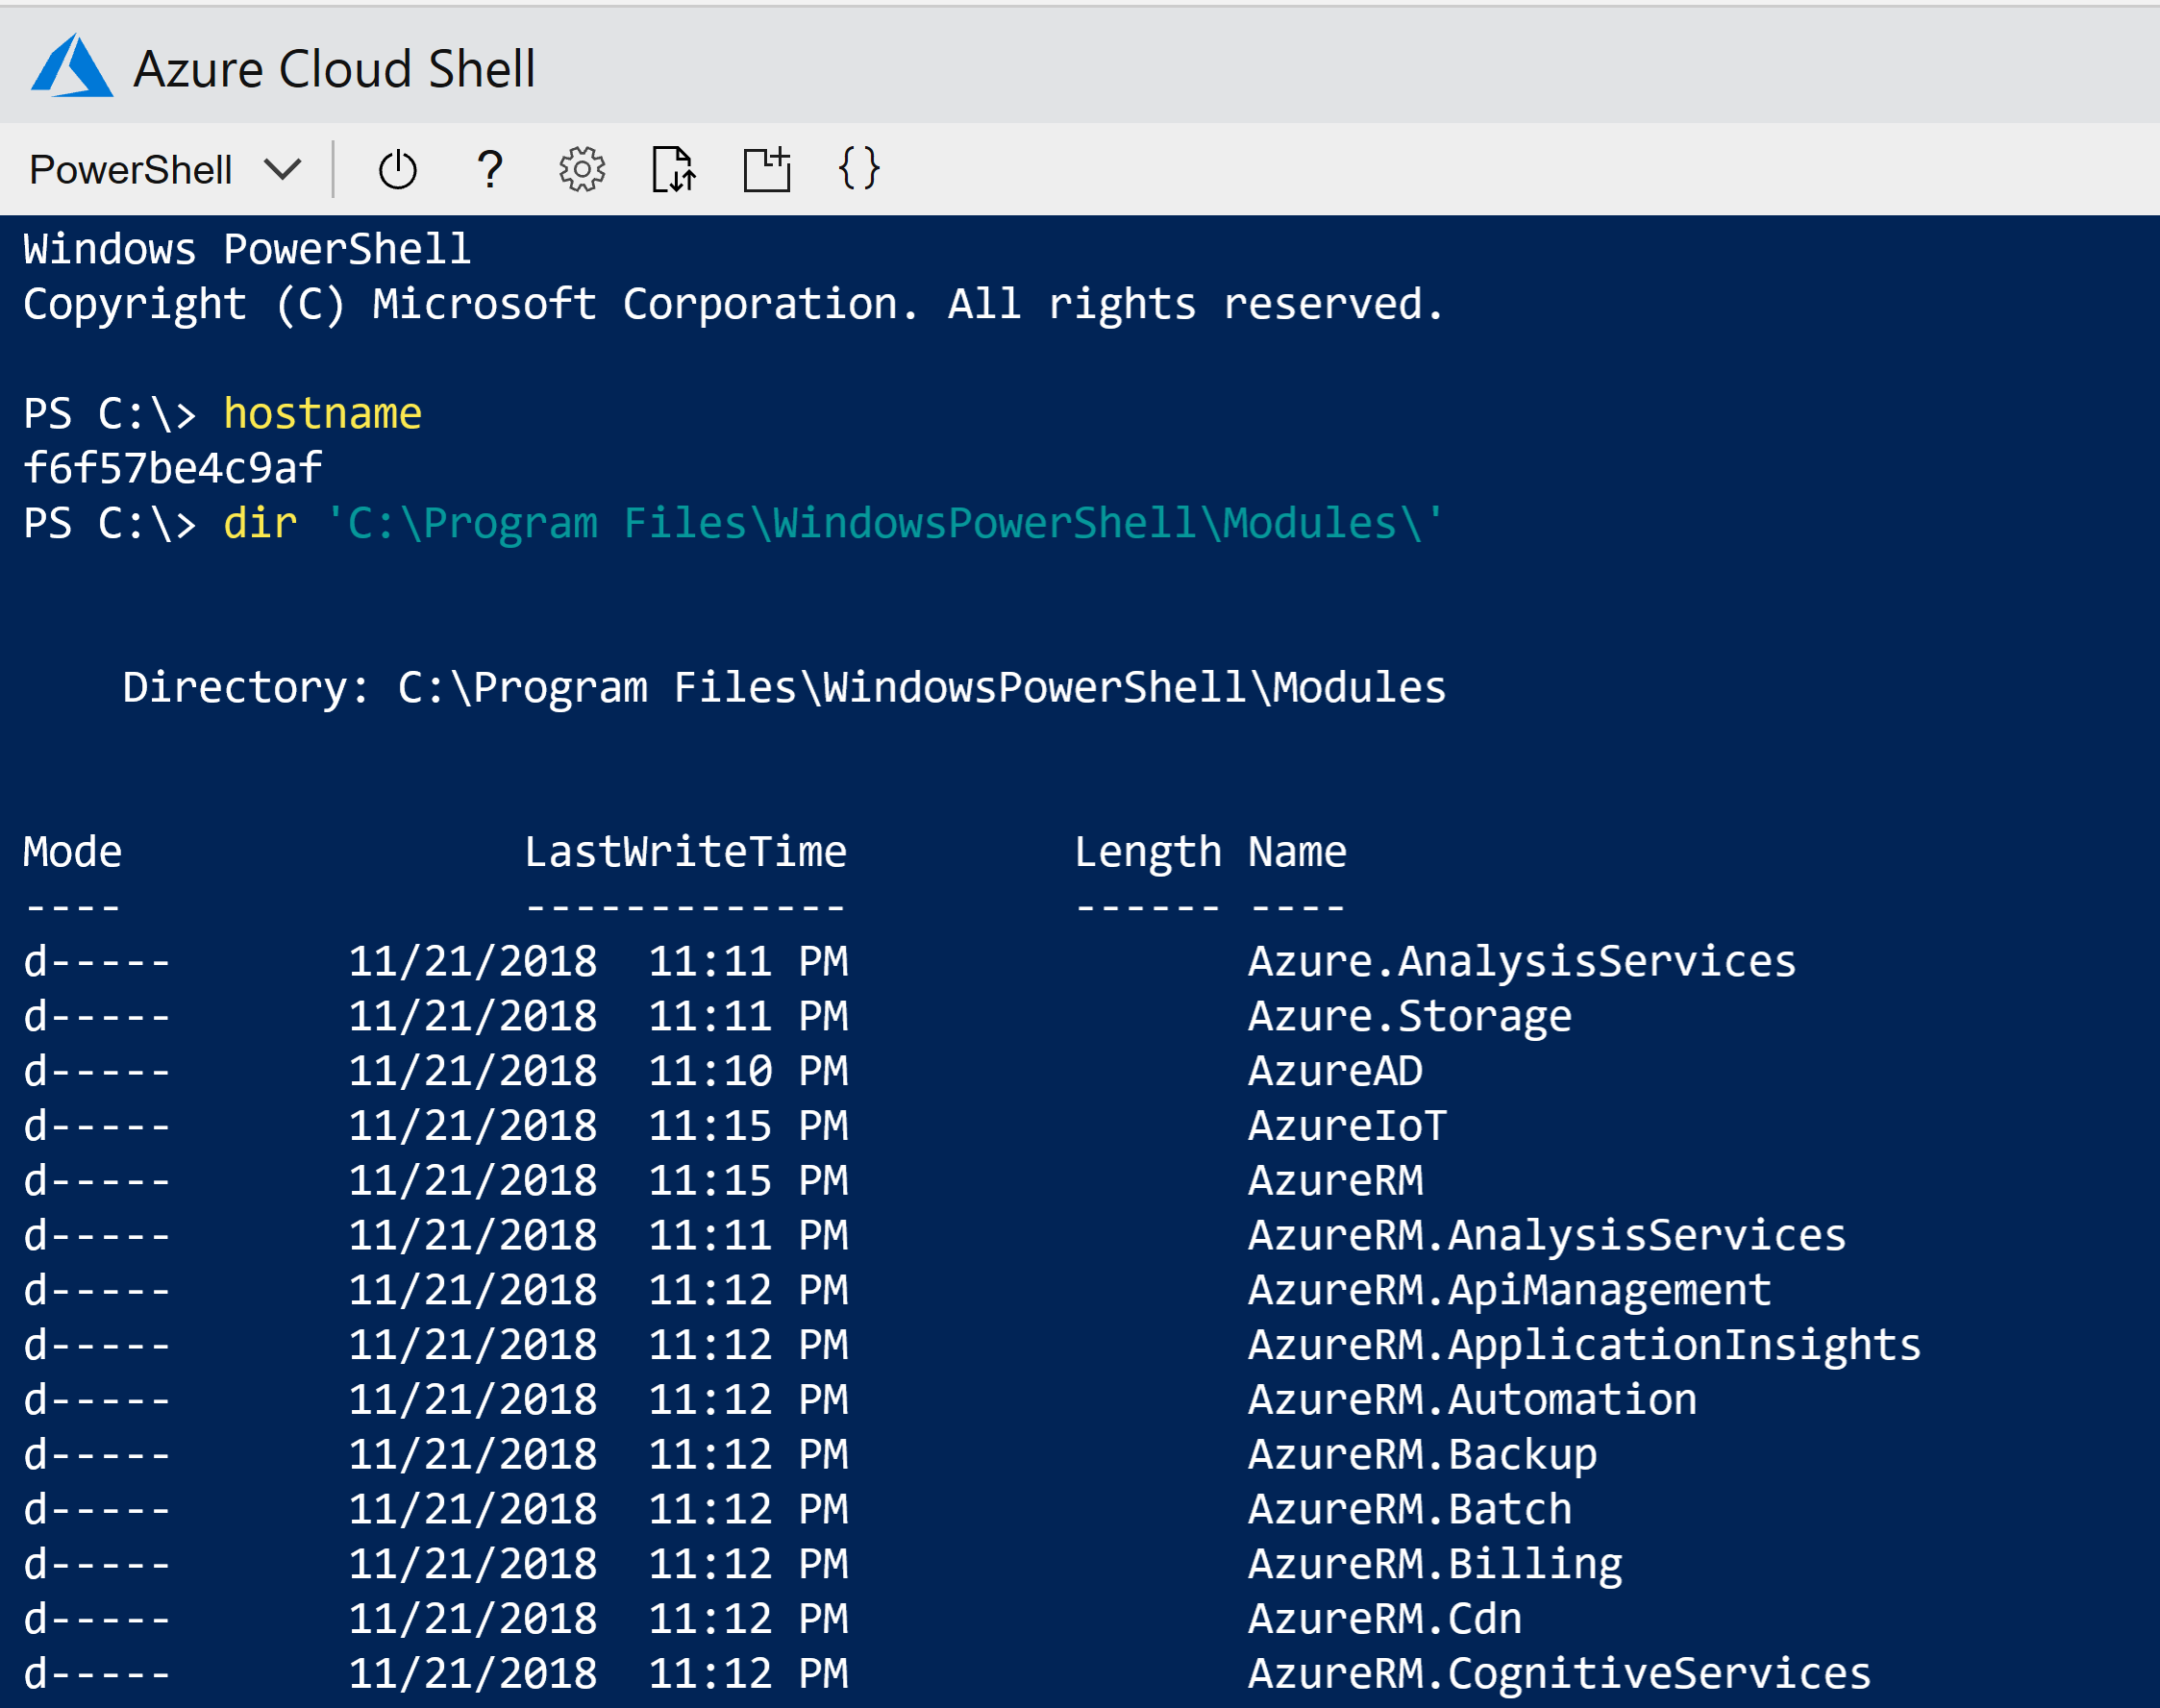
docker run -it --name psNov2018 mcr.microsoft.com/windows:1809 powershell

Running the commands hostname and dir c:\program files\WindowsPowerShell\Modules shows that we are inside the Windows 1809 Container Image.
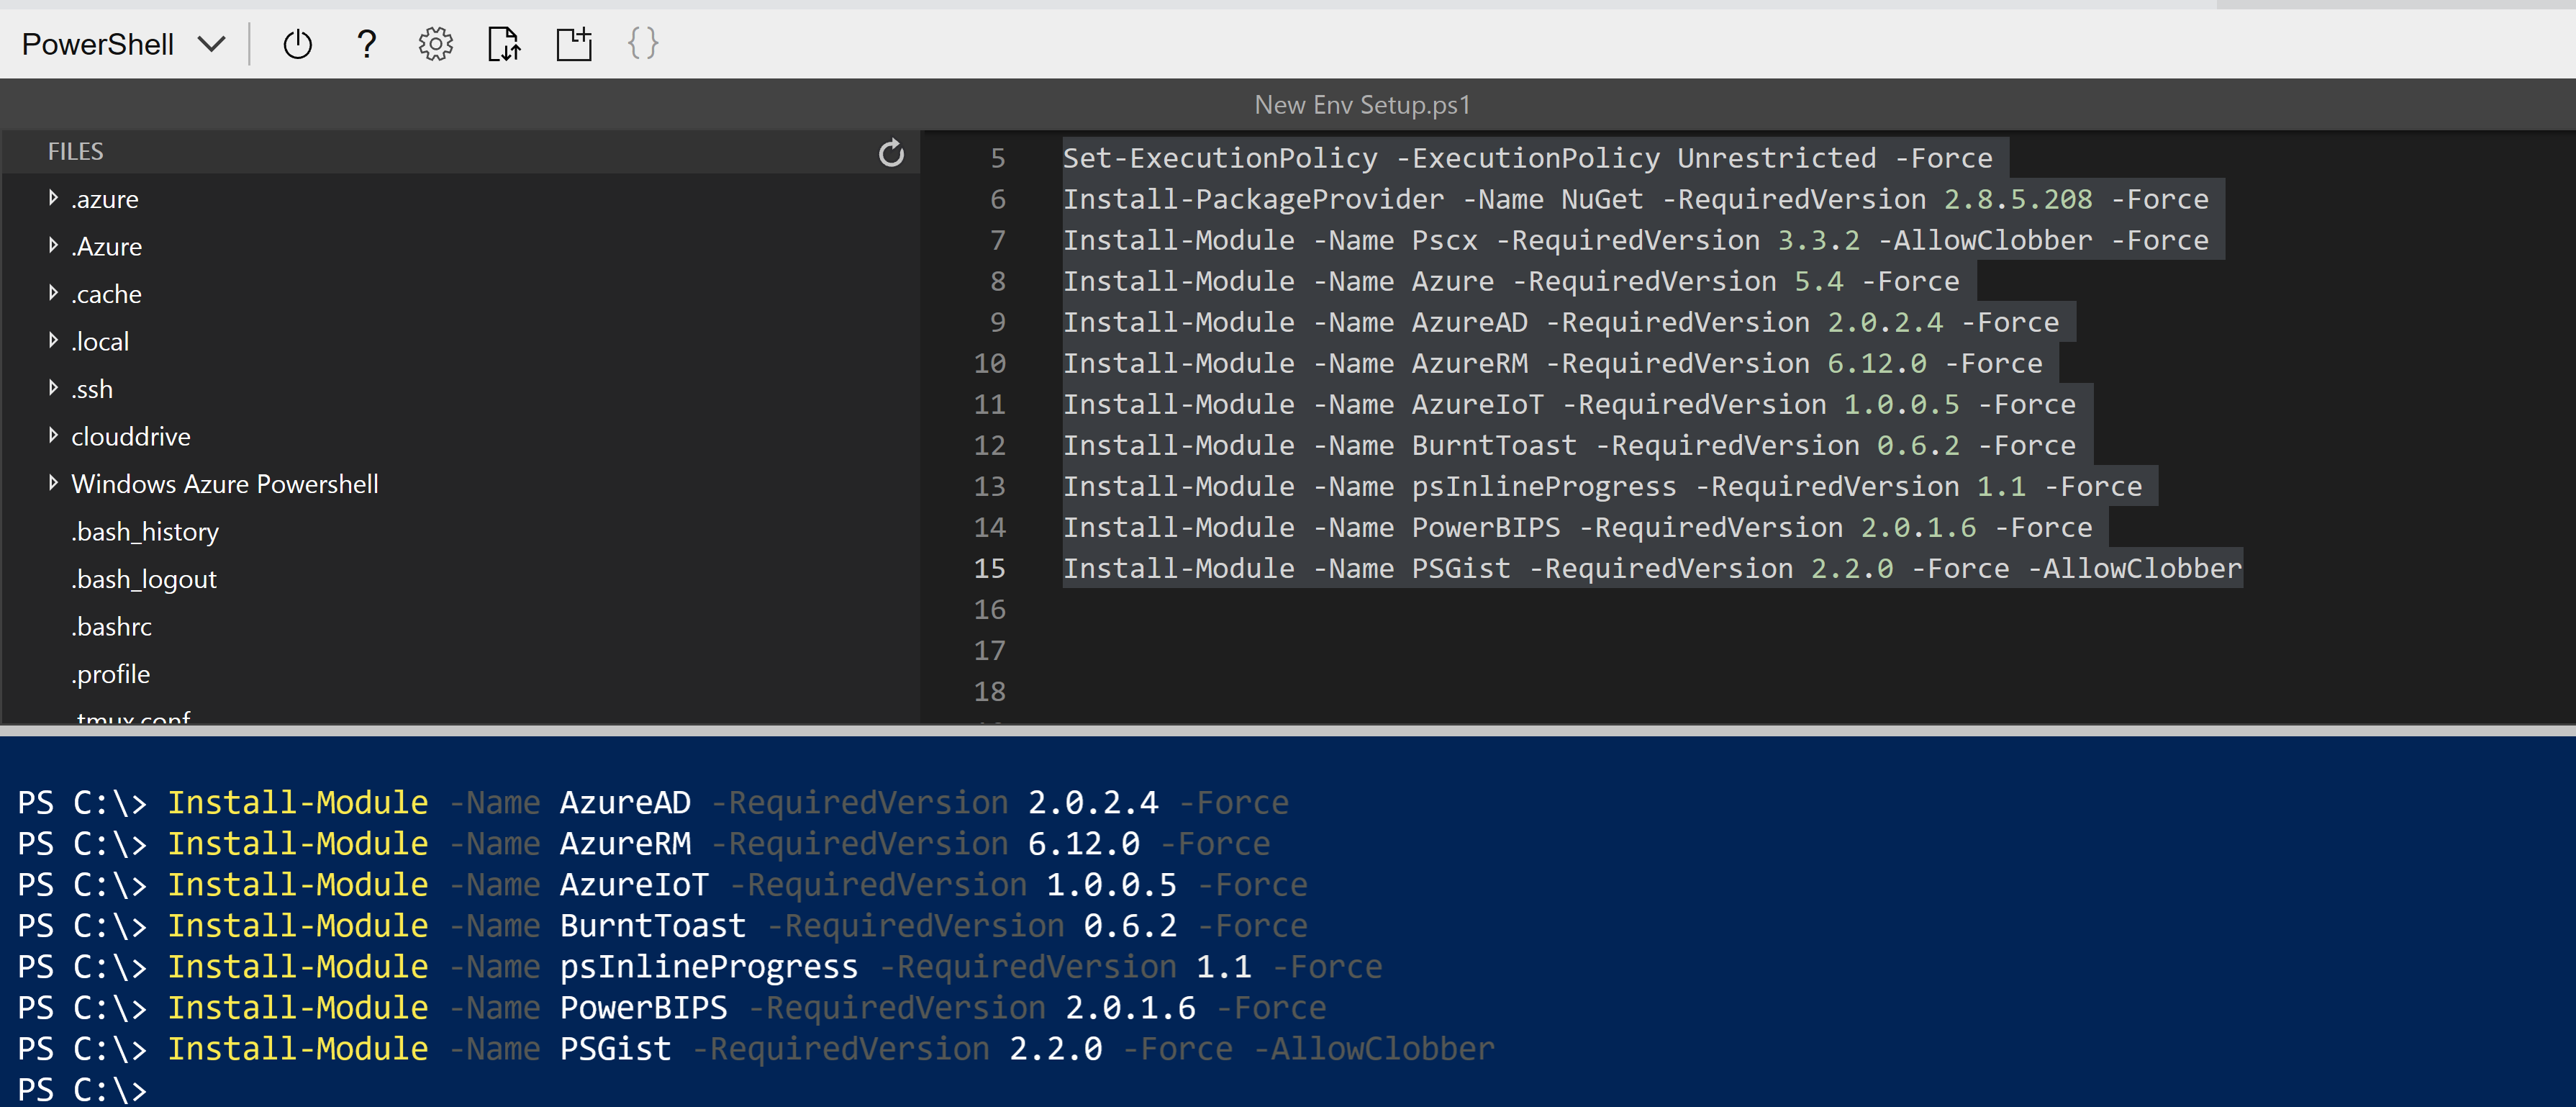
I used the Cloud Shell Upload option to upload a New Env Setup.ps1 script that contains the PowerShell commands to install a bunch of PowerShell Modules. Using the Cloud Shell Editor I opened the file.

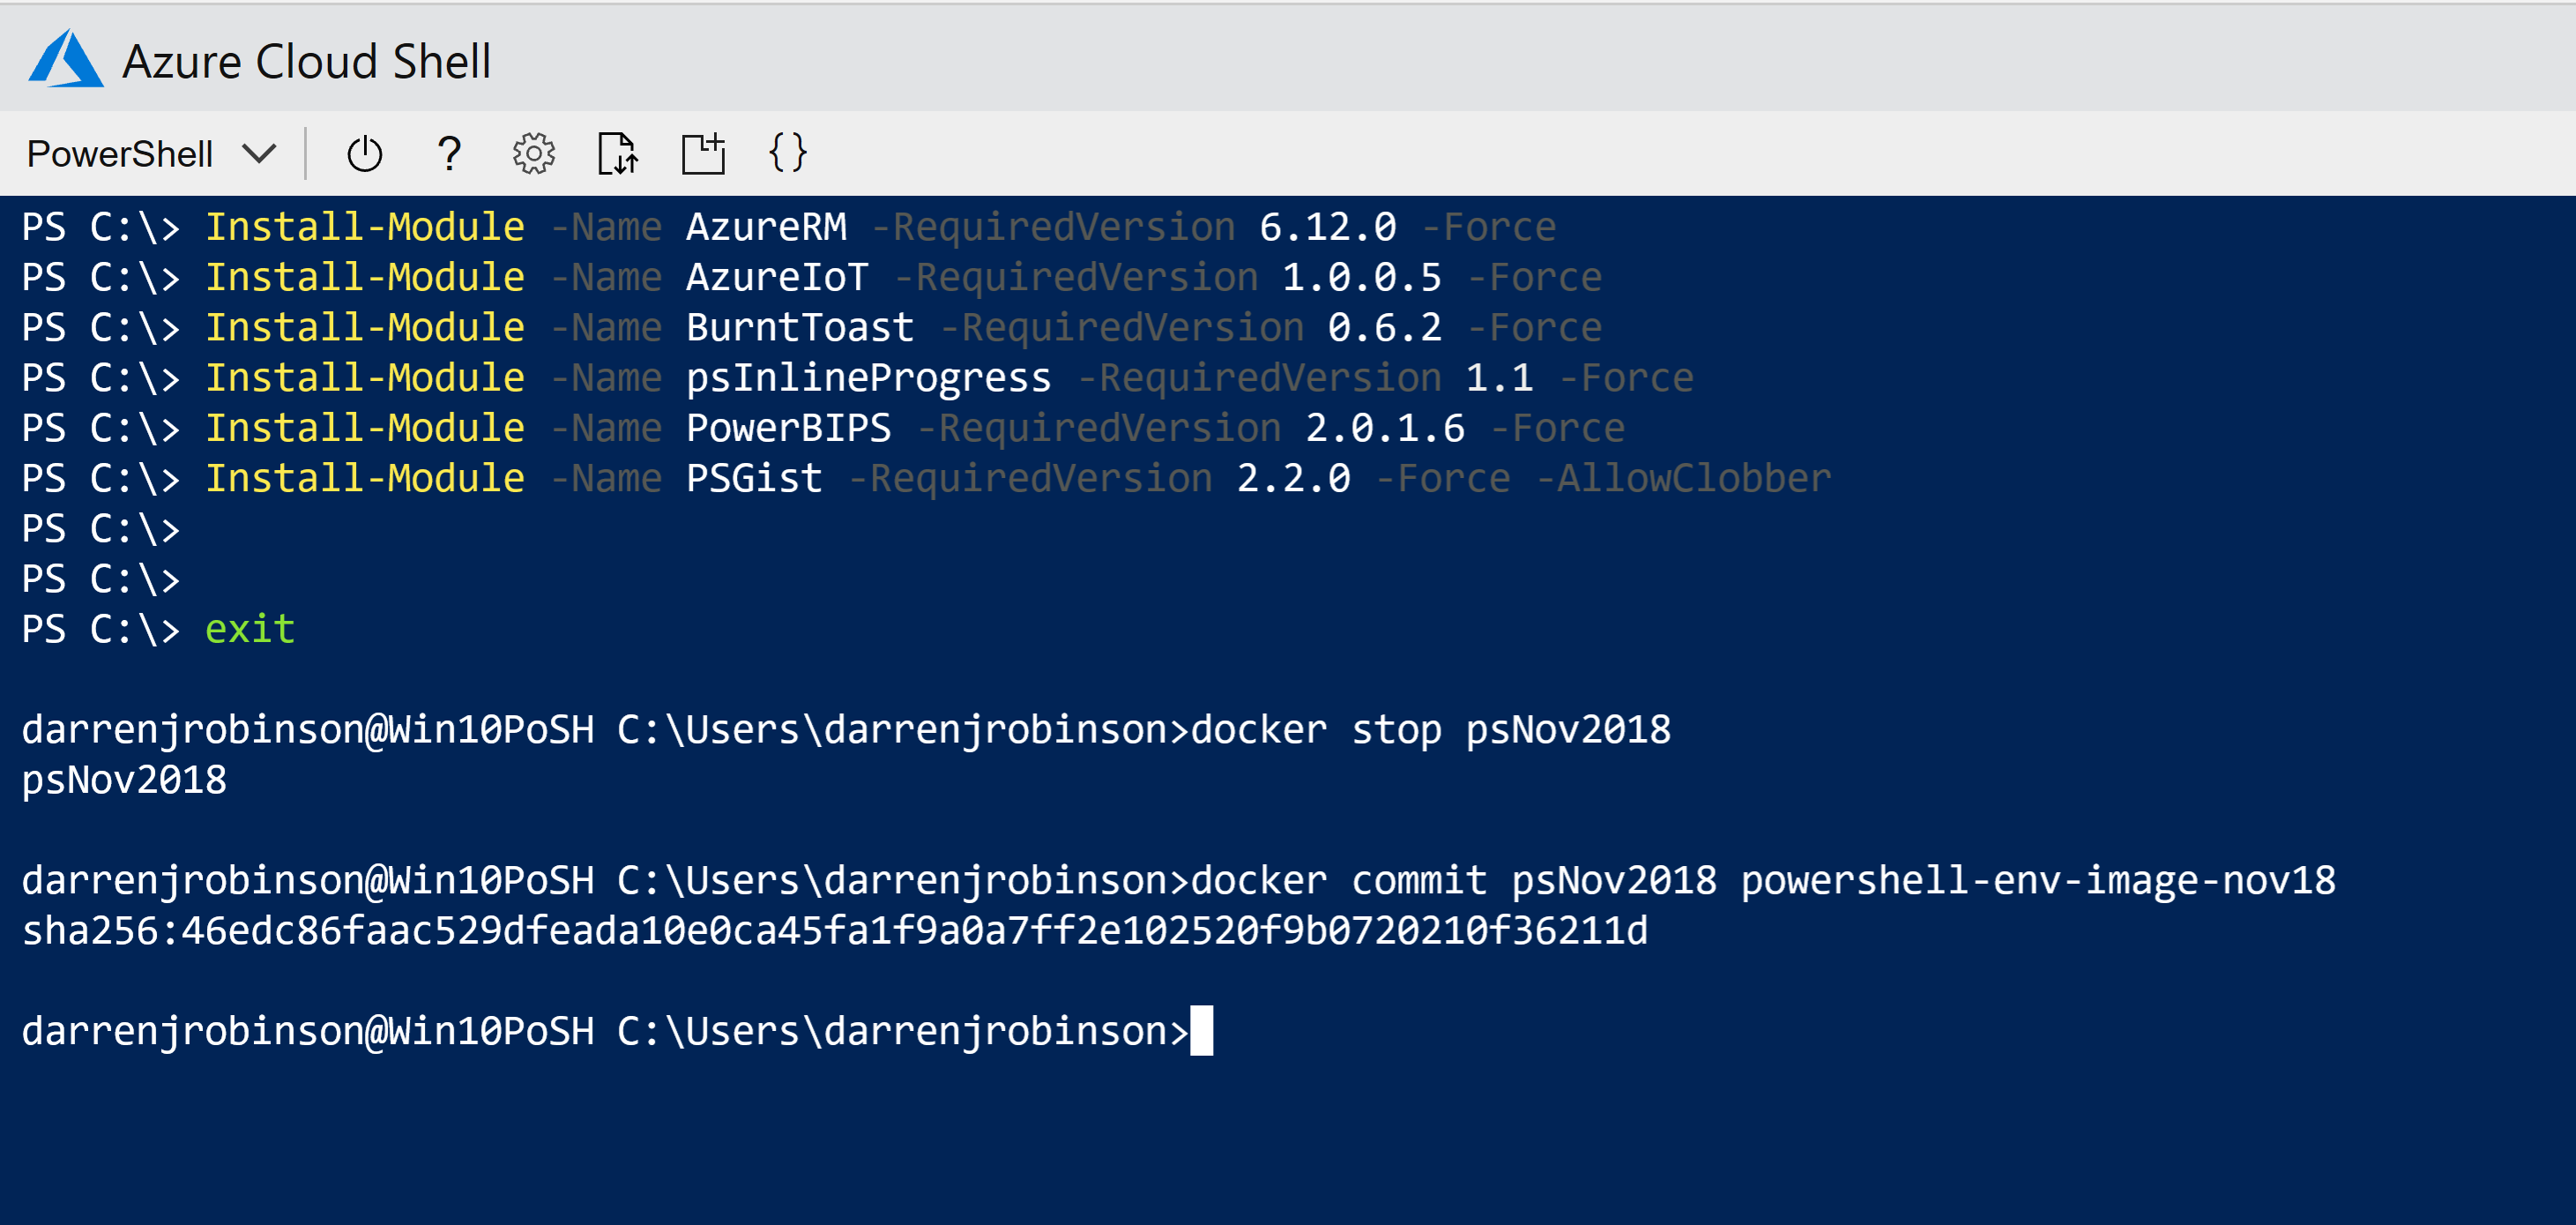
Here is that series of commands.
I can then select the block of commands and paste it into the PowerShell terminal console below and hit enter for it to execute them.

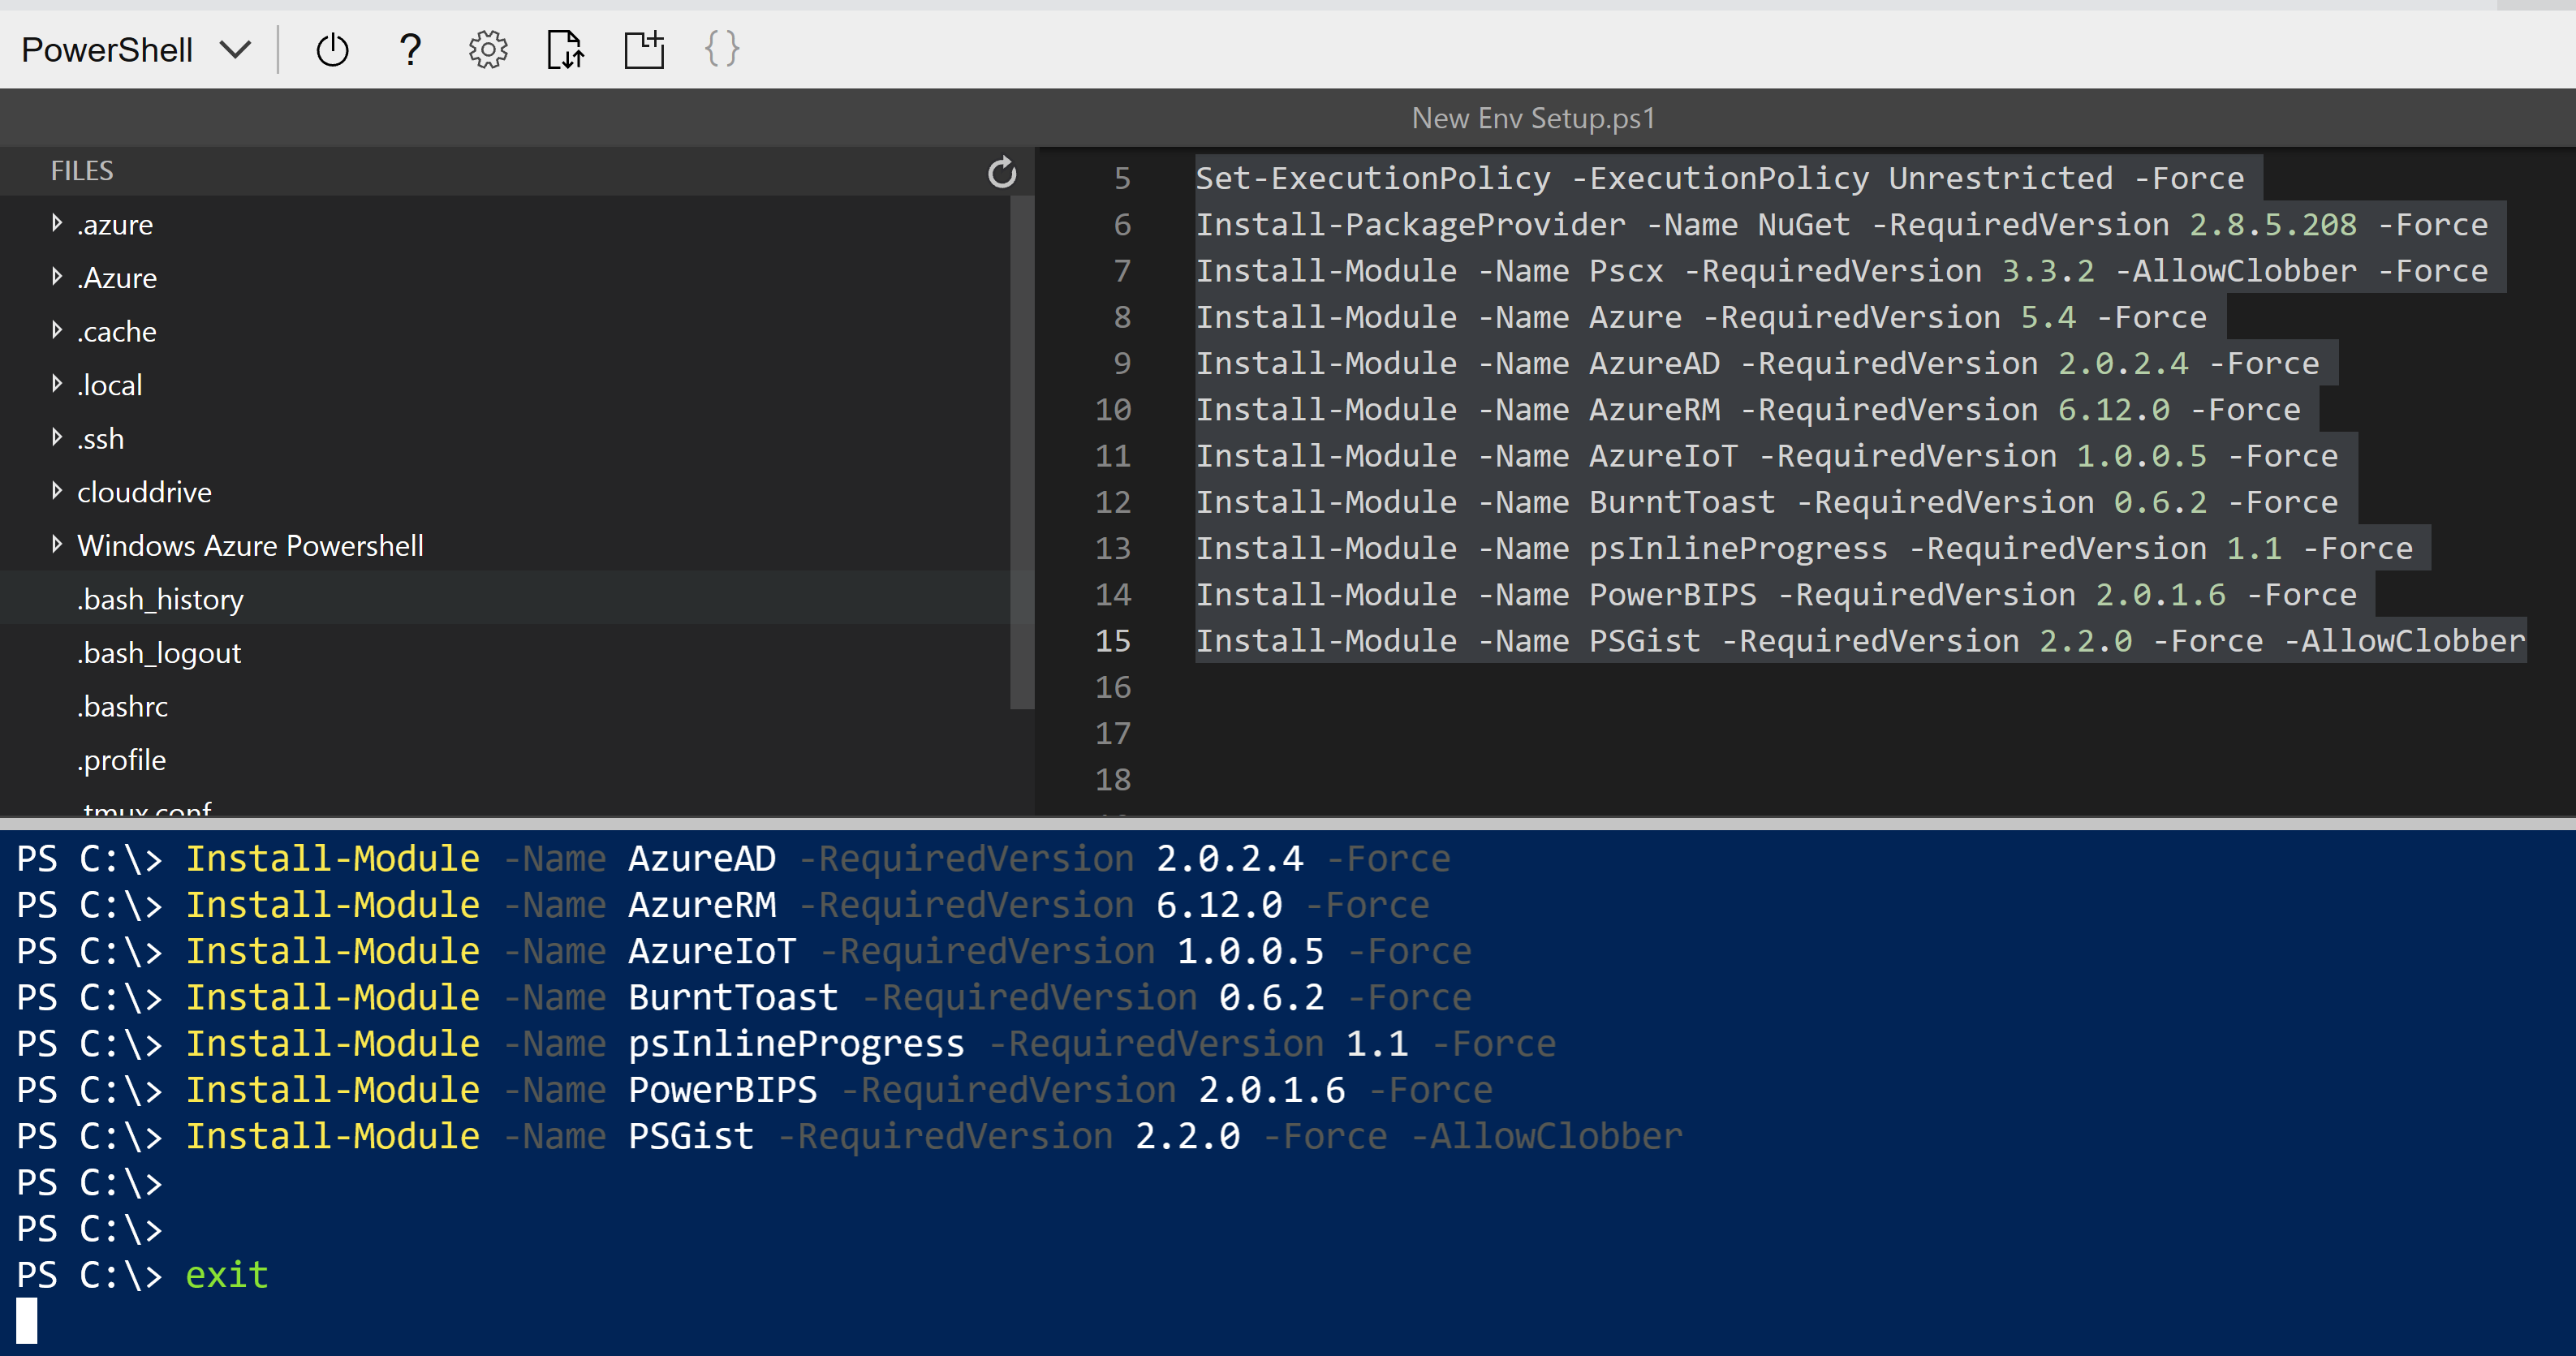
One by one the modules are installed
When completed enter exit.
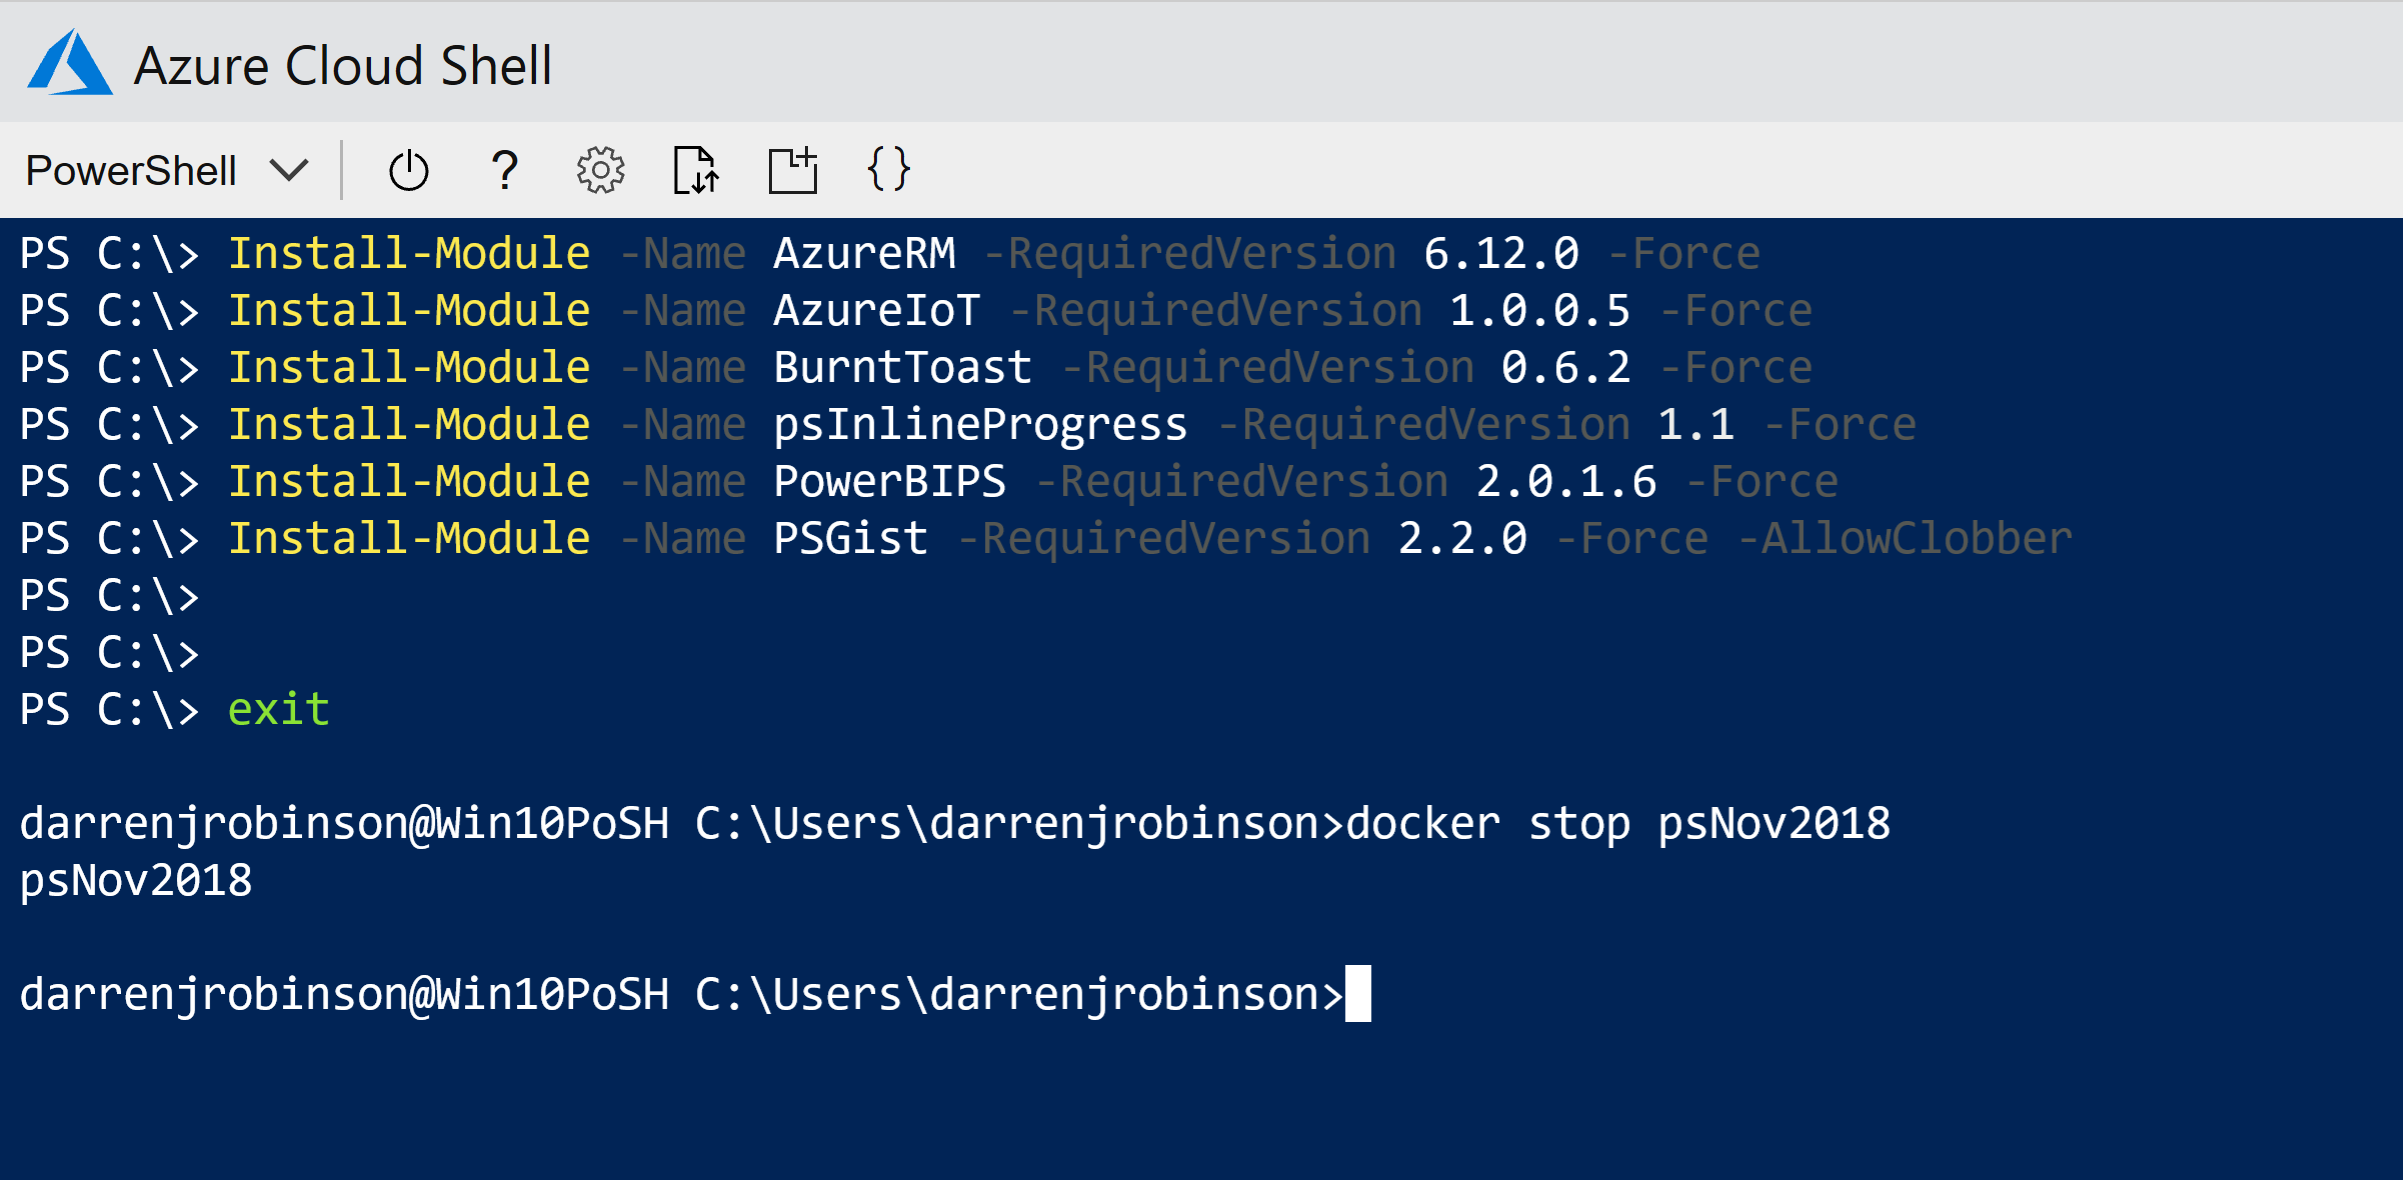
Now we can stop our Container Image.
docker stop psNov2018
and commit our changes to a new container named ‘powershell-env-image-nov18’
docker commit psNov2018 powershell-env-image-nov18
Listing the docker images with
docker image ls
shows our new Image.

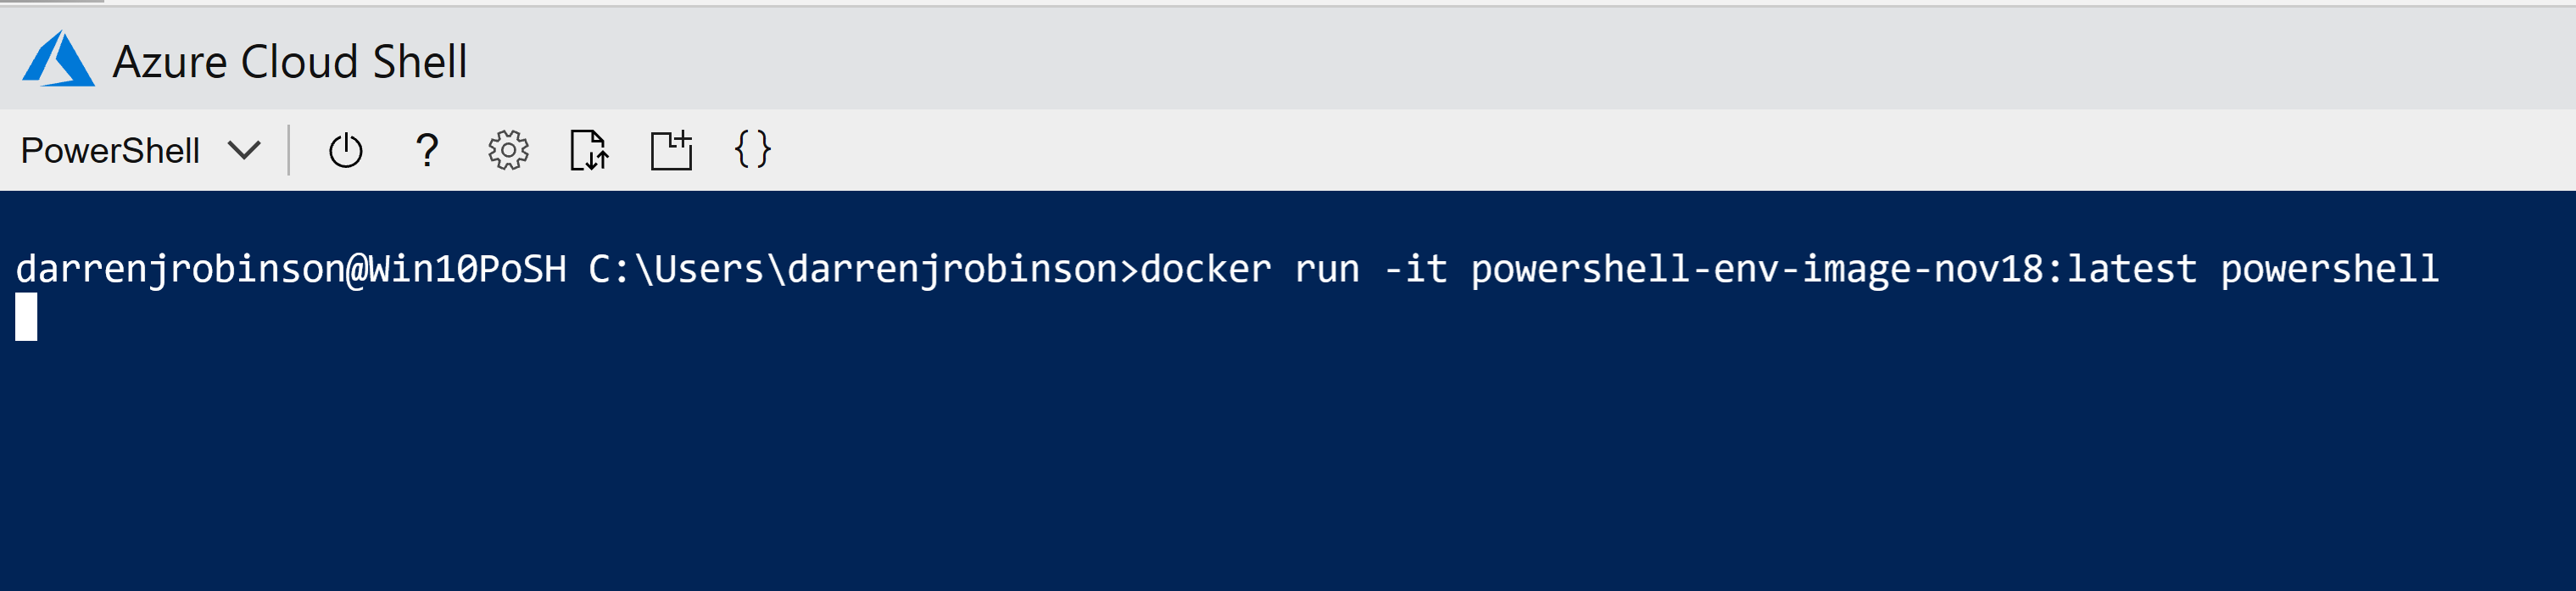
We can now Run our new image with
docker run -it powershell-env-image-nov18:latest powershell
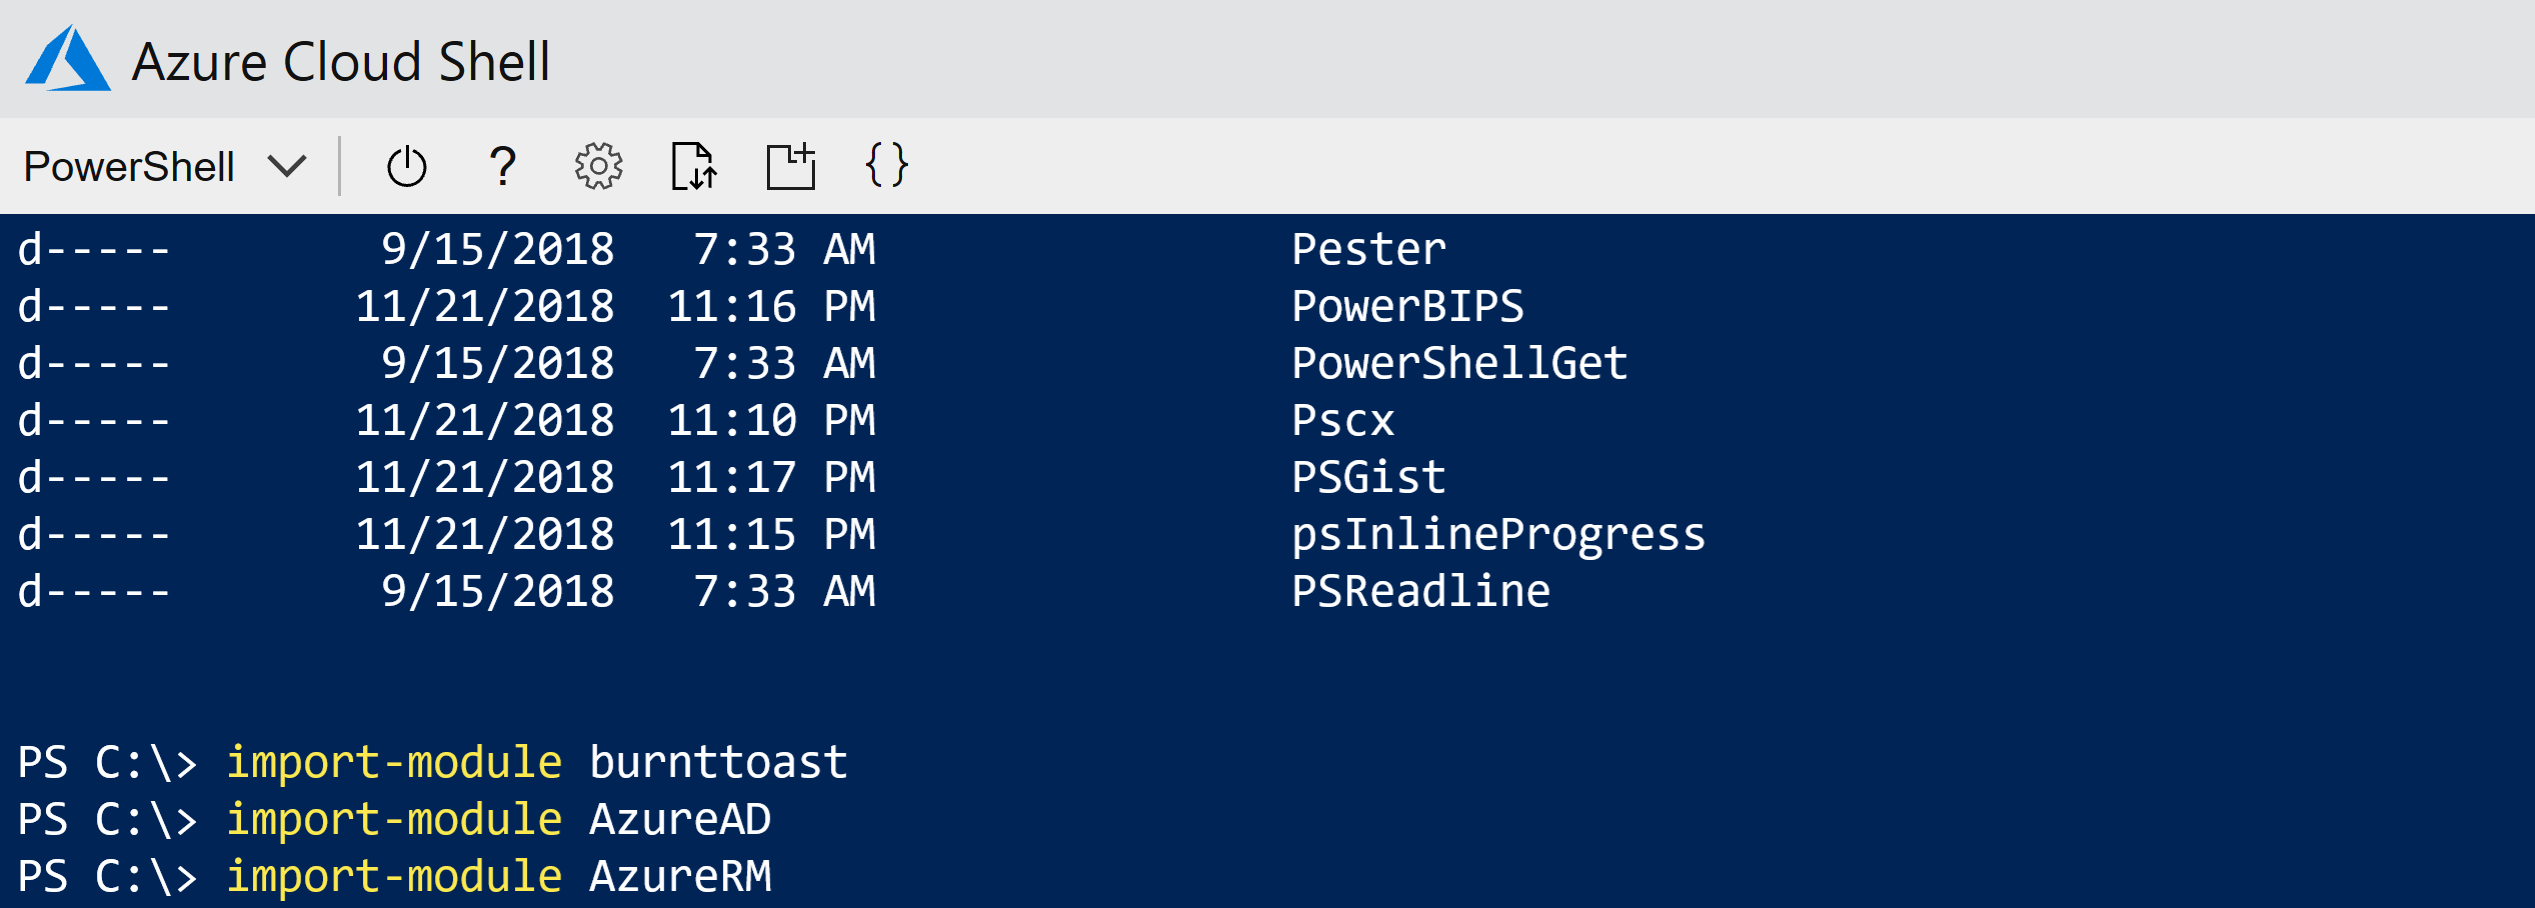
We can see the modules we installed previously.
and we can import them.
Putty to PowerShell Virtual Environment
As good as Azure Cloud Shell is, and as convenient as it is for quick tasks and execution, you’re going to want to use an SSH Client. I’ll show using Putty, but you can use whatever your favourite client is. To connect to the environment I;
- using the Putty Key Generator I loaded the OpenSSH Private Key generated in Part 1 and saved it in Putty ppk format
- using Putty Pageant I can use the ppk formatted key for my SSH session to the Windows 10 1809 host
- Note: WinSCP can also utilise the ppk key for authentication which makes getting files onto the Host very easy
- if you find you don’t automatically get your elevated session that allows you to start the Docker Container/Image then create the following registry key on the Windows 10/Server 2019 host and reconnect. DWORD (32-bit) value of 1 for LocalAccountTokenFilterPolicy
[HKEY_LOCAL_MACHINE\SOFTWARE\Microsoft\Windows\CurrentVersion\Policies\System]
"LocalAccountTokenFilterPolicy"=dword:00000001
I can then connect with Putty using my key, and run the DockerPS.cmd file I showed in Part 2 which outputs the version of PowerShell.

Summary
In this post I’ve shown how to customise a Windows 1809 Container for a Virtual PowerShell environment, along with using client based SSH and SCP tools to connect to and manage the base Host.