In April this year, Microsoft announced Azure Sphere. This was the same week as I’d be preparing for a presentation I was giving on Azure IoT at the Sydney location for the Global Azure Bootcamp. When pre-orders became available from Seeed Studio I naturally signed up as I’ve previously bought many IoT related pieces of hardware from Seeed Studio.
Fast forward to this week and the Azure Sphere MT3620 device shipped. It’s a long weekend here in Sydney Australia and delivery wasn’t due until after the long weekend, but by some miracle the packaged was delivered on the Friday by DHL after only leaving China 3-4 days earlier.
What a great opportunity then to un-box it, get it configured and build the sample “Hello World” (Blinky) project.
Getting Started
Following the “Get Started Guide” here I was straight away perplexed as to why Visual Studio was required, when I’ve made the complete transition to Visual Studio Code.
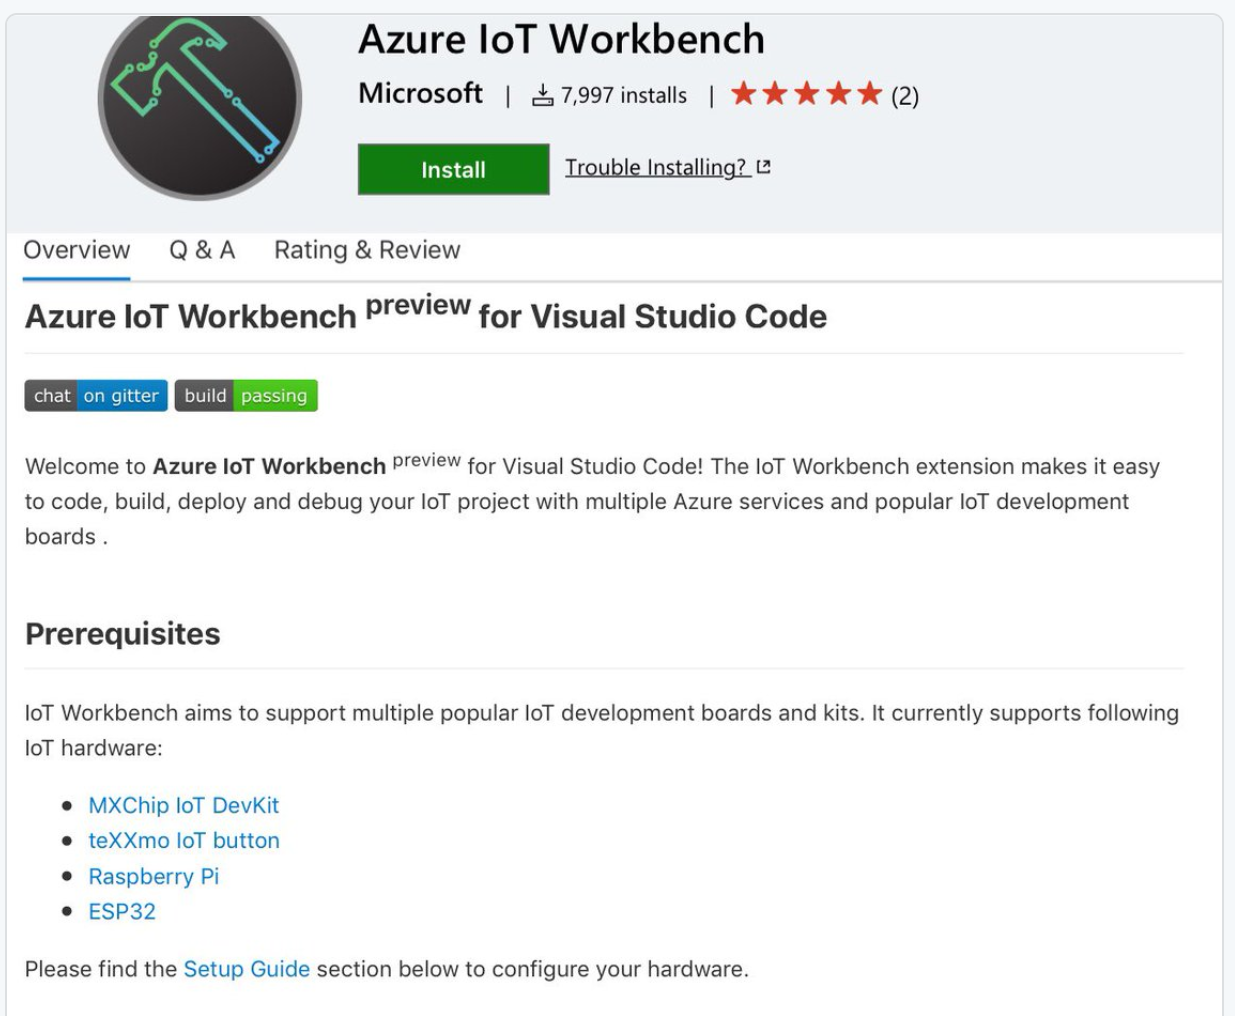
It seems there isn’t support in the IoT Workbench Extension in VS Code for the MT3620 yet.
After patching and updating my now out-of-date Visual Studio installation I was finally able to install the VS Tools for Azure Sphere.
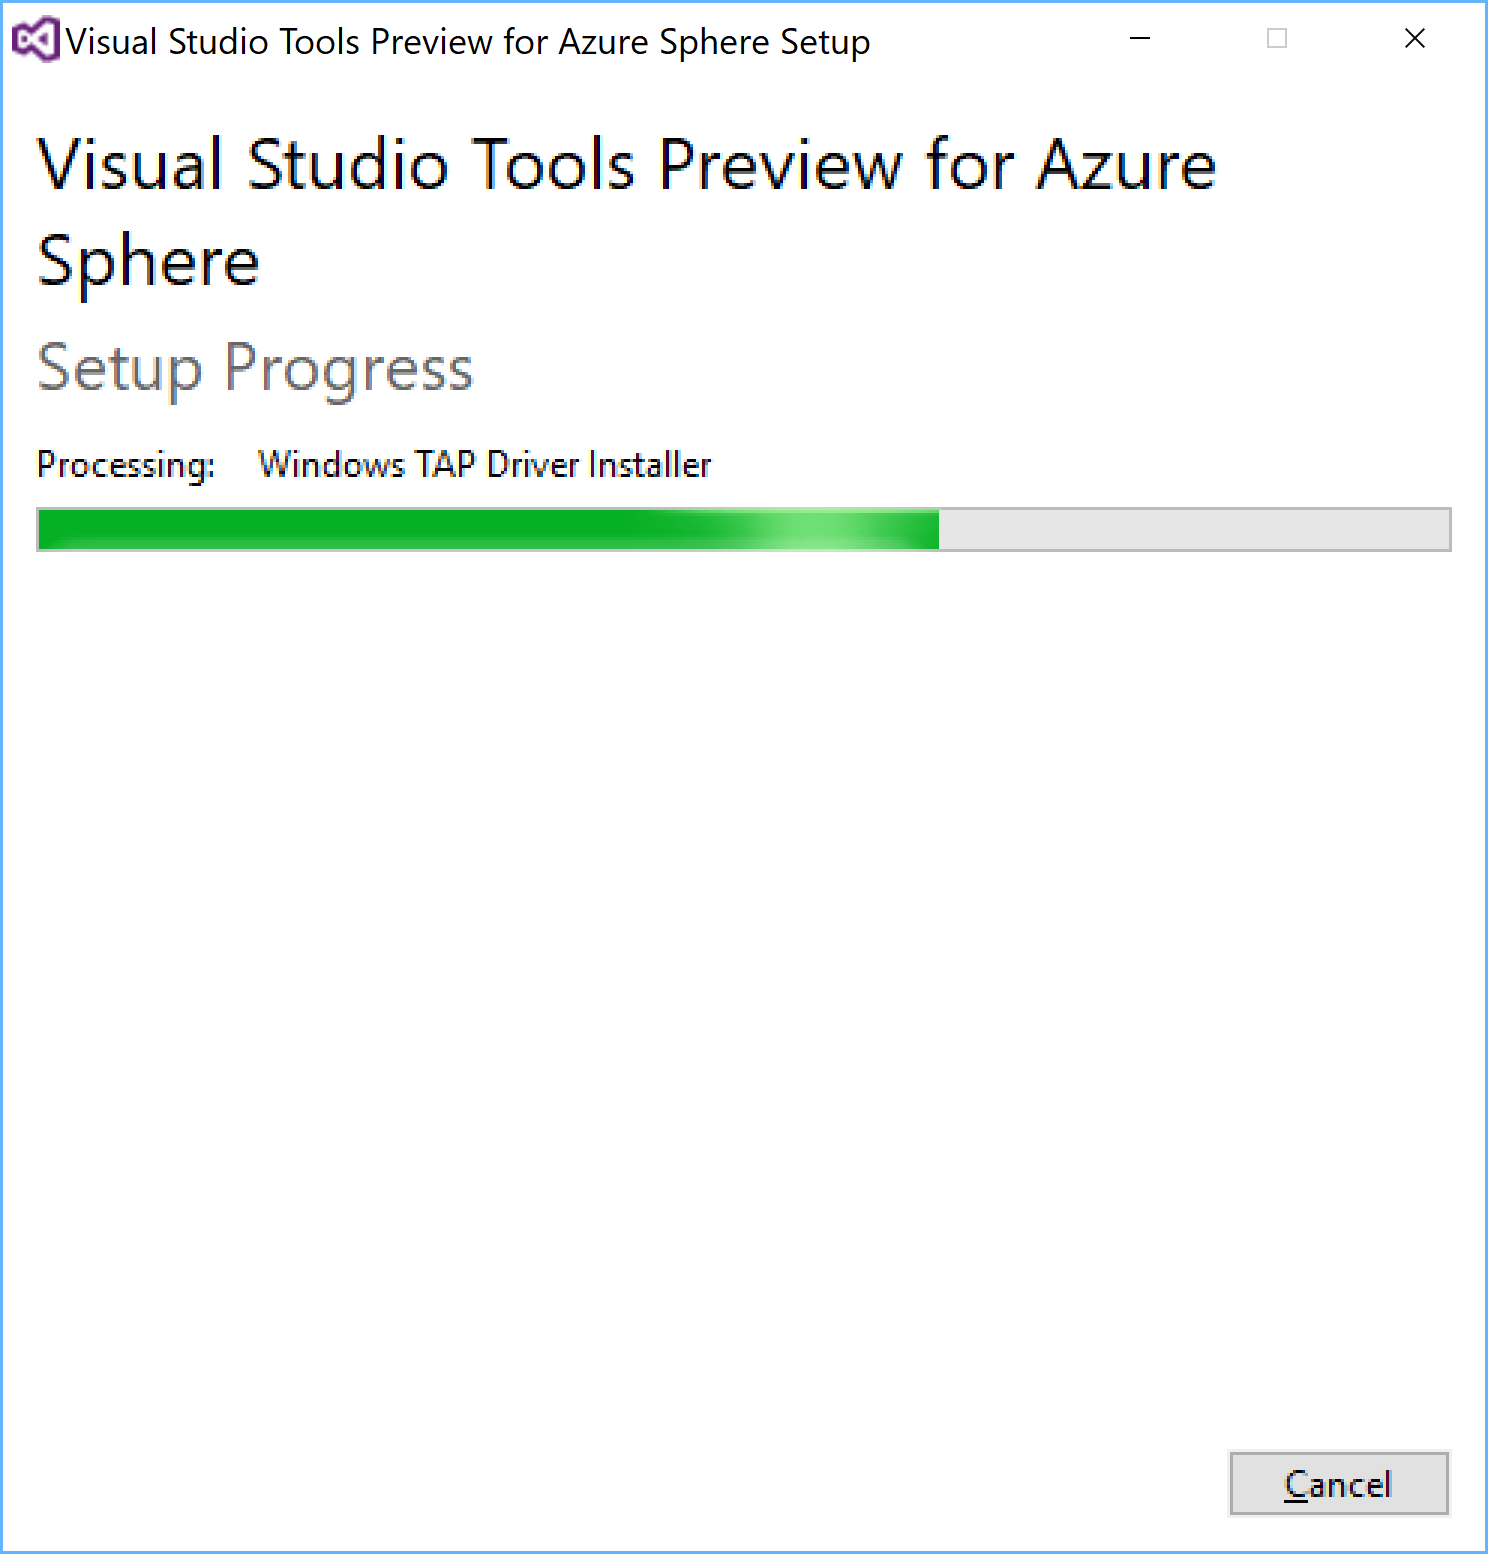
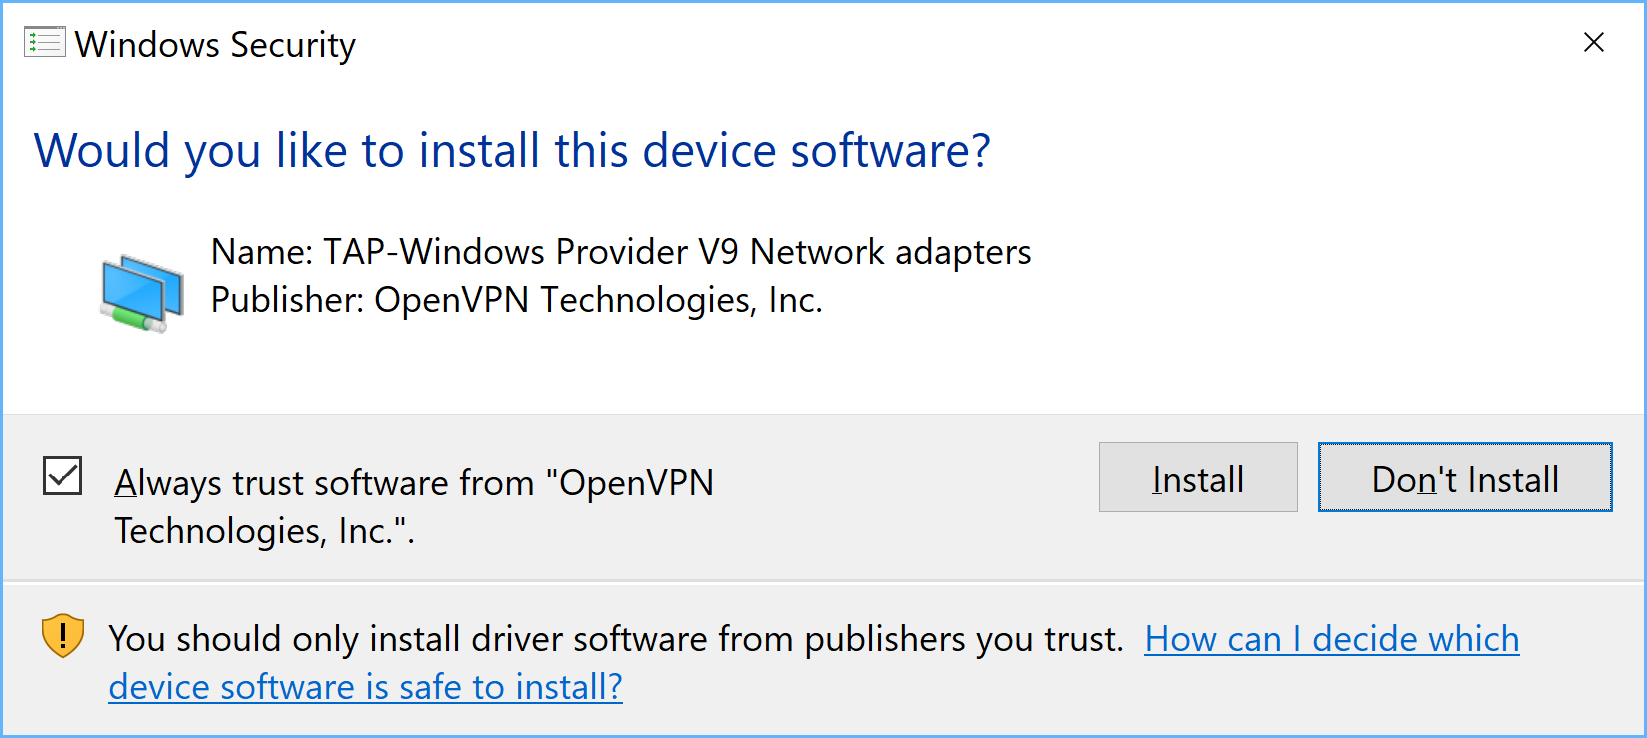
which also comes with the TAP Driver for communicating with the device via the USB port, which is necessary for setup.
With that all done it needs to be connected to Azure Active Directory. For that I created a new user for use with Azure Sphere in my Azure AD Tenant and then proceeded to login to Azure AD with that account.
azsphere login
![]()

Successfully logged in (if you try with a Microsoft Account you’ll get a message indicating Azure AD is required), it prompts you to create an Azure Sphere Tenant.

NOTE: Claiming the Device

With the Azure Sphere Device connected the Windows 10 computer you are executing the command from, as this is the first time setup an Azure Sphere Tenant needs to be created and the device claimed.
azsphere tenant create --name
azsphere device claim

Connecting to Wifi
With the Azure Sphere Tenant created and the device claimed its time to connect it to Wifi.
azsphere device wifi show-status
azsphere device wifi add --ssid  --key
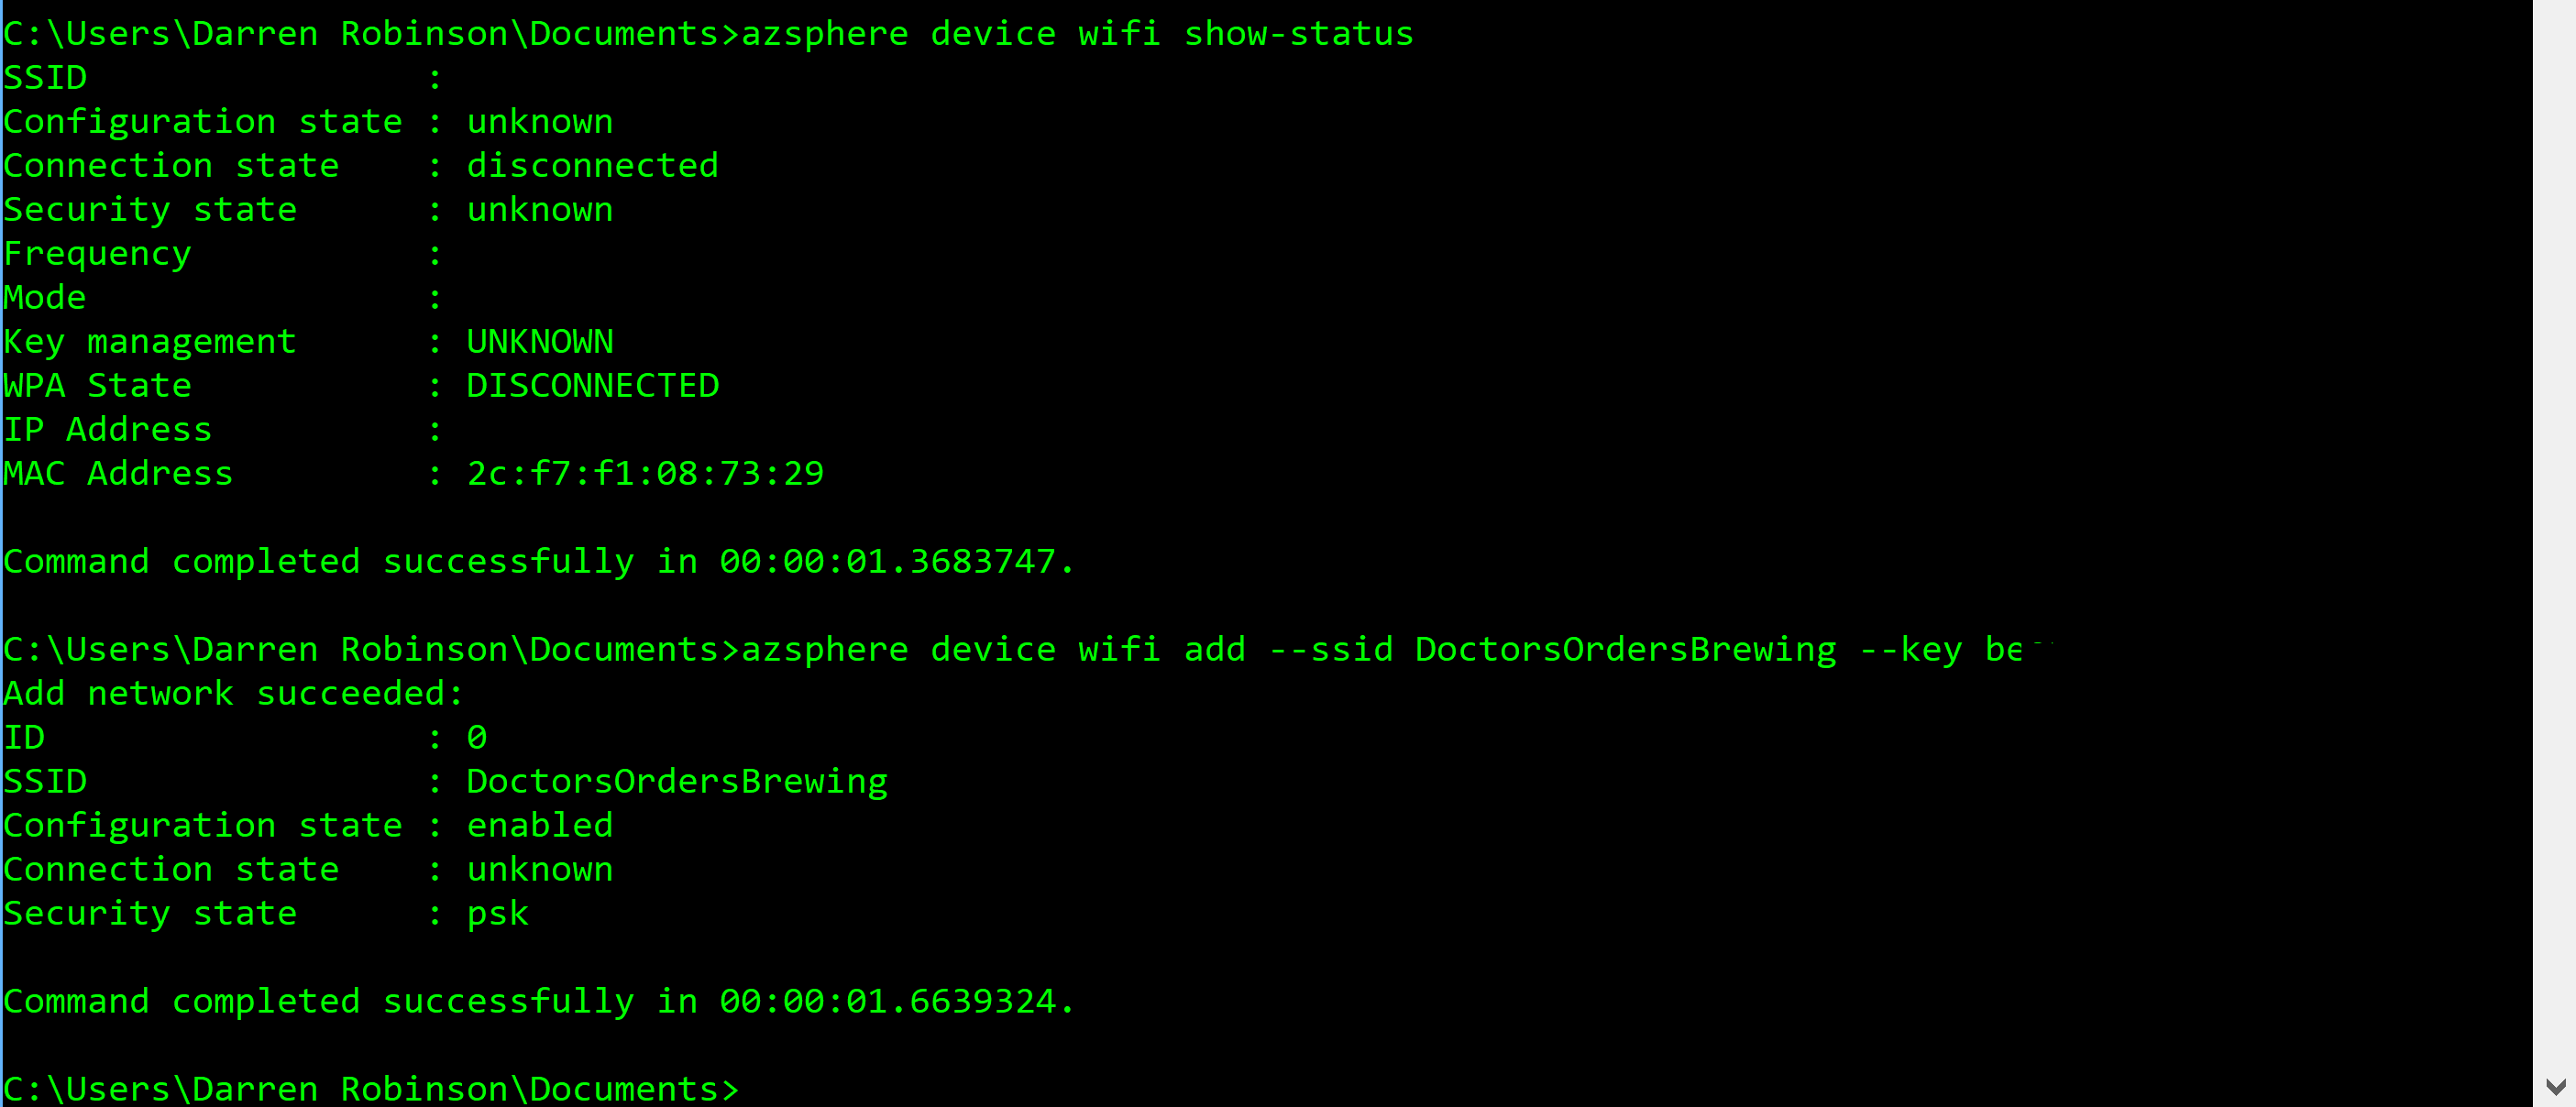
Checking the Wifi Connection Status after connecting provides the device connection status.
azsphere device wifi show-status
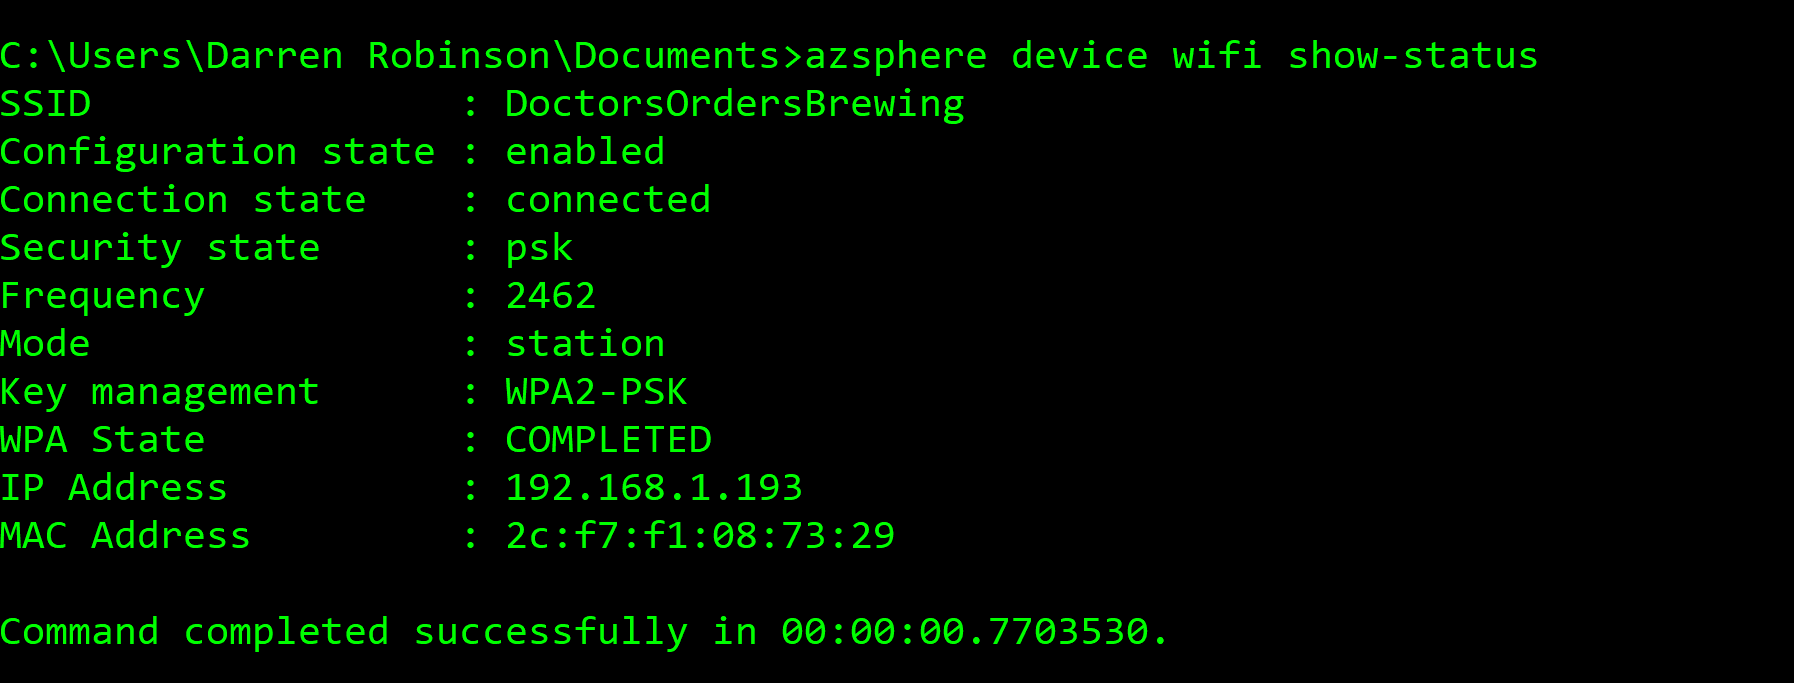
Checking the Azure Sphere OS Version against what is available shows it’s on the latest.
azsphere device show-ota-status

Blink Example Project
With the device now configured it was time to try out the sample project. Again following the instructions I first Enabled Debugging.
azsphere device prep-debug
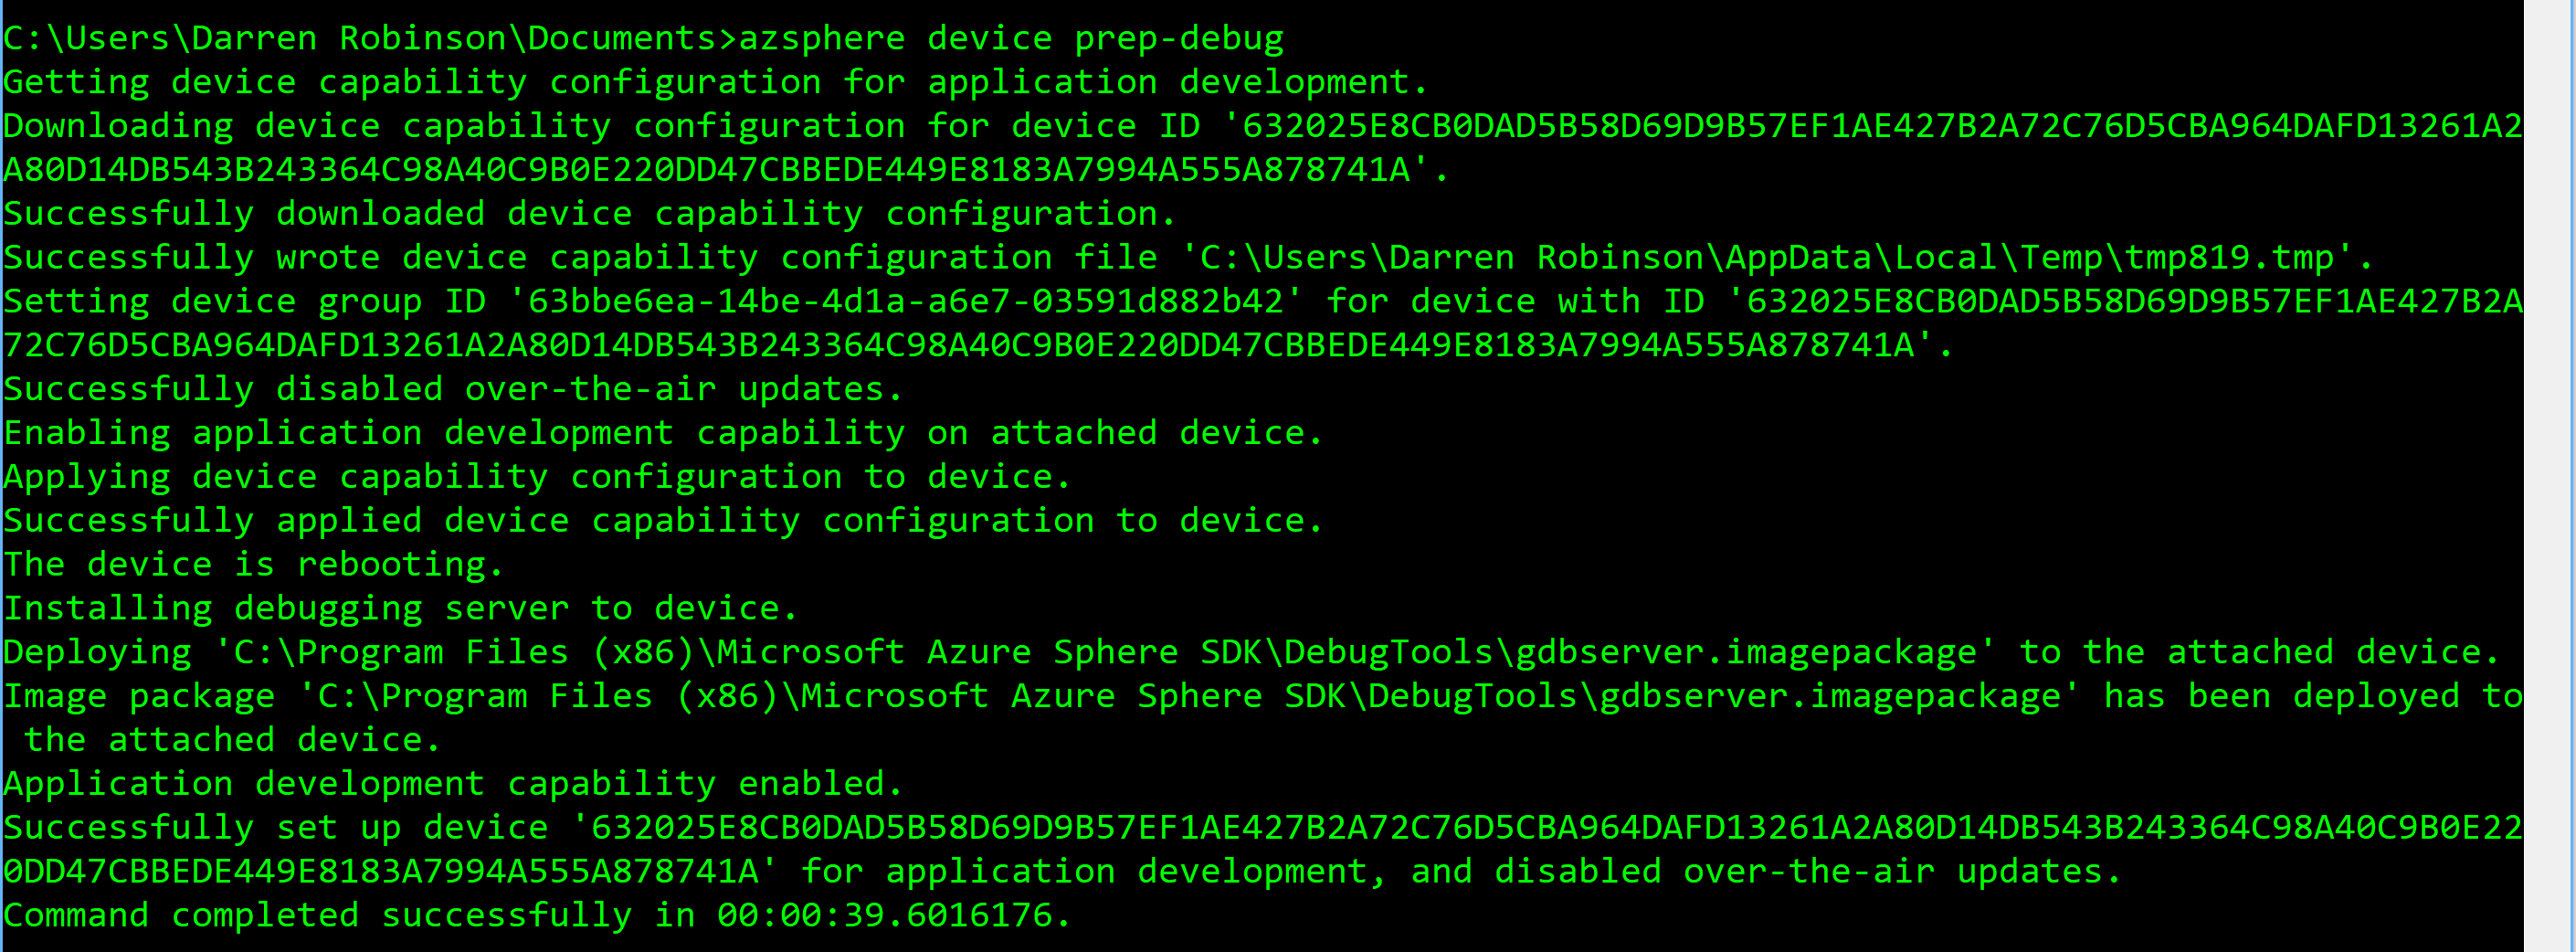
Following the example as per the Getting Started Guide I built the Blink Example project.
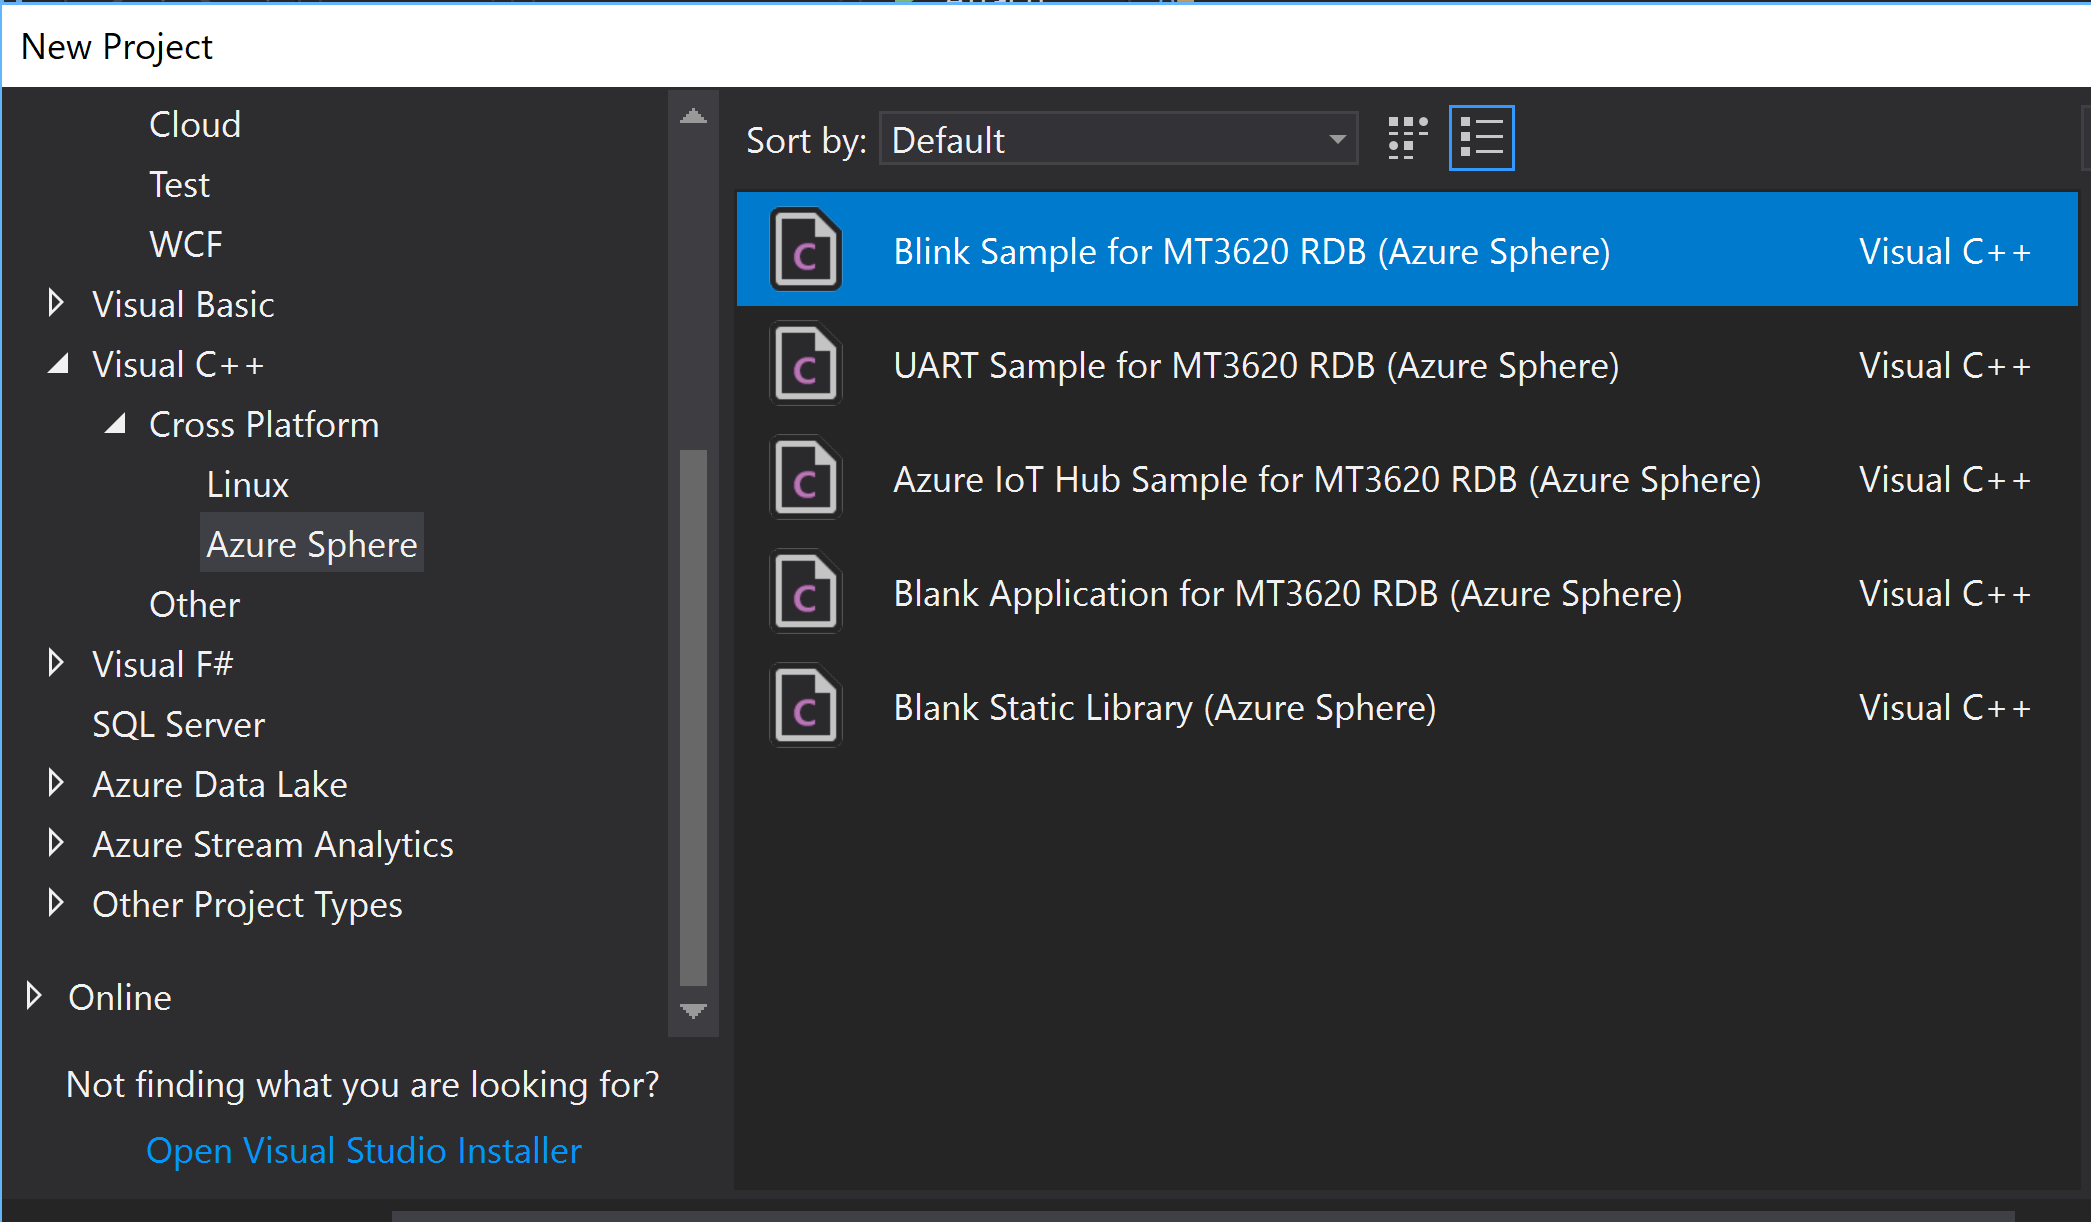
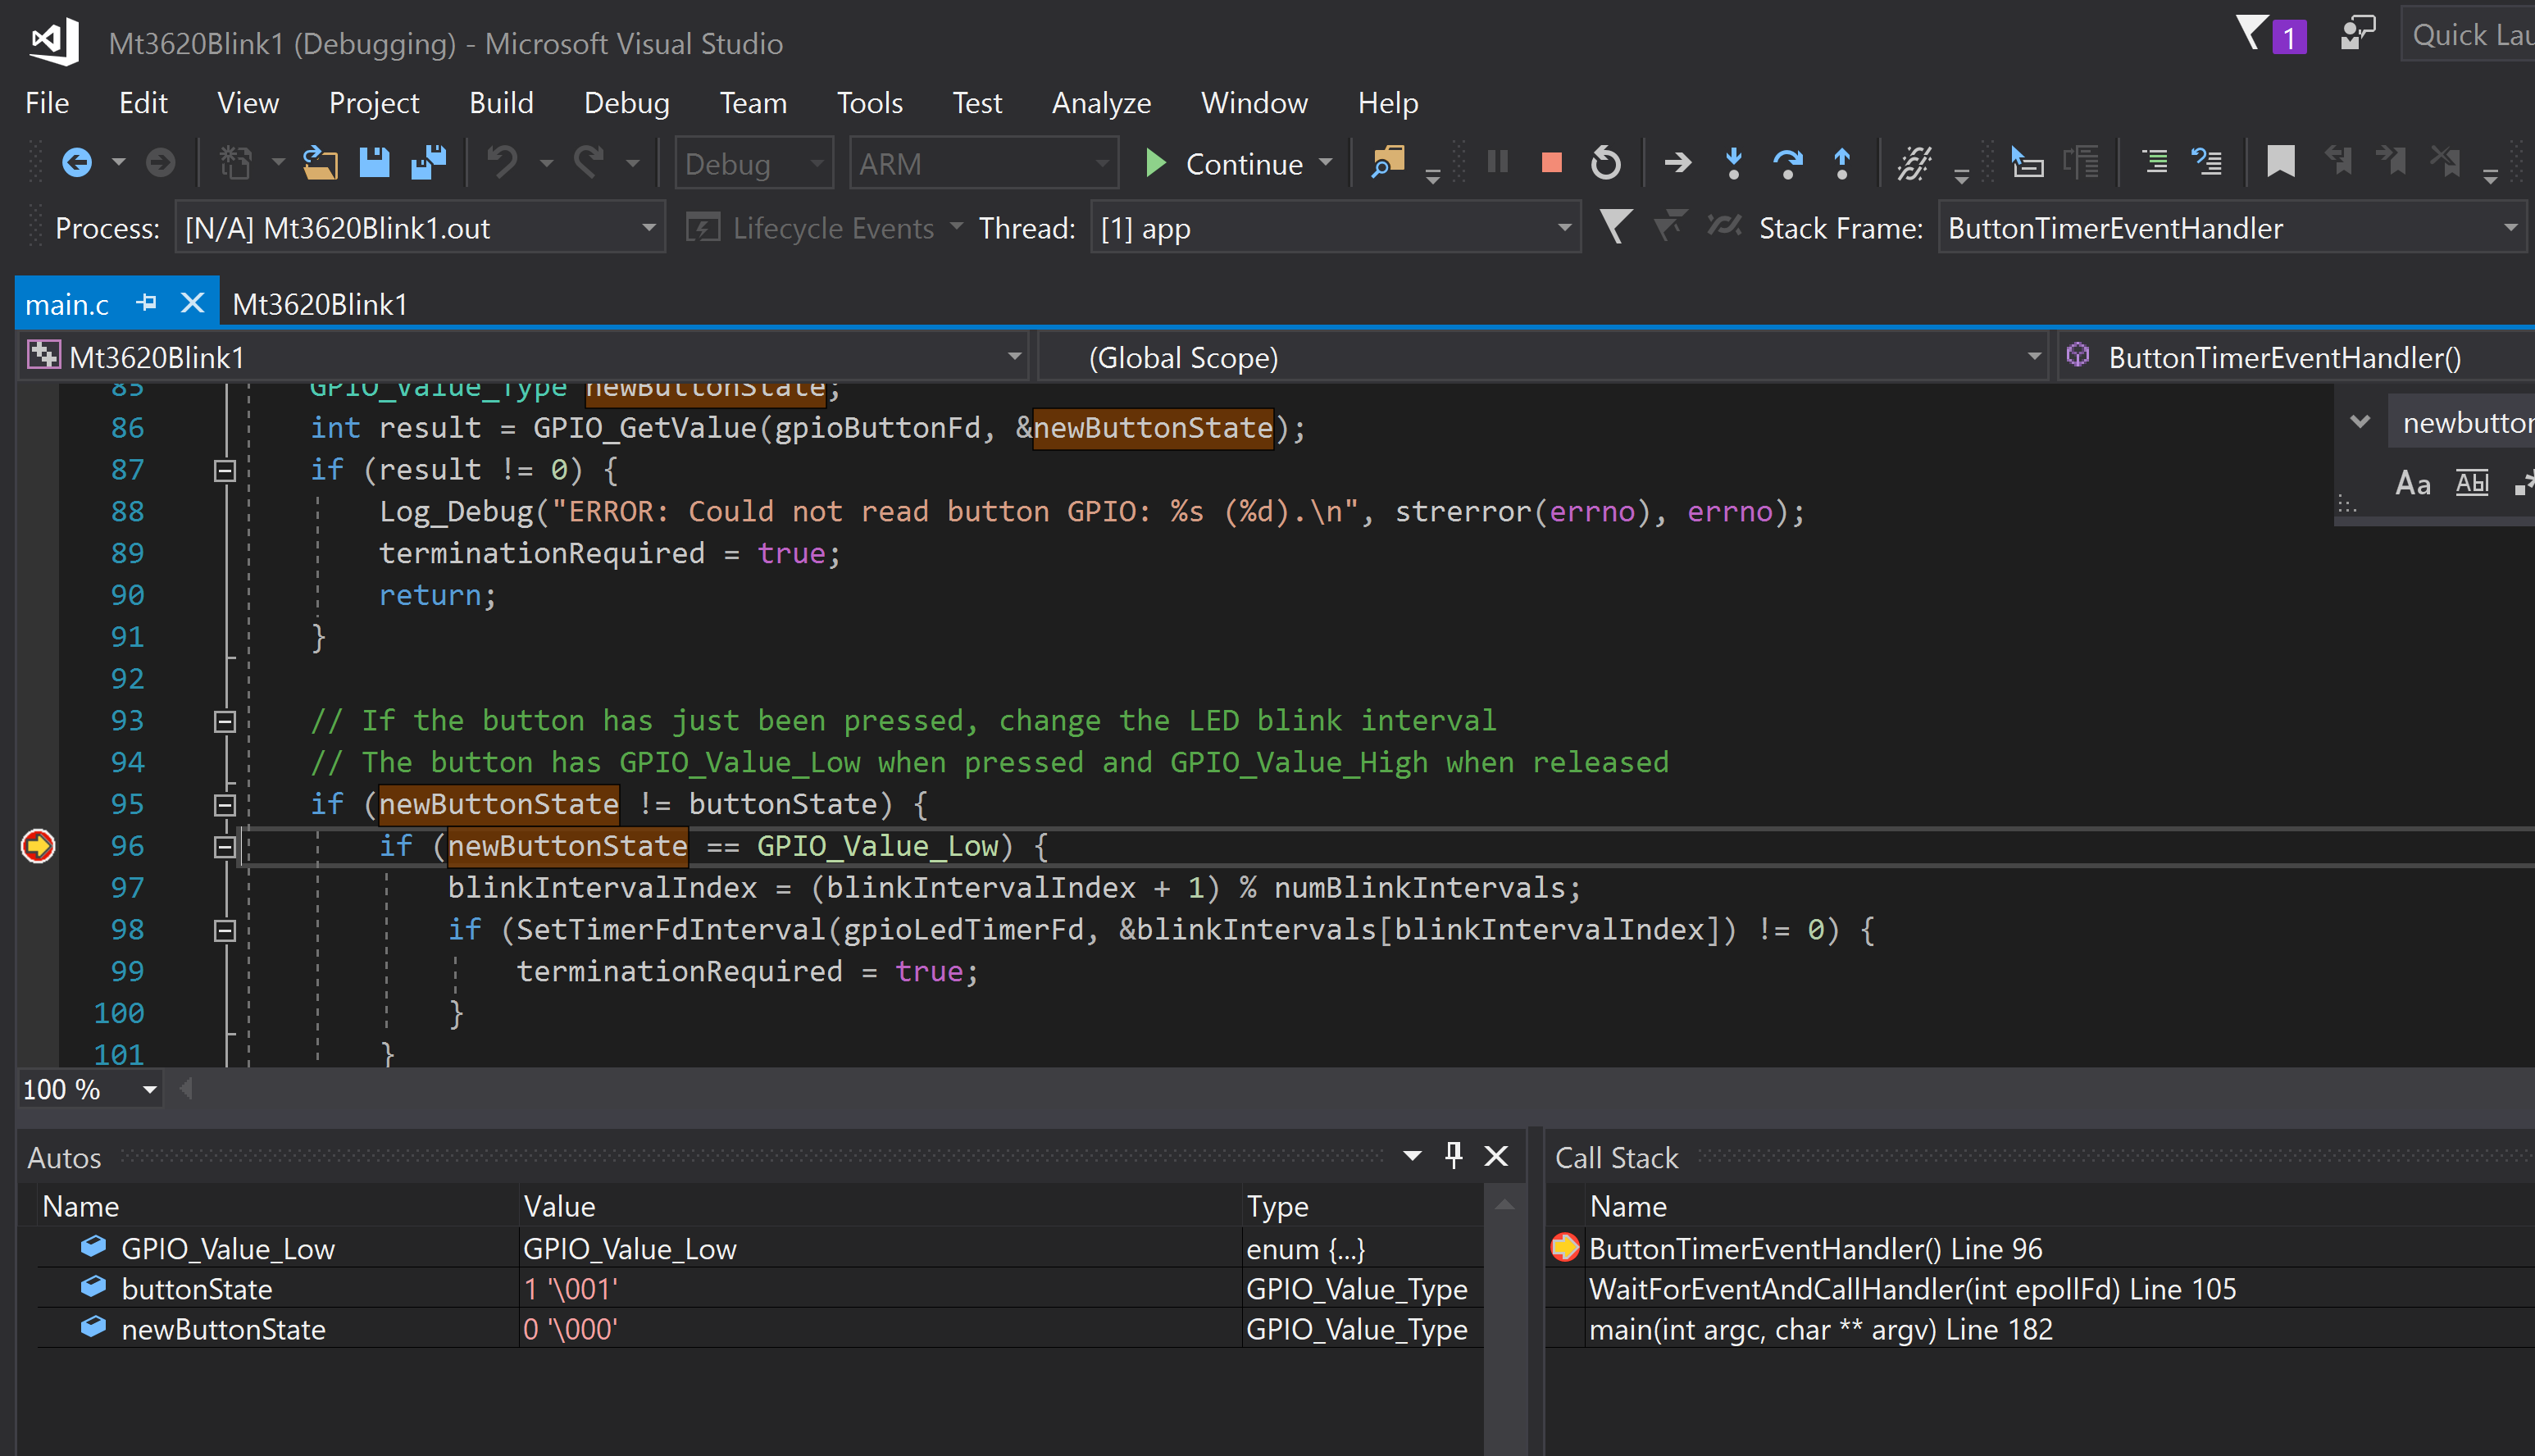
and ran it. It all worked as per the instructions. Pressing the A button with debugging enabled allow the state of the device (button) to be read and output.
Summary
The setup was very quick, completely painless and just worked. So initial impressions are positive. My only gripe is that the Azure IoT Workbench Extension for VS Code doesn’t support the hardware. I’m hoping that comes soon.
Now to build something with it. What to build ……..


