A few weeks back I noticed that I now had the option for the Azure Cloud Shell in the Azure Portal.
Essentially rather than having the Azure CLI installed on your local workstation, you can now initiate it from the Portal and you have automatically assigned (initiated as part of the setup) 5Gbytes of storage associated with it. So you can now create, manage and delete Azure resources using a centrally hosted CLI session. Each time you start your shell your homedrive will mount and your profile, scripts and whatever else you’ve stored in it will be available to you. Nice. Let’s do it.
Login to the Azure Portal and click on the Cloud Shell icon.
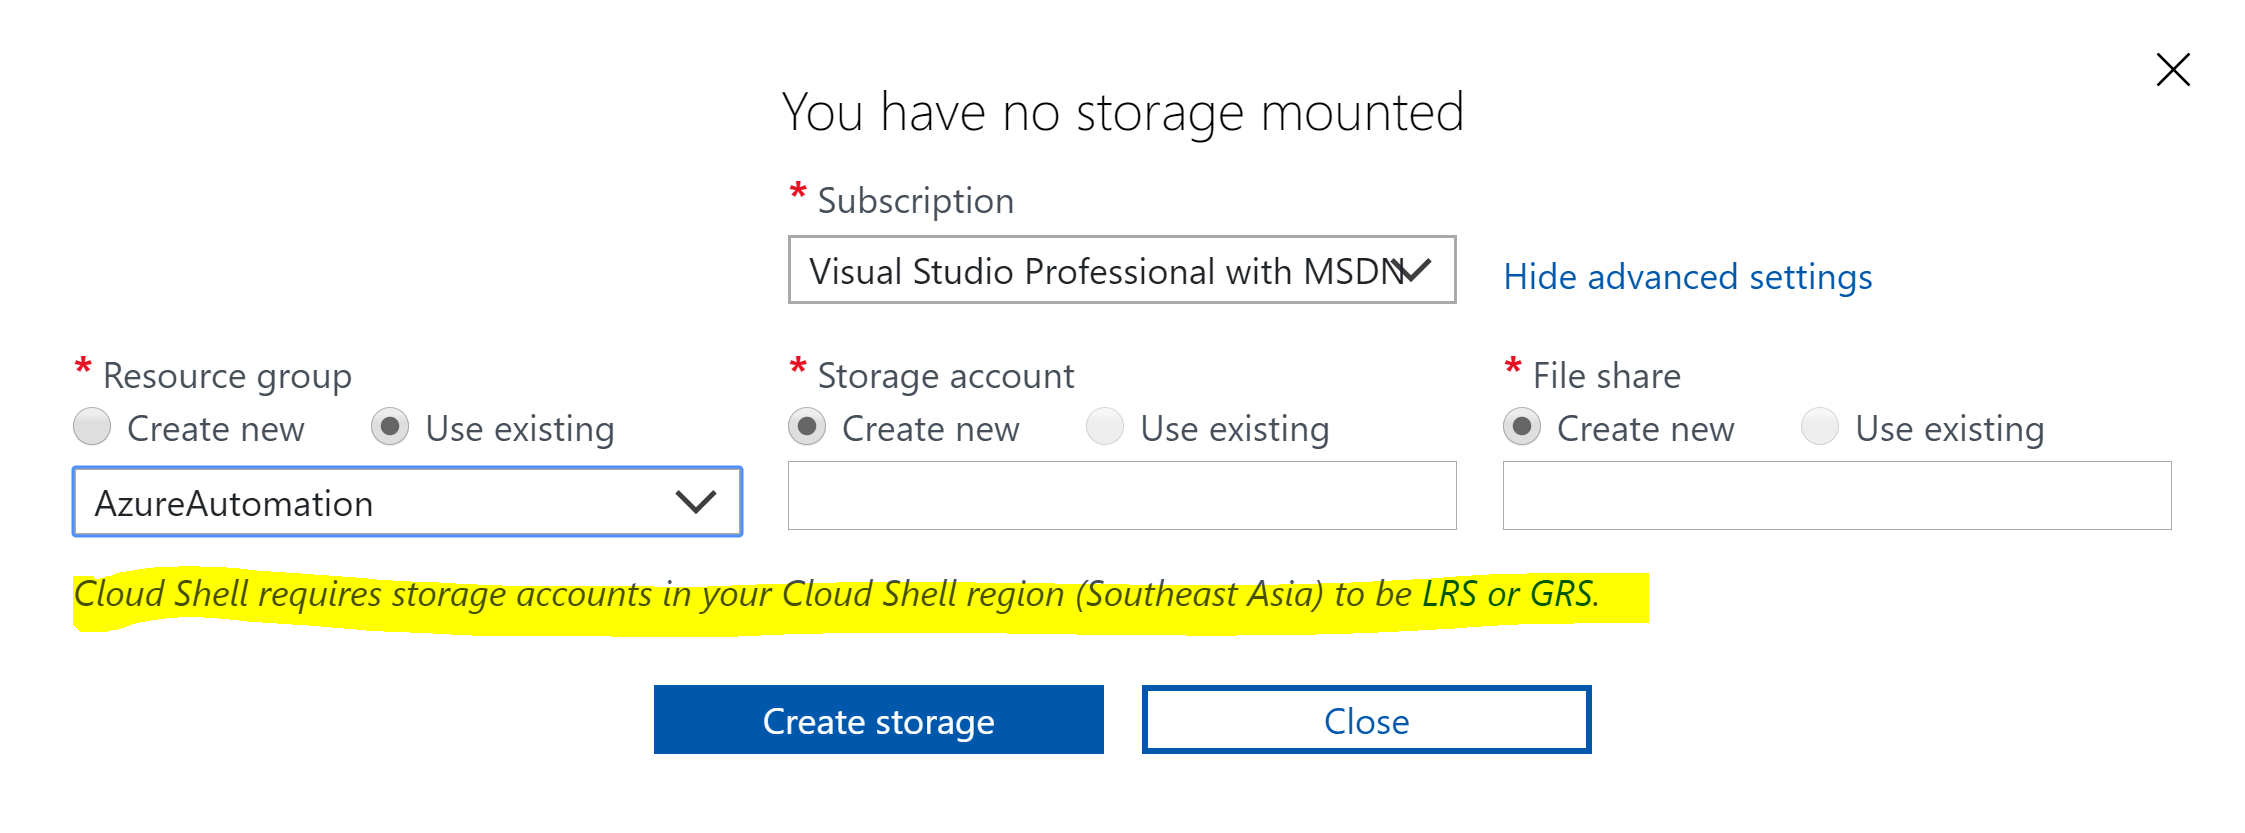
As this is the first time you’ve accessed it, you will not have any storage associated with your Azure Cloud Shell. You will be prompted for storage information.
Azure Files must reside in the same region as the machine being mounted to. Cloud Shell machines currently (July 2017) exist in the below regions:
| Area | Region |
|---|---|
| Americas | East US, South Central US, West US |
| Europe | North Europe, West Europe |
| Asia Pacific | India Central, Southeast Asia |
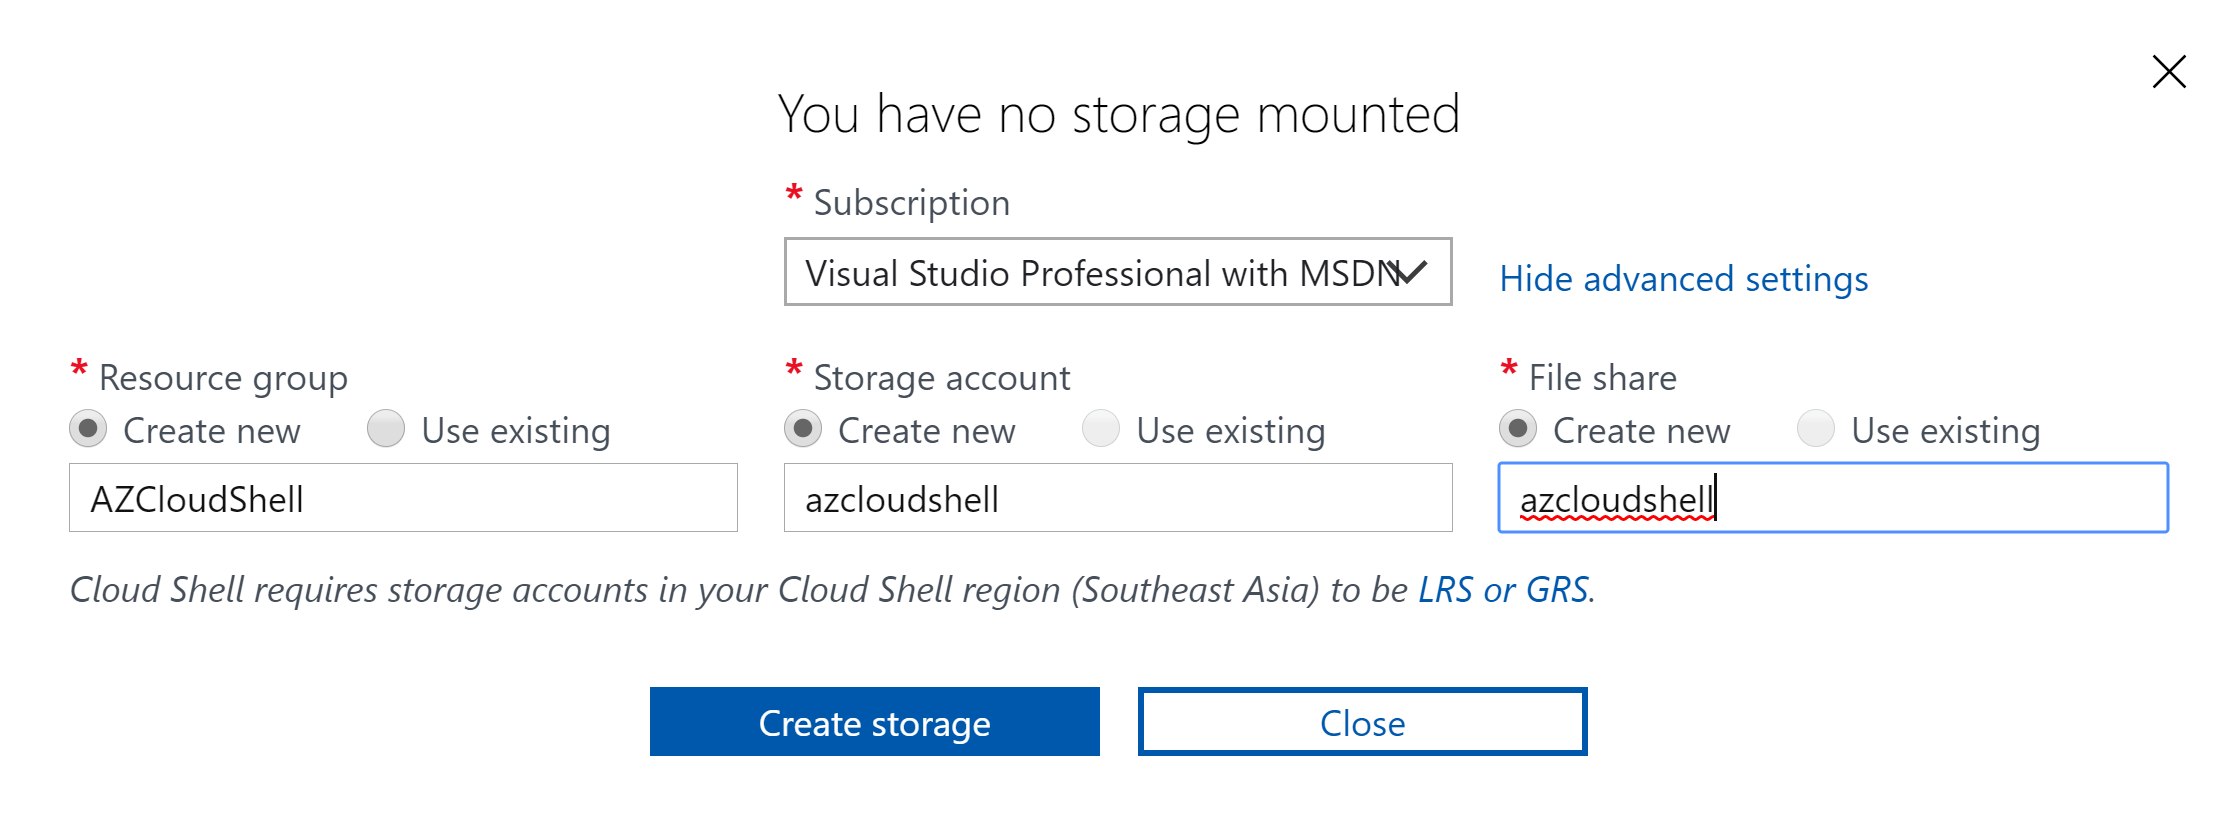
I hit the Advanced Settings to specify creation of a new Resource Group, Storage Account and File Share.
The UI doesn’t check for uniqueness of the configuration settings until it is written. So you might need a couple of attempts with the naming of your storage account. As you can see below it isn’t surprising that my attempt to use azcloudshell as a “Storage Account Name” was already taken.
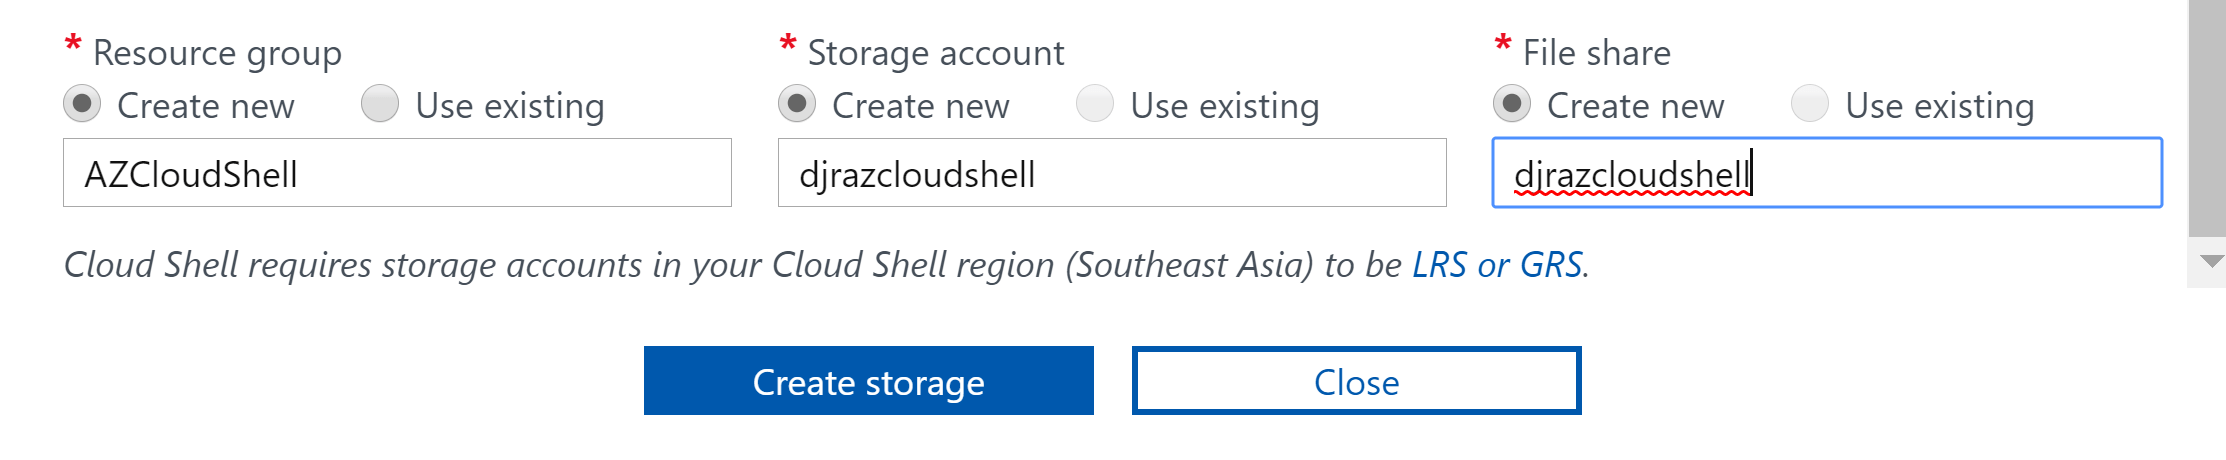
Providing unique values for these options
.. let the initial creation go through just nicely. I now had a homedrive created for my profile and any files I create, store for my sessions.
As for commands you can use with the Azure CLI go have a look here for the full list that you can use to create, manage and delete your Azure resources.
Personally I’m currently doing a lot with Azure Functions. A list of the full range of Azure Functions CLI commands is available here.
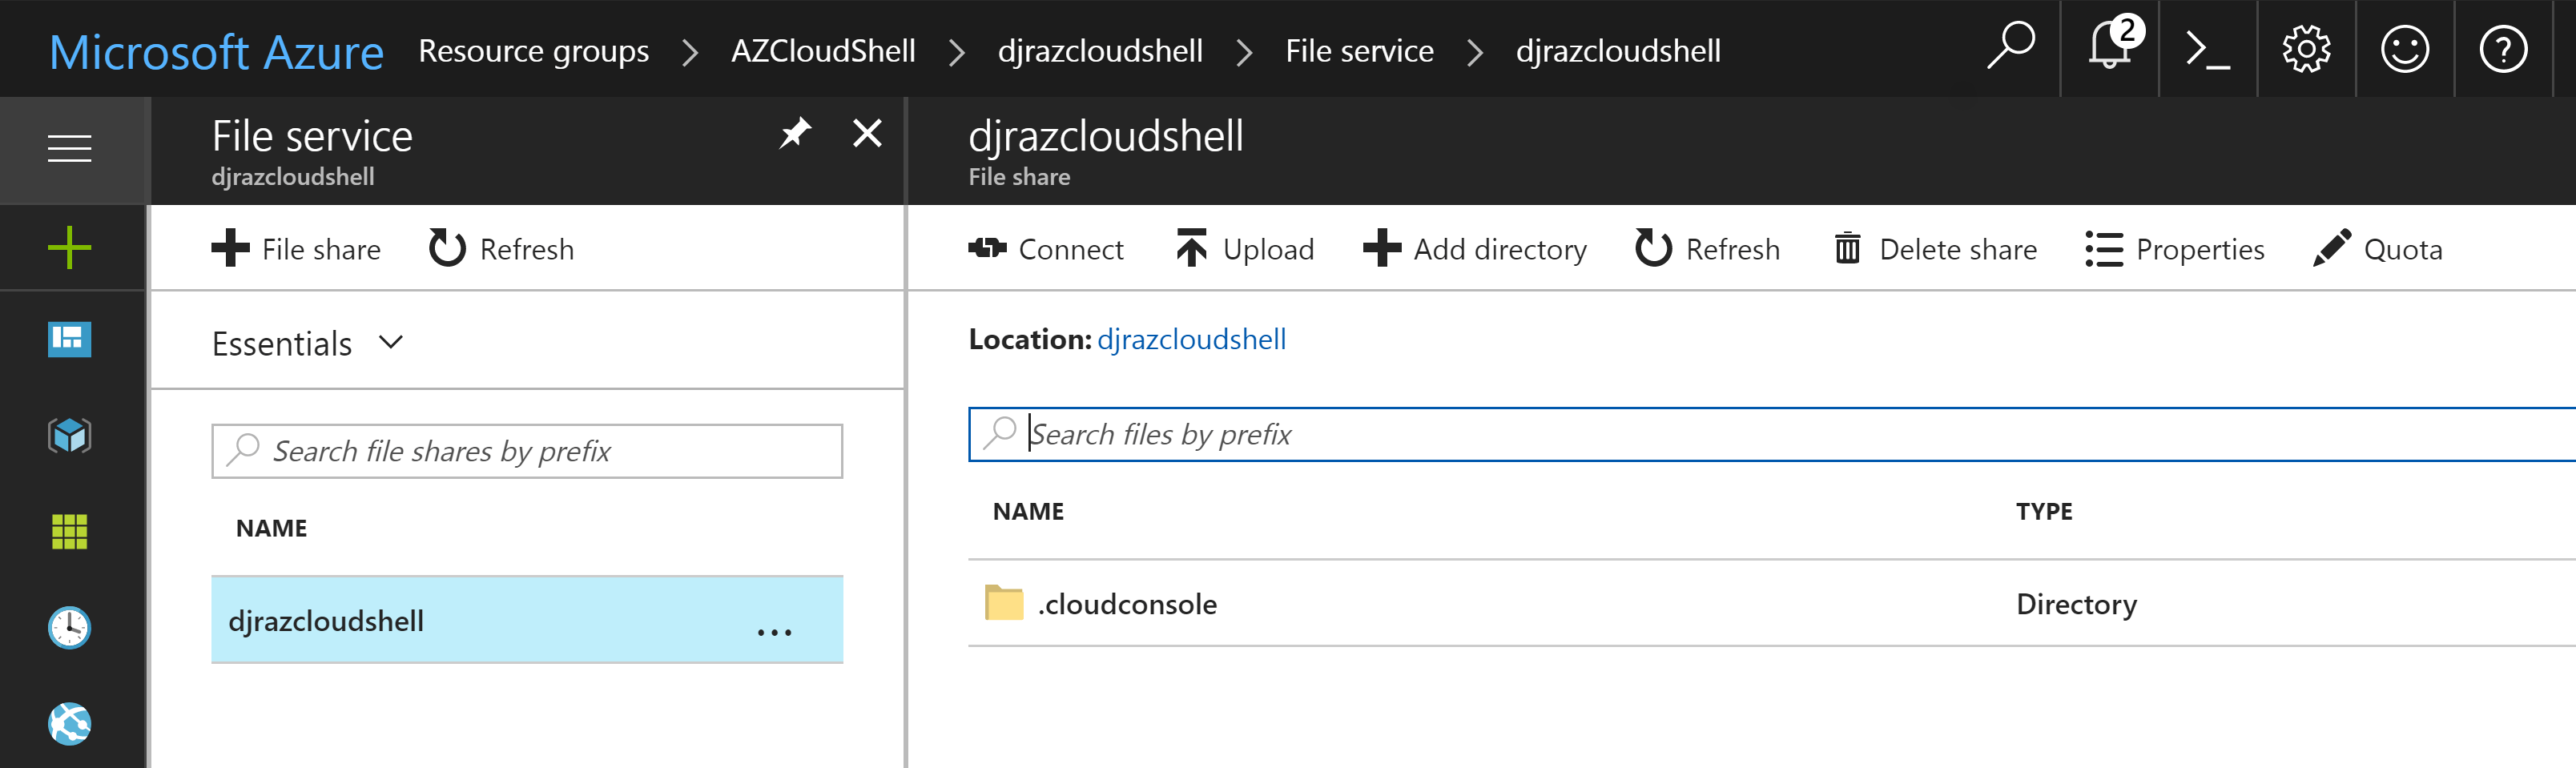
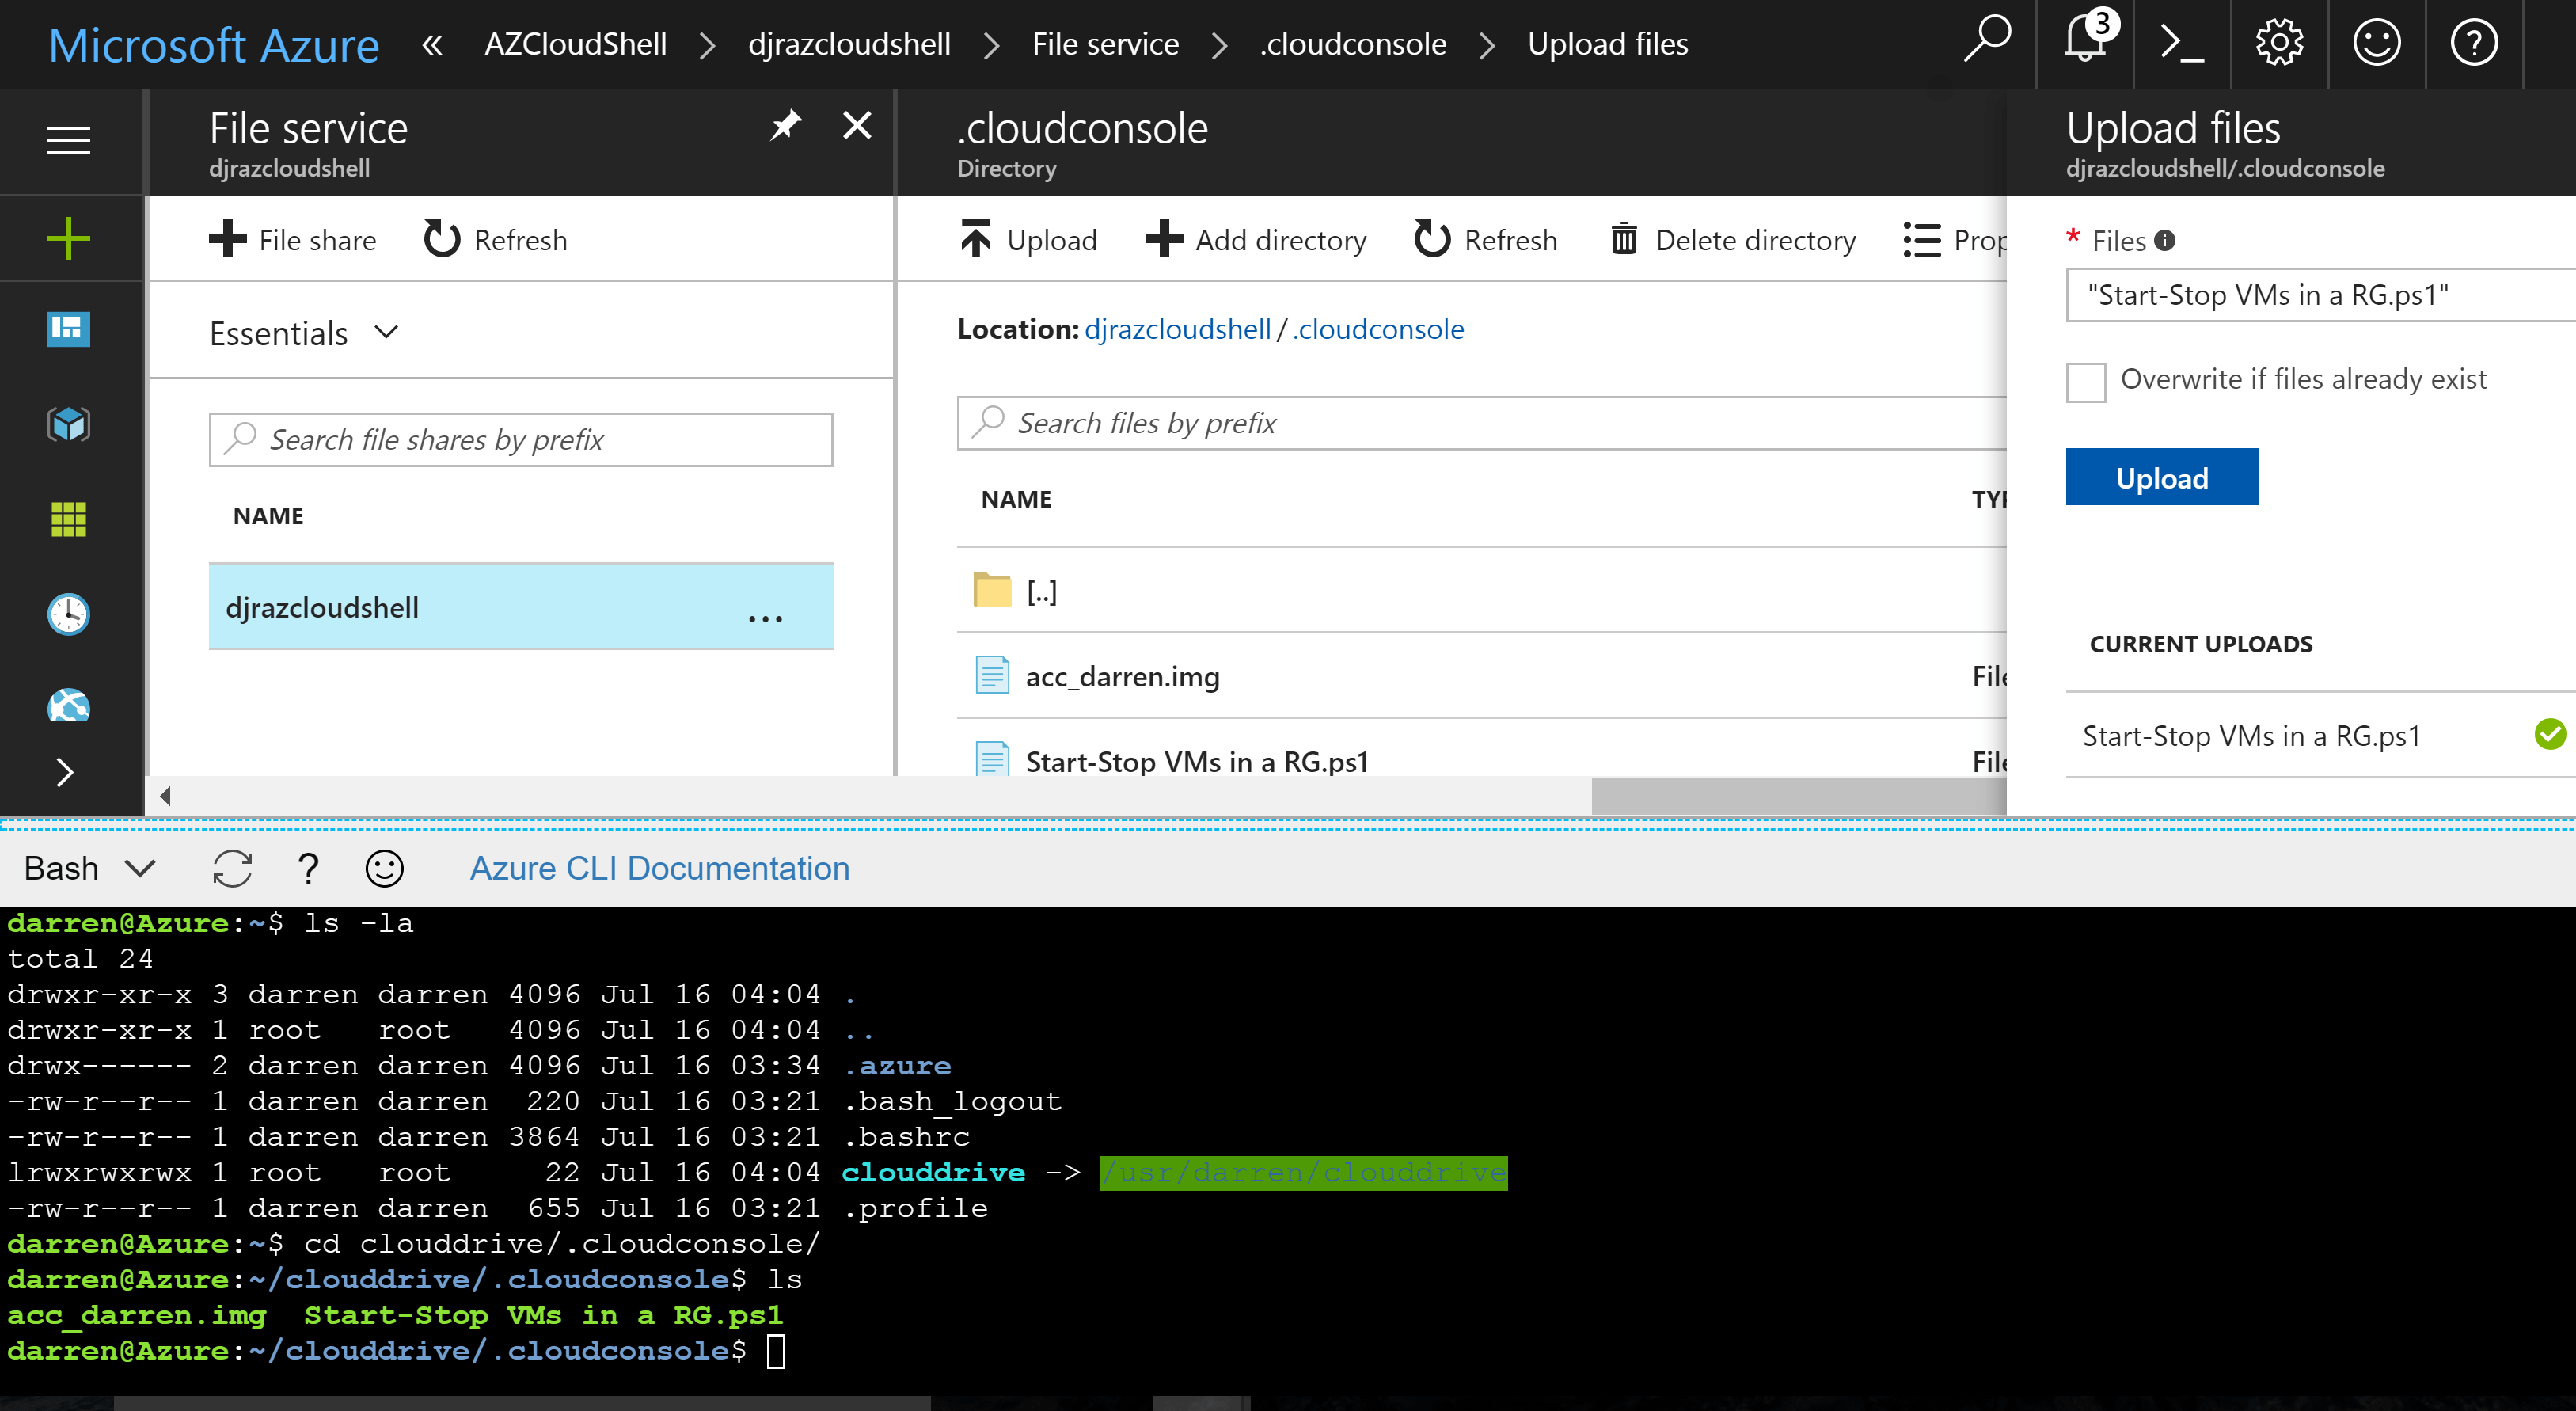
The next thing I looked to do was to put my scripts etc into the clouddrive. I just navigated to the new StorageAccount that I created as part of this and uploaded via the browser.
Below you can see the file I uploaded on the right which appears in the directory in the middle pane.
Using the Azure CLI I changed directories and could see my uploaded file.
And that is pretty much it. Continue as you would with the CLI, but just now with it all centrally stored. Sweet.
A few weeks back the Microsoft AI Tour was in Sydney Australia. There was a…
If you're anything like me you always have PowerShell open, and often both PowerShell and…
Decentralised Identity is a technology I'm passionate about and have written many posts and tools…
Over two years ago I authored a PowerShell Module that enabled the automation of 1Password.…
Buried in my PowerShell Snippets Vol 4 post from 2021 is the PowerShell script and…
Short post on how to recovery from "The Windows Subsystem for Linux instance has terminated"…
This website uses cookies.