


Introduction
Whilst I was in the USA recently I bought myself a Google Home. My home already had Hue Lights, Chromecast on a couple of TV’s and I’m a big user of Spotify (Premium). It was very quick to get it up and running and doing simple tasks, but I started thinking about what custom things I could get it to do. Could I get it to call custom/private API to get some information and let me know the result? The answer is yes, and that is what this post will cover. I have a few temperature sensors that have a RestAPI that can be used to query the temperature. I got it working pretty quickly (one evening) for not having messed with the Google App Engine for many years. But there were a number of steps required, and as this functionality will form the basis for more complex functionatlity I’ve documented the step by step process I used.
But here is the result. A command, a query and custom response.
Prerequisites
- First up you are going to need to have a Google Account. Seeing as you are probably reading this because you want to do something similar, you will have a Google Home and thereby a Google account, so you’re already covered on that point. The account associated with your Google Home is the one you NEED to use with the additional services, as it is what will tie everything together
- You will need to register for an api.ai account. Sign in with the Google Account you have linked to your Google Home
- You will need to also register for a Google Cloud account. Sign in with the Google Account you have linked to your Google Home
- Download and install the Google Cloud CLI. Even though I did this on a Windows machine, I actually installed the CLI in Ubuntu via the Windows Subsystem for Linux. If you want that option, here is how to get started with the Windows Subsystem for Linux
- change into your homedir eg cd ~/ and then run curl https://sdk.cloud.google.com | bash
- change into your homedir eg cd ~/ and then run curl https://sdk.cloud.google.com | bash
Getting Started
Now it is time to start our Project. In your gCloud CLI window create a project directory. I named mine insidetemp as I will be calling an IOT Temperature sensor to get the temperature inside one of my beer brewing sheds.

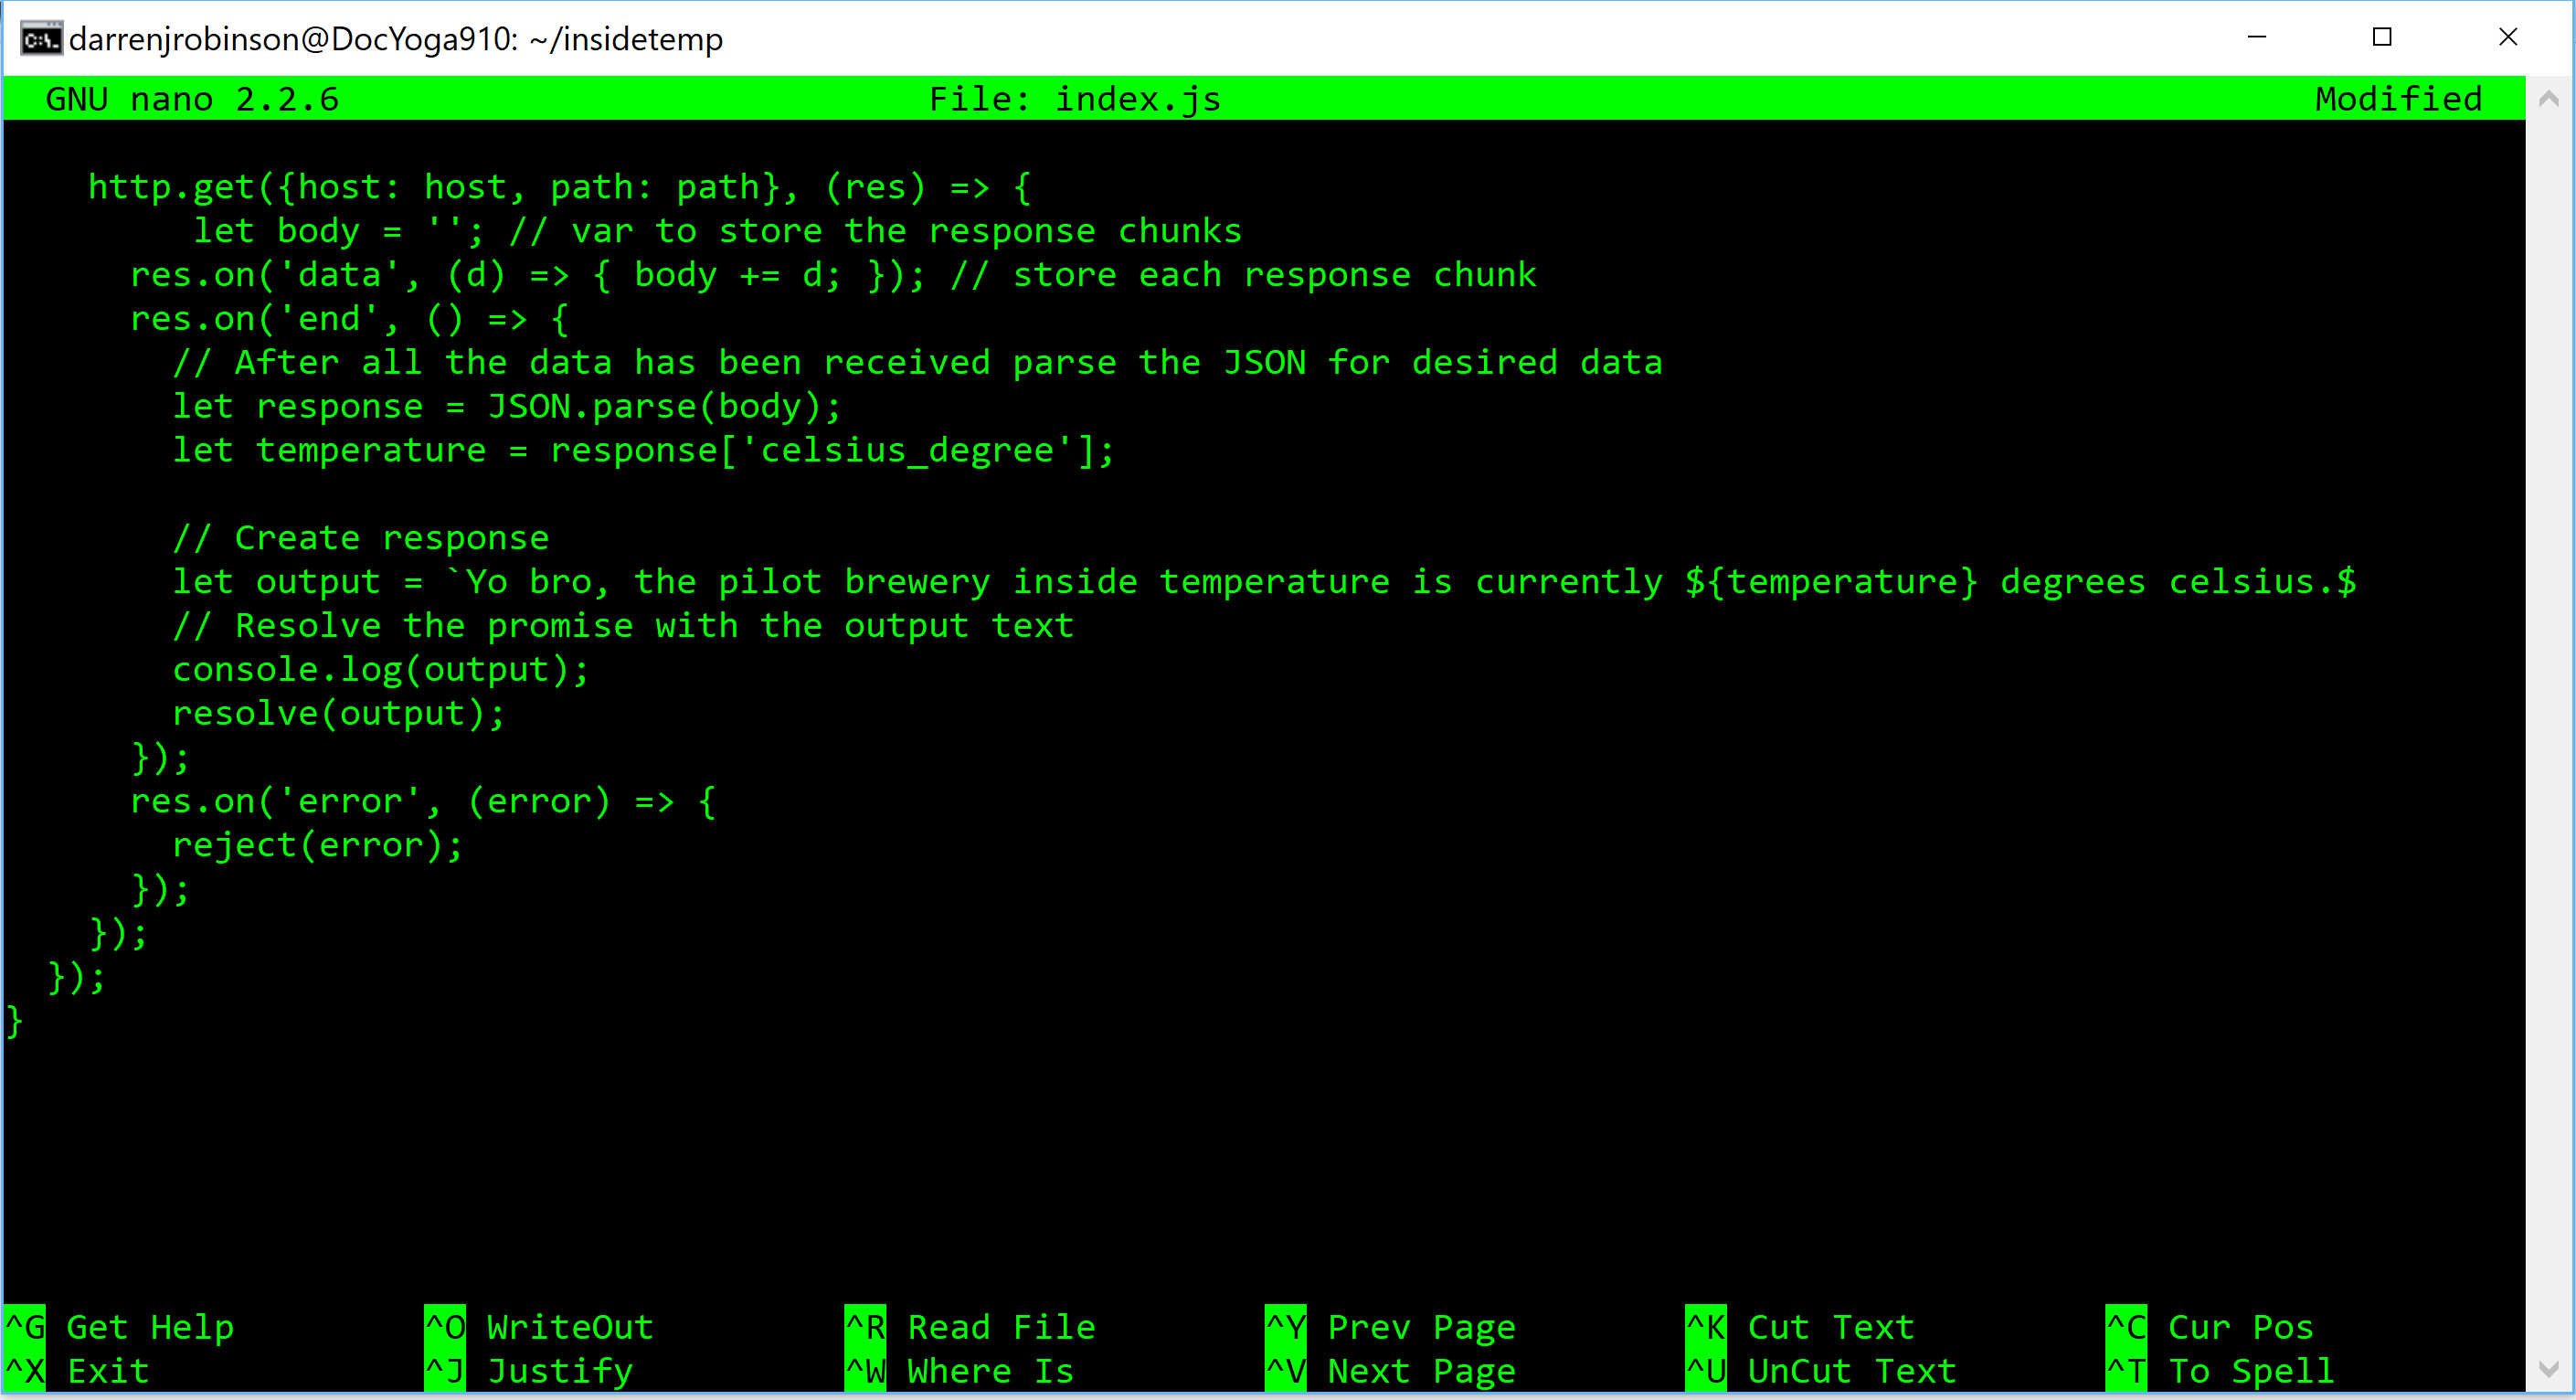
We will now create a small Javascript script that will call a RestAPI to retrieve the current temperature from an IOT Temperature Sensor. The script below does that. Modify it for whatever unauthenticated API call you want to make. You’ll need to change lines 6, 7 and 24 for building the URL you will call to get data. Line 8 contains the Function name. Mine is called insideTemp. If you name yours different, then everywhere I use ‘insideTemp’ (not case) substitute what you changed your function name to.
With your modified script (I’ve changed the api key so it won’t work as is), in your application directory create a new file named index.js and paste in your script. e.g in Linux run nano index.js
After pasting in your script, use Cntrl + O to save as index.js and Cntrl + X to quit.
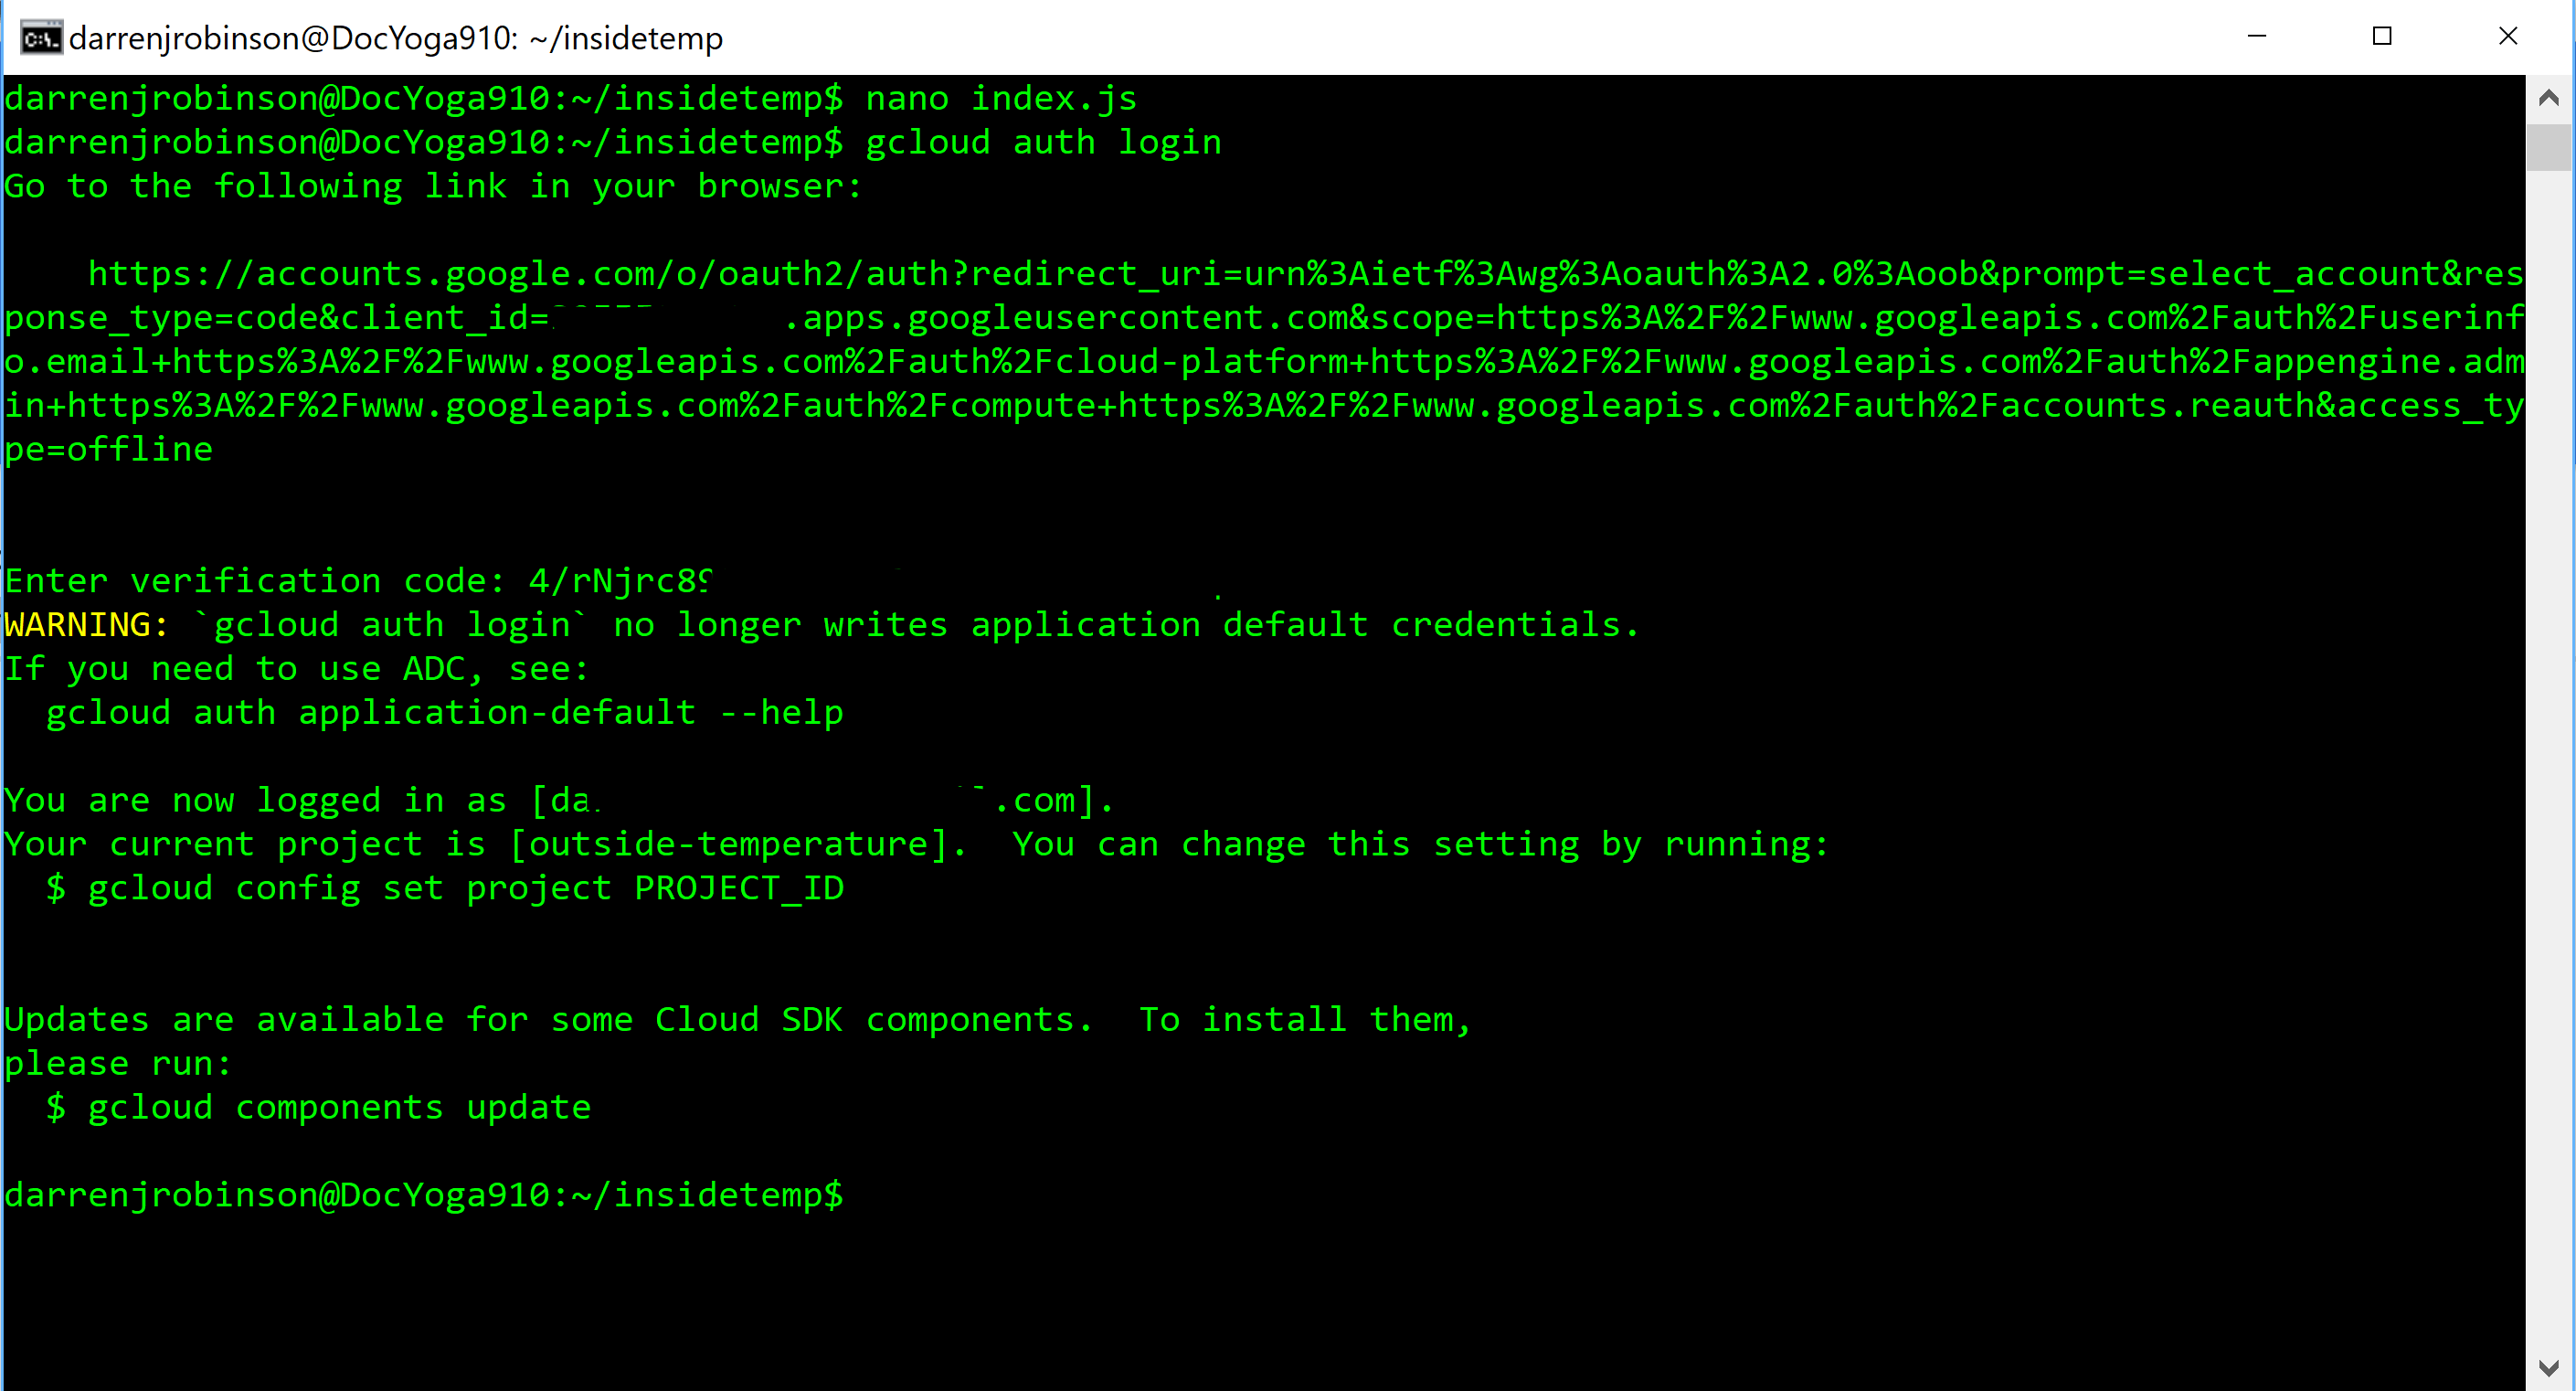
Run gcloud auth login and go through the authentication process using the same Google Account you used for api.ai and Google Cloud. The CLI will give you a URL you need to paste into your browser and authorize access to Google Cloud for your Google Account. Once completed get the code generated from the authorization and paste that back into the CLI
Now we will create a Google Cloud Storage Bucket for our script. I named mine the same as the Function in the script (line 8) but all in lowercase (as lower case is required).
gsutil mb gs://insidetemp

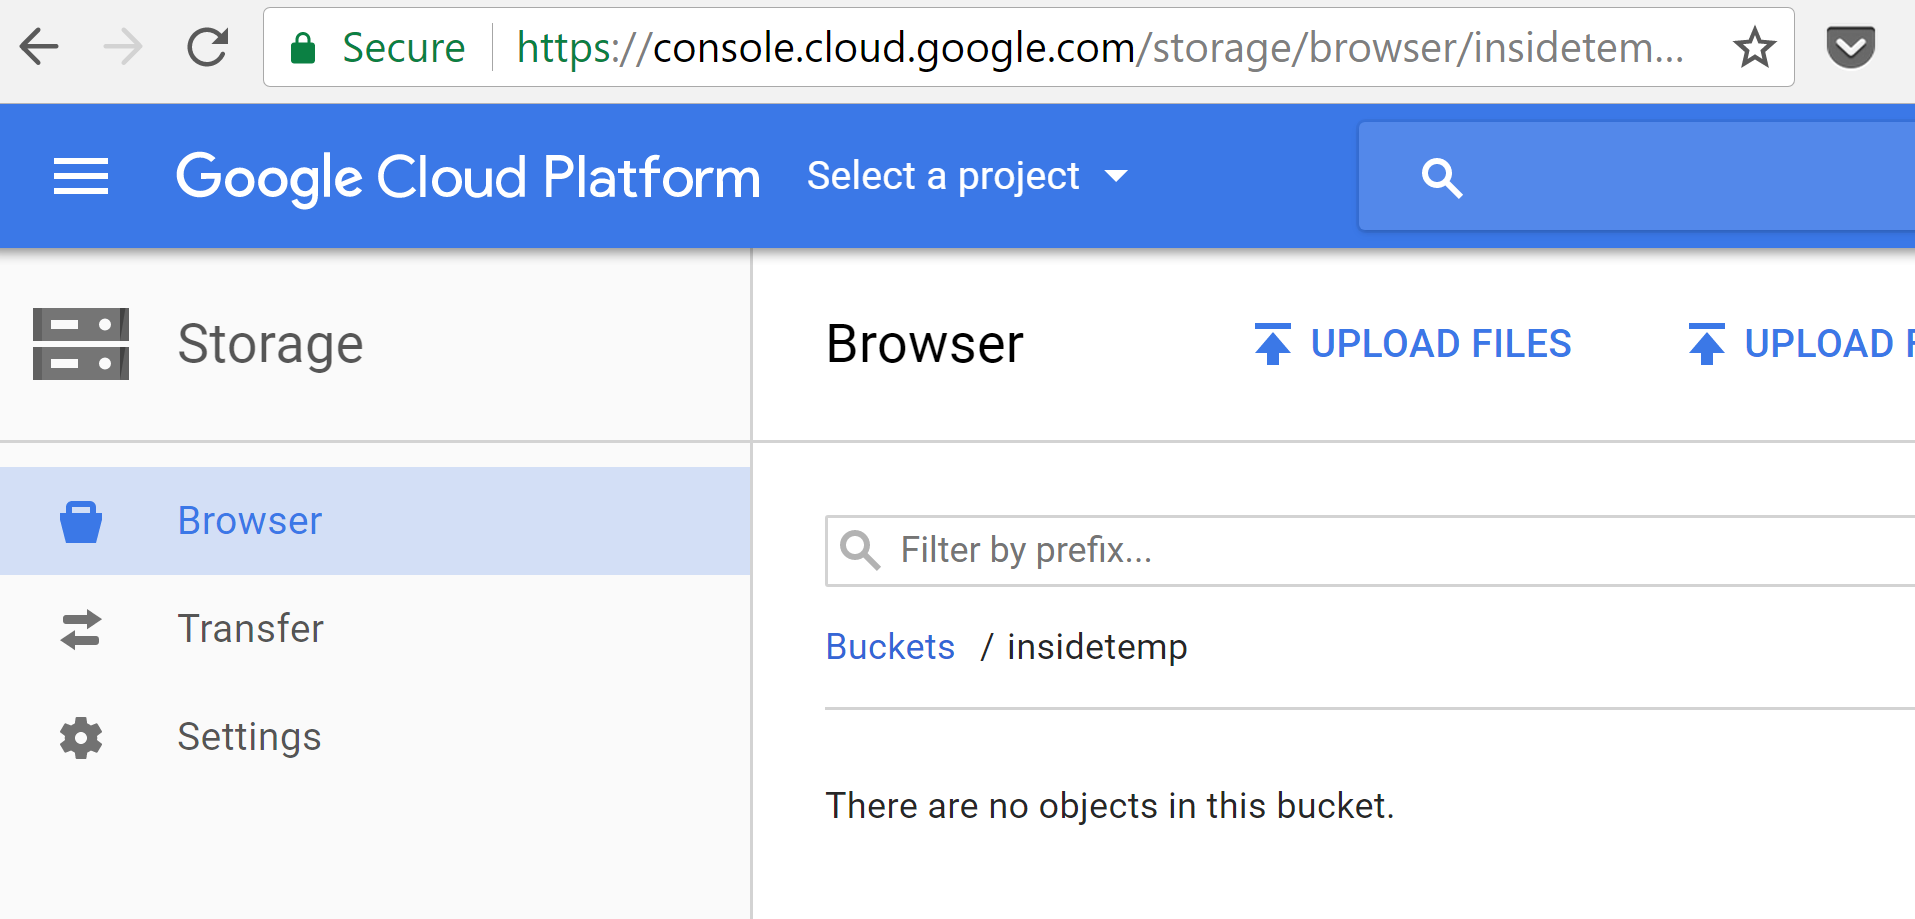
You should then be able to browse to your storage. My URL is below. Updated for your project name.
https://console.cloud.google.com/storage/browser/insidetemp?project=insidetemp
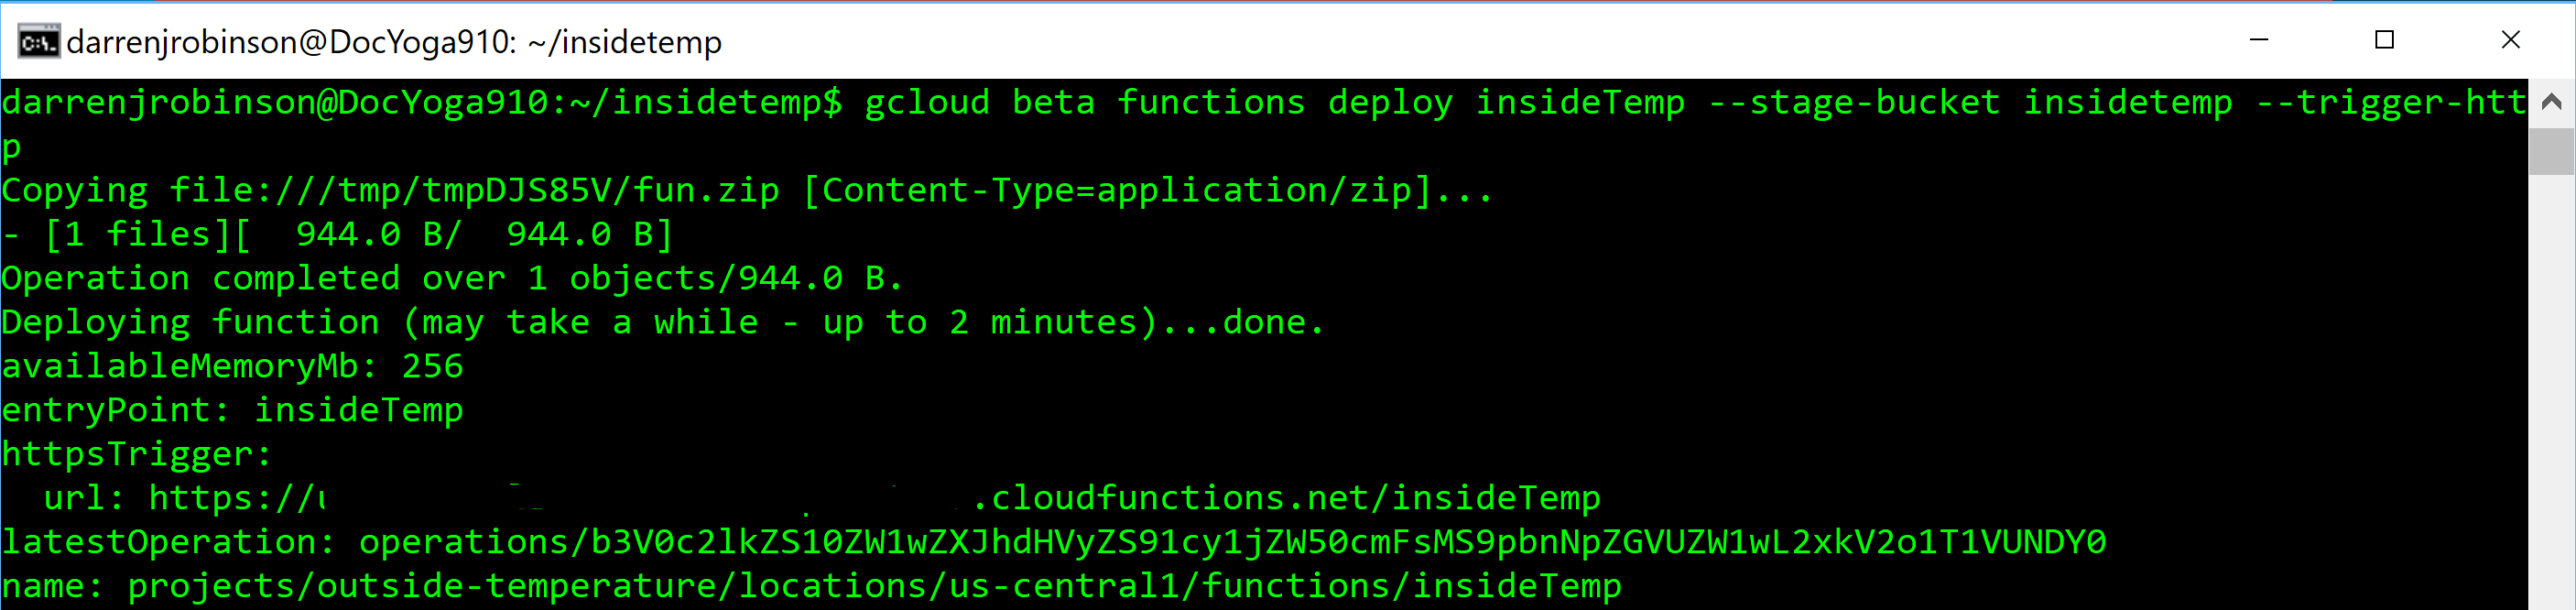
We will now upload our script and create the Function that we will call from Google Home. Change the command below for your project and script function name.
gcloud beta functions deploy insideTemp –stage-bucket insidetemp –trigger-http
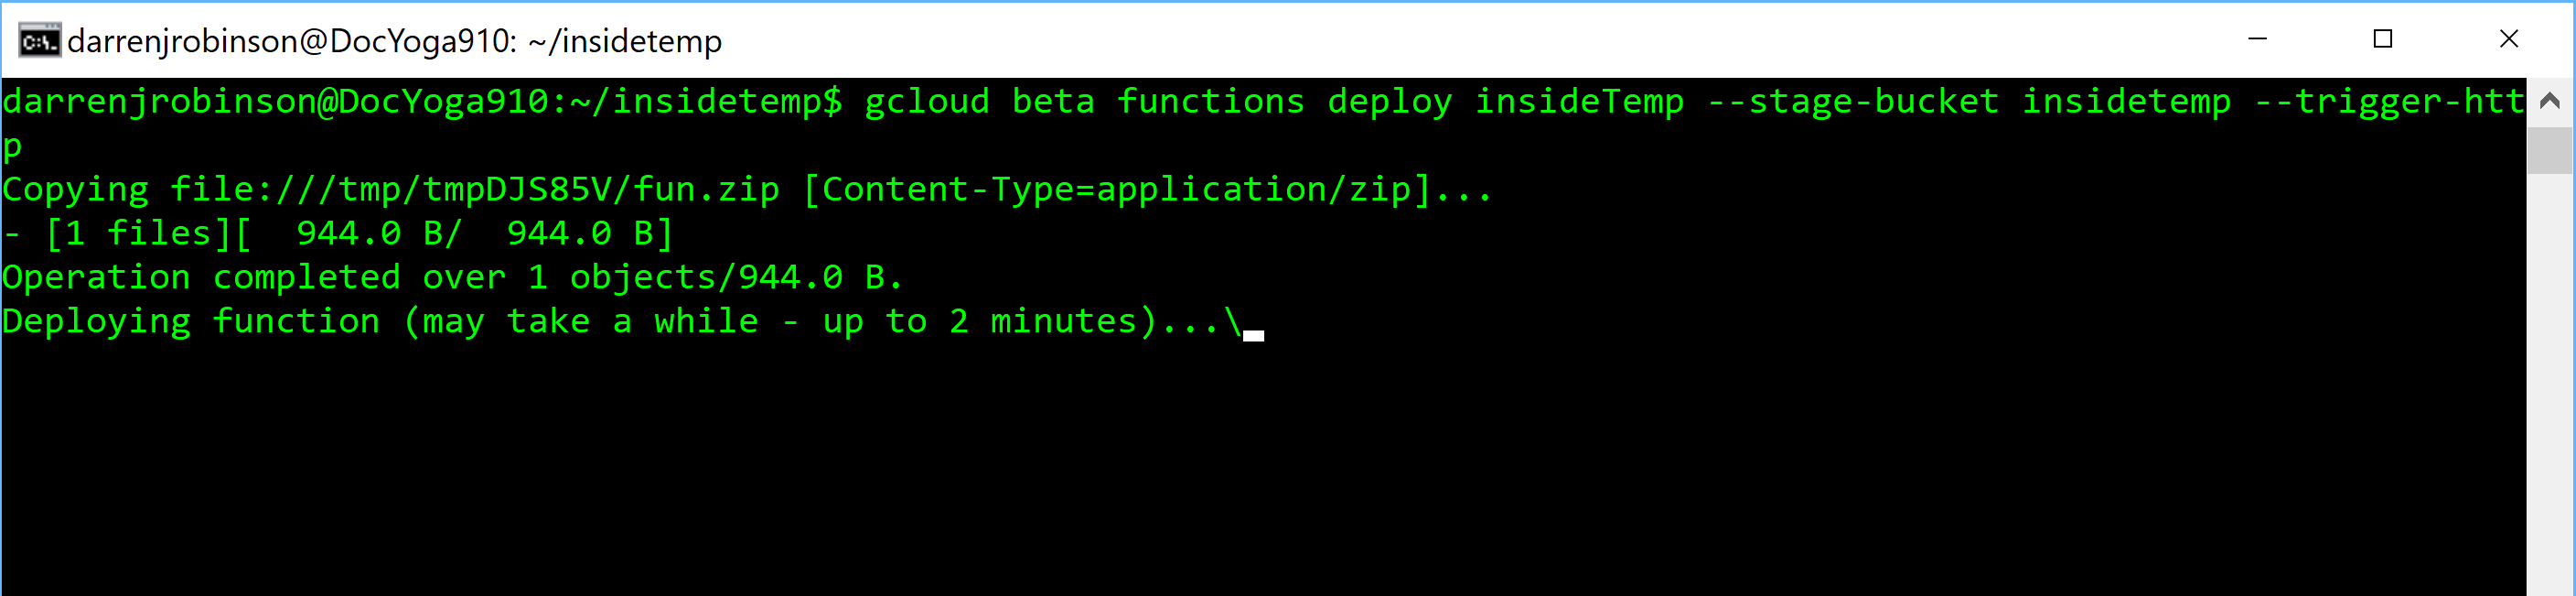
Once uploaded and the Function has been created you will get a HTTP Trigger URL. Copy this as you’ll need it shortly. If you need to update or change the script do that locally and run the gcloud beta functions deploy command again.
Validating the Function
Using a browser you should be able to browse to your Function. The URL should look something like this. Change for your project name. https://console.cloud.google.com/functions/details/us-central1/insideTemp?project=insidetemp&tab=general&duration=PT1H
If the Storage account is different (because you already had one) then navigate to https://console.cloud.google.com/functions and use select your project from the menu in the top left next to Google Cloud Platform.
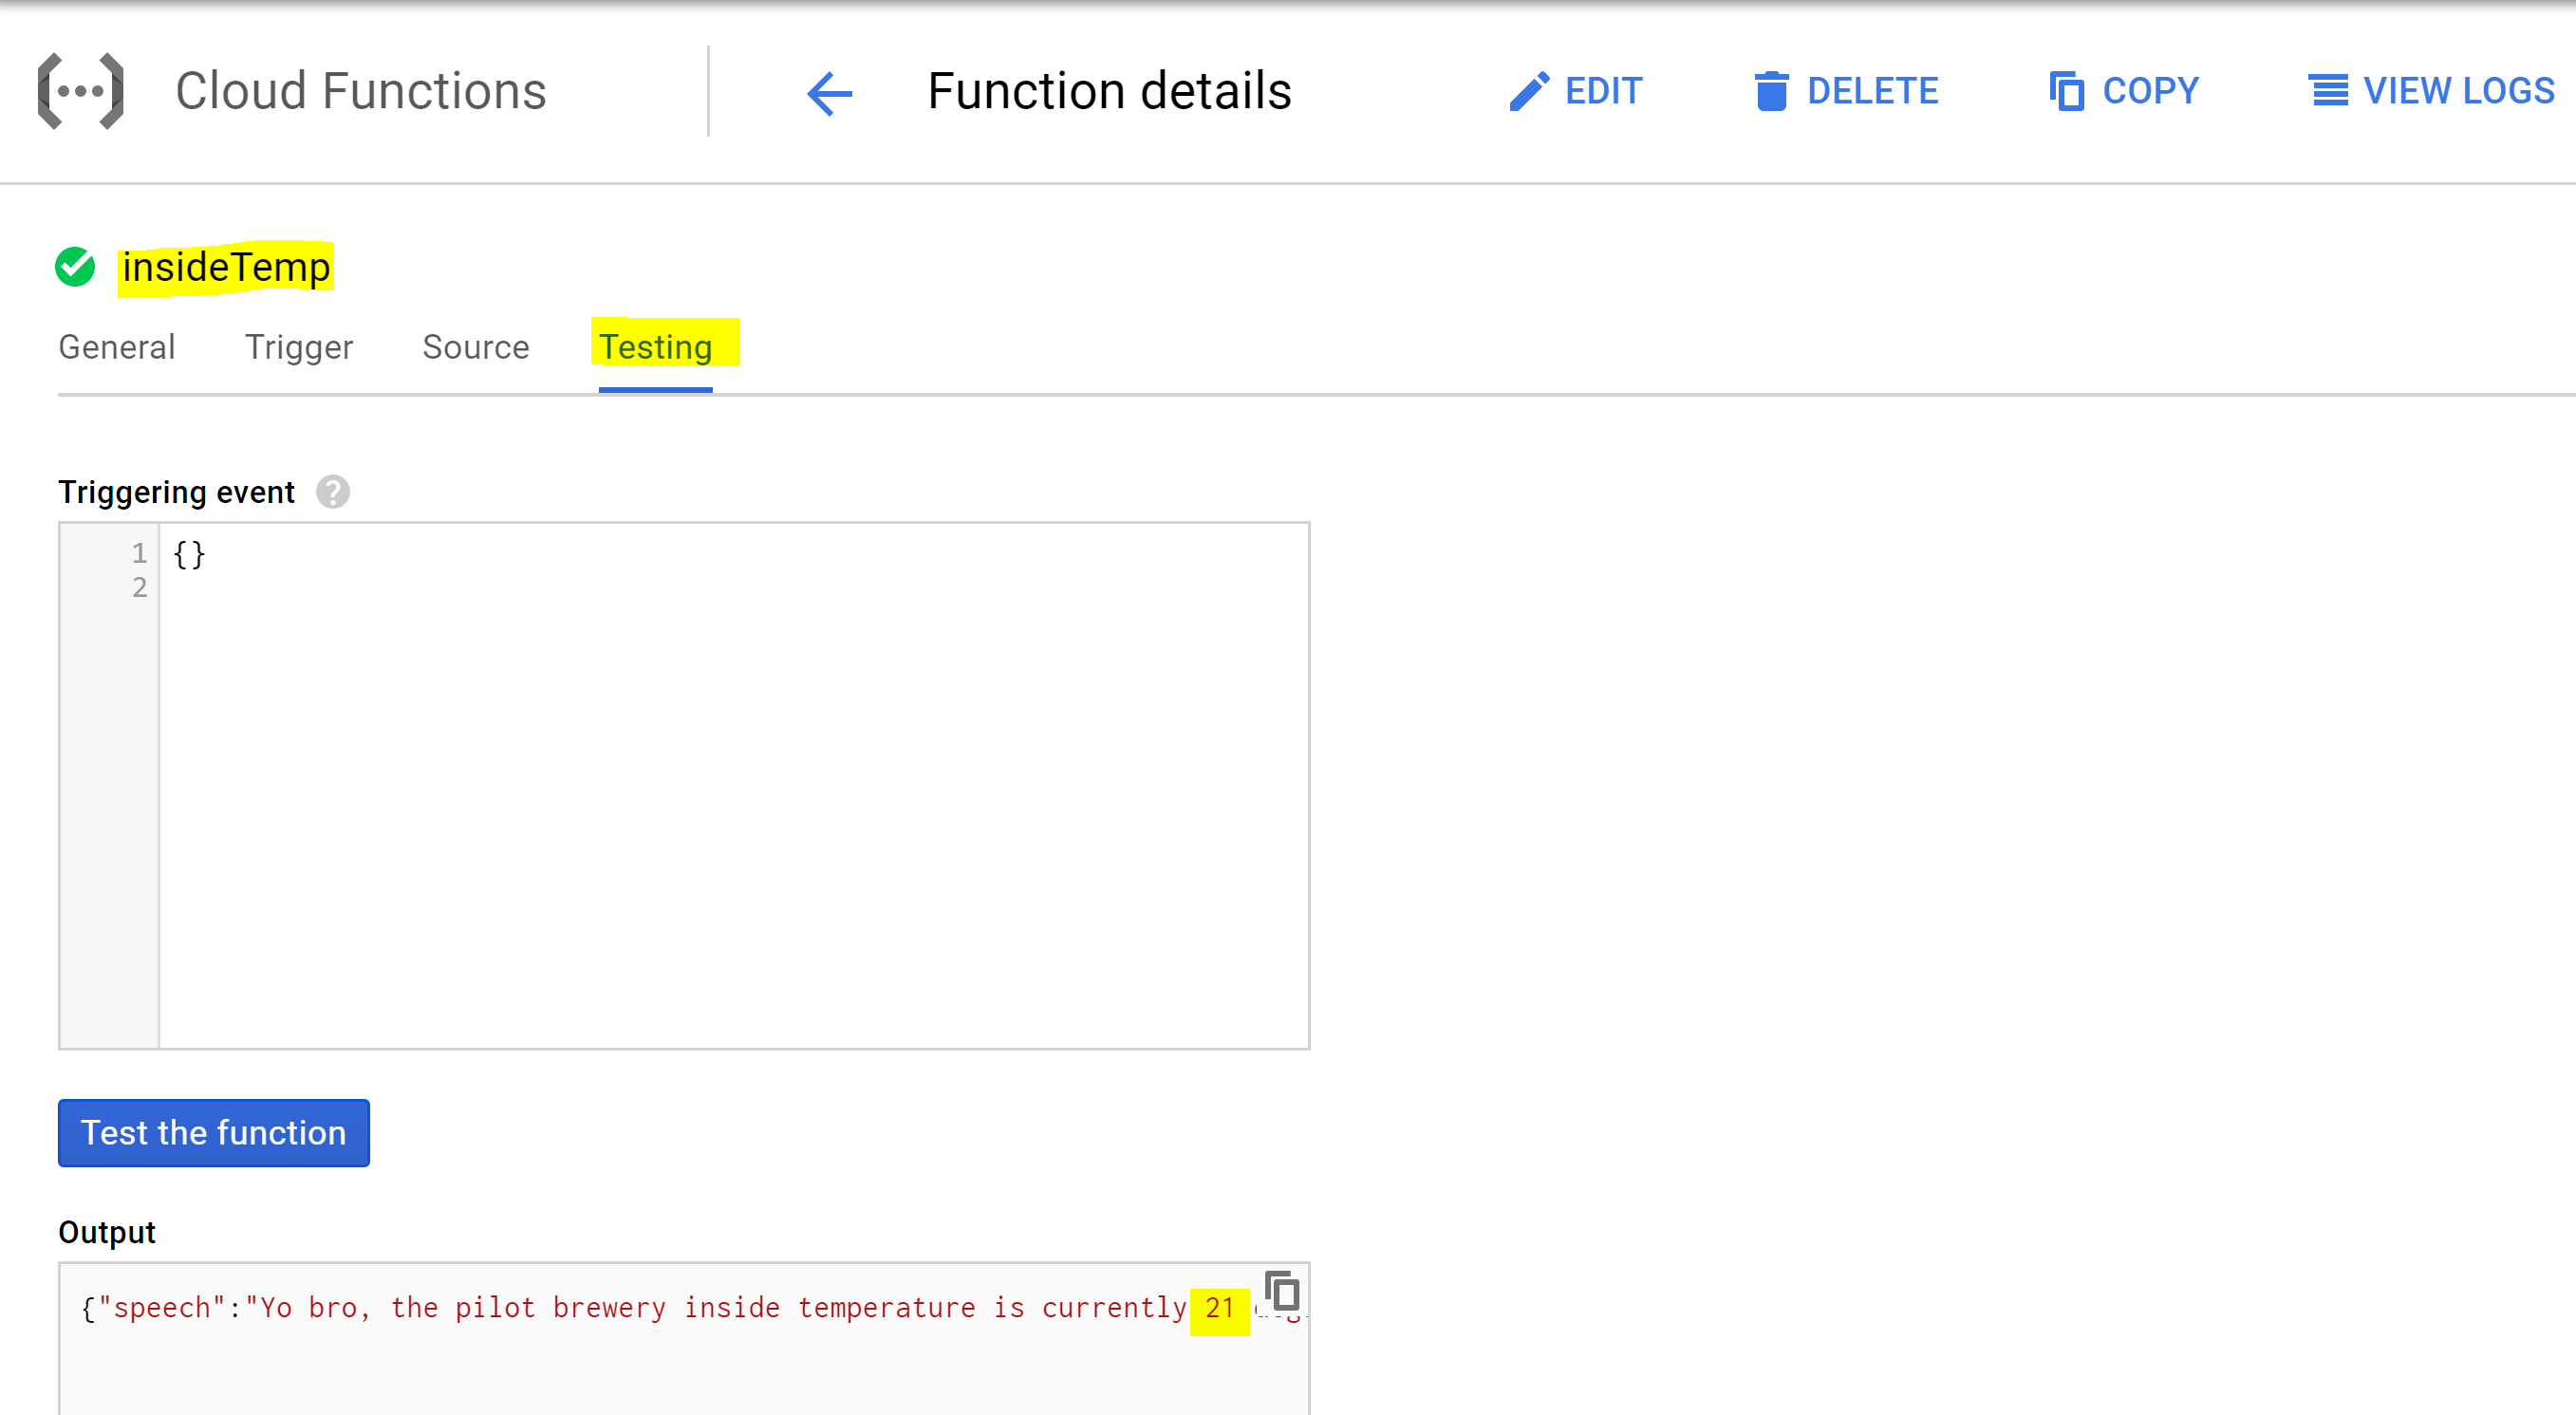
Select the Testing menu then click on the Test the function button. If your script is all good it will execute and get the value back from the API. You can see mine returned 21 degrees from my IOT Temp Sensor.
Wiring up our Project to Google Home
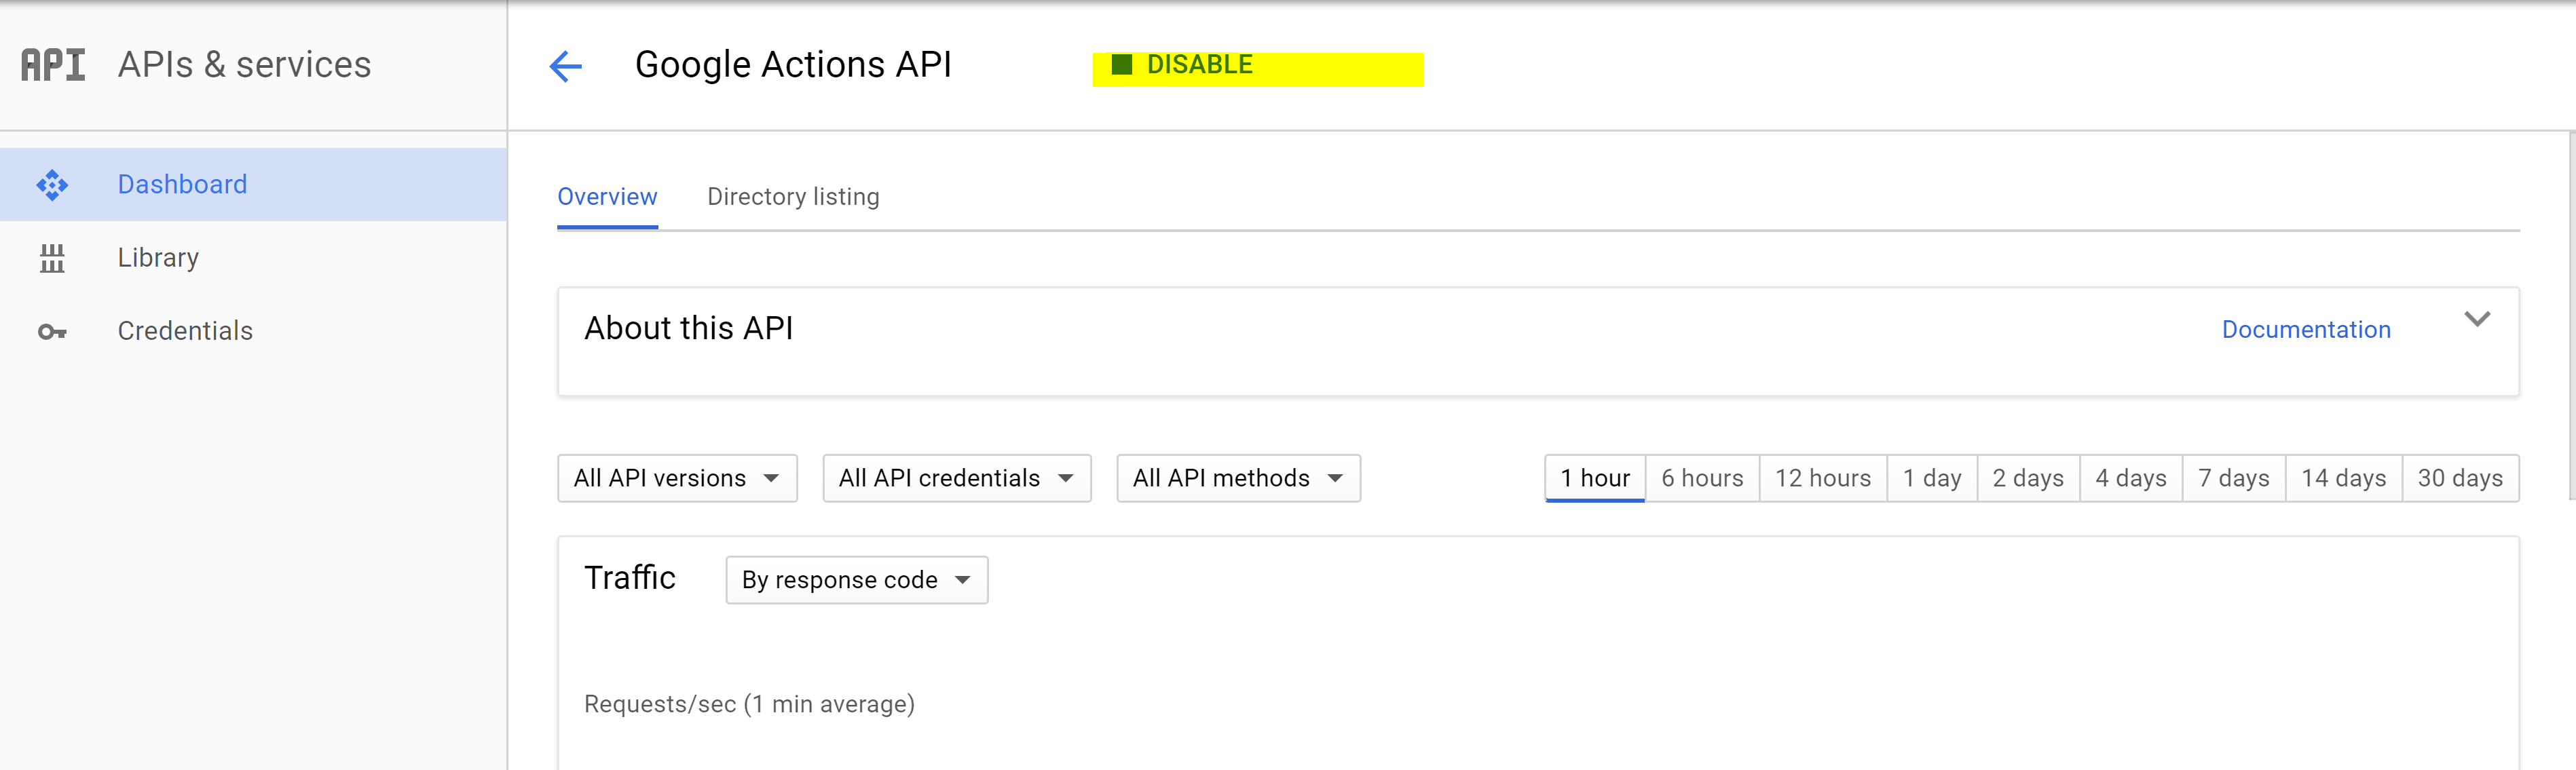
Now that we have an HTTP Function that can retrieve info from a RestAPI let’s have that as an action in Google Home. Head on over to the Actions API here;
https://console.cloud.google.com/apis/api/actions.googleapis.com/overview
At the top of the middle pane click enable if it isn’t already enabled.
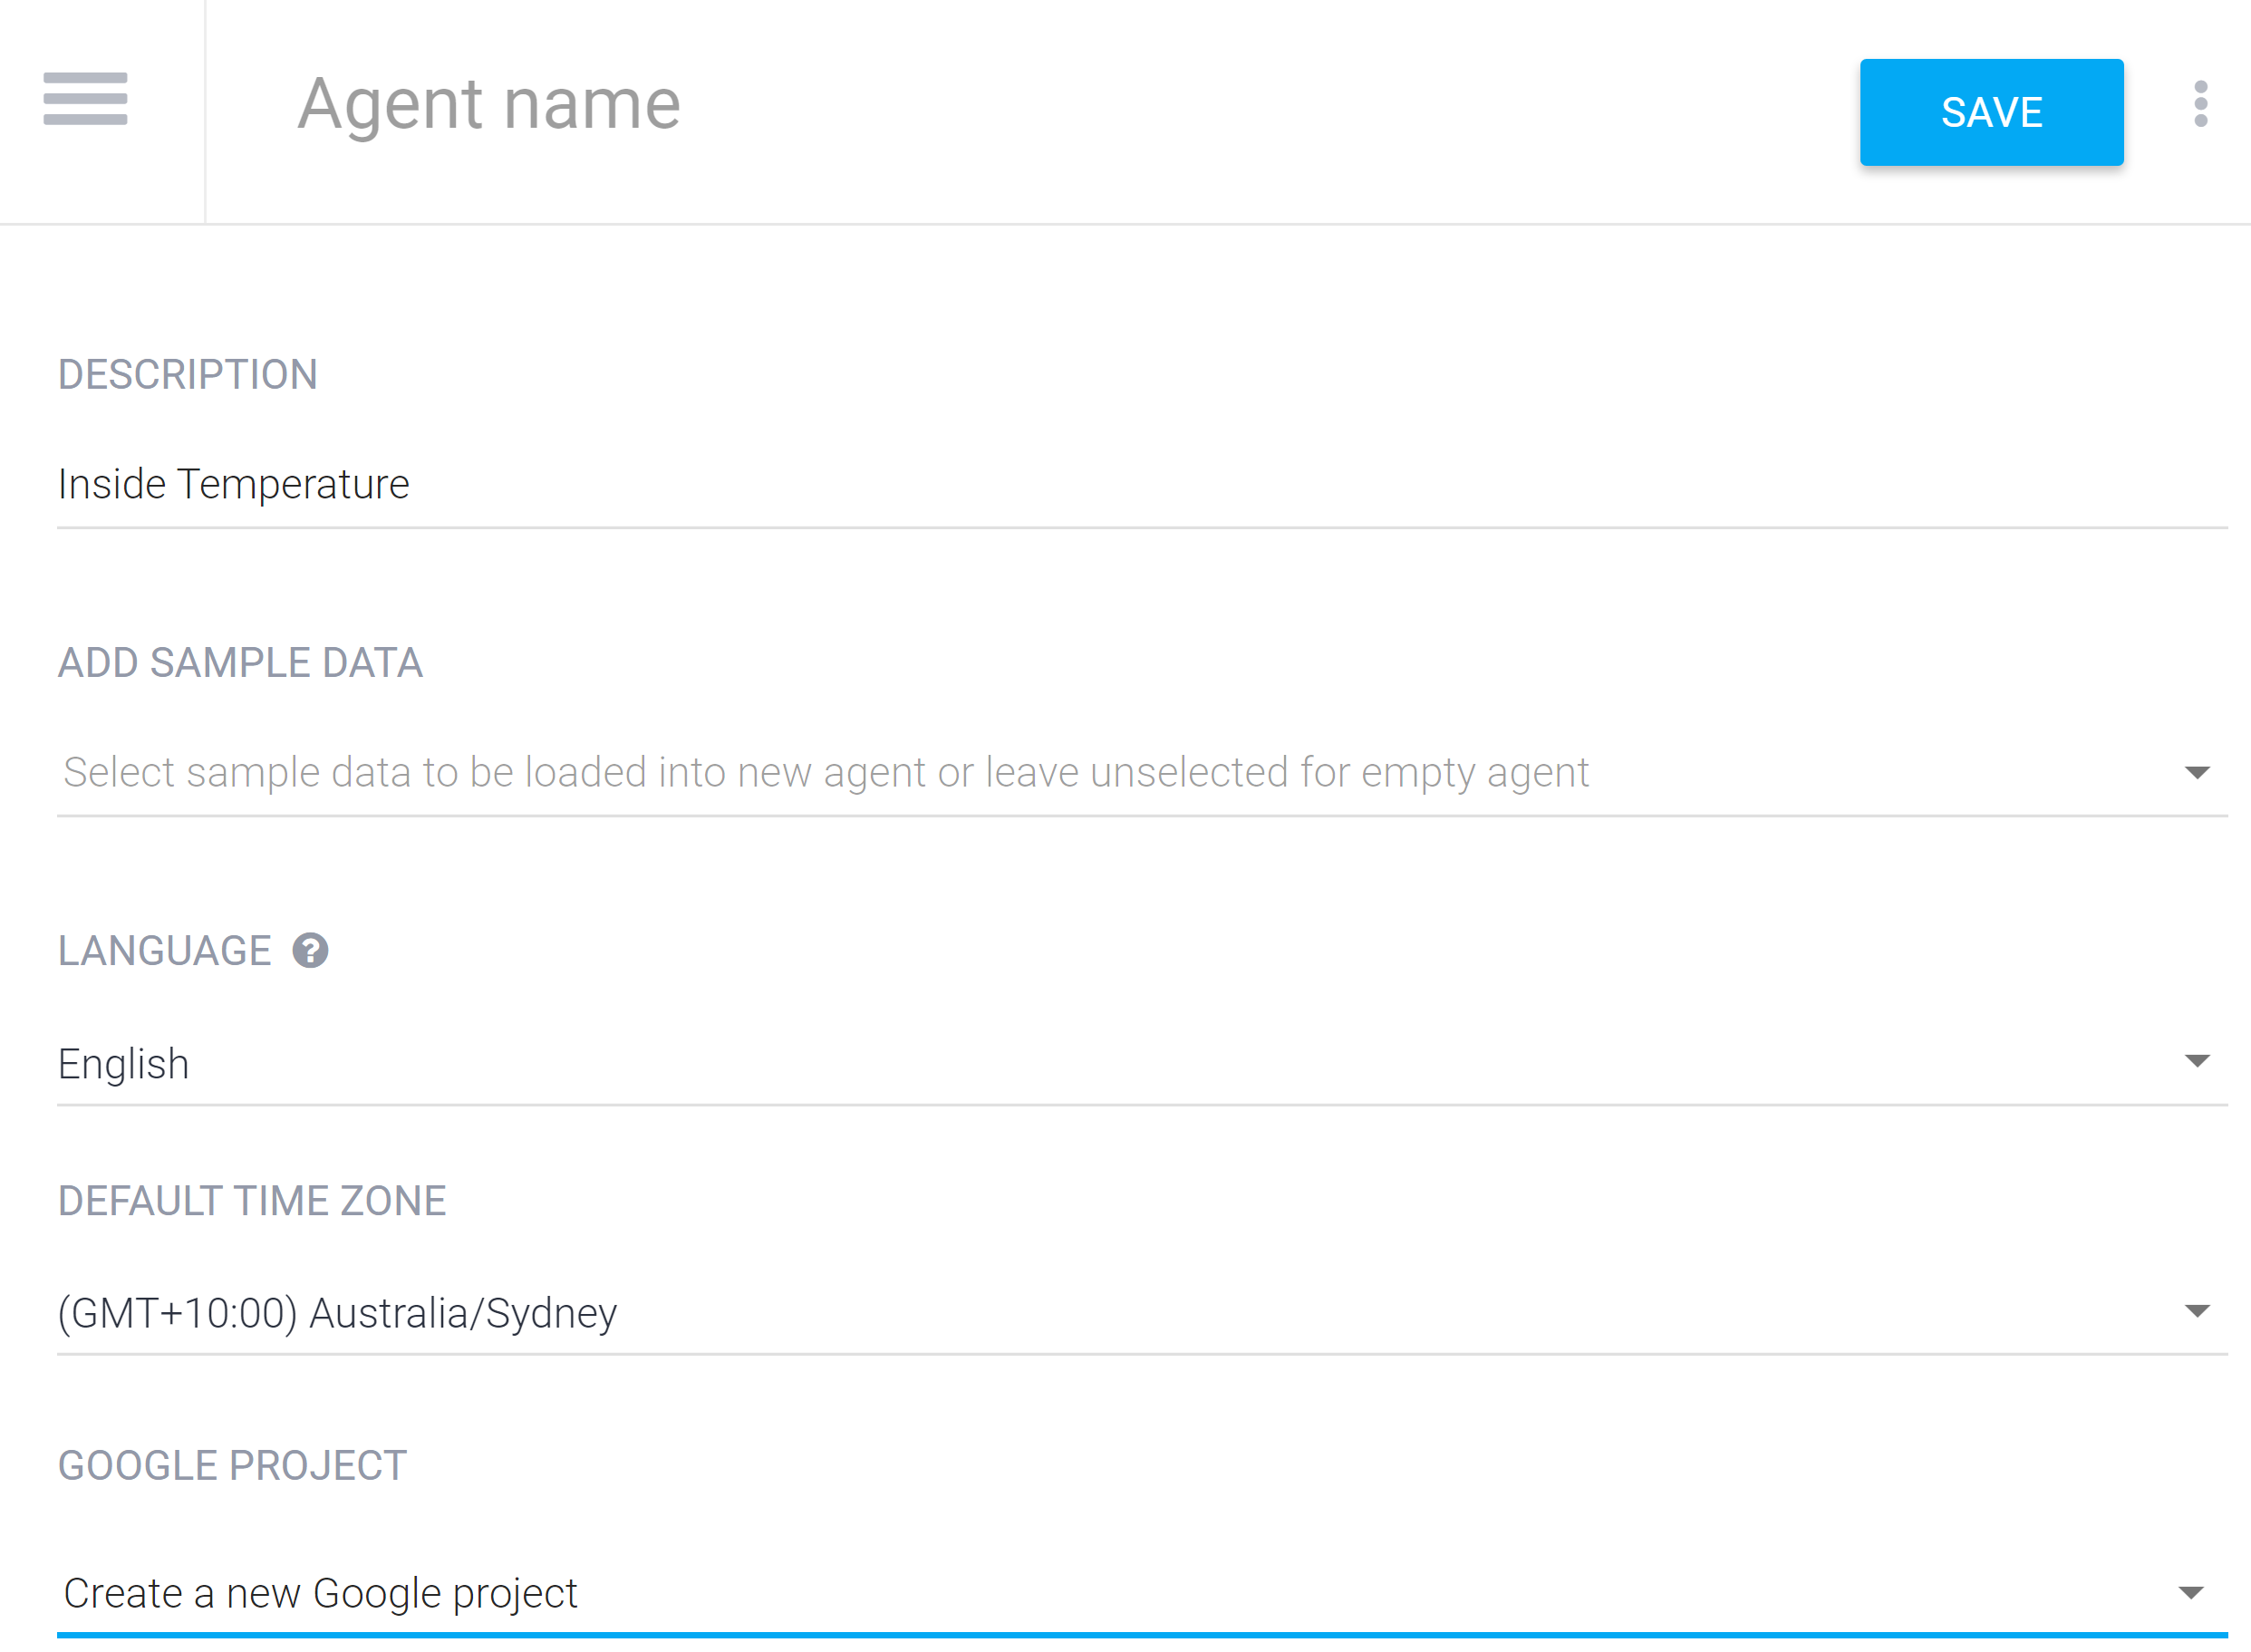
Now head over to the api.ai Agents Console https://console.api.ai/api-client/#/agents and select Create Agent.

Give it a name, choose your timezone and language and select Save.
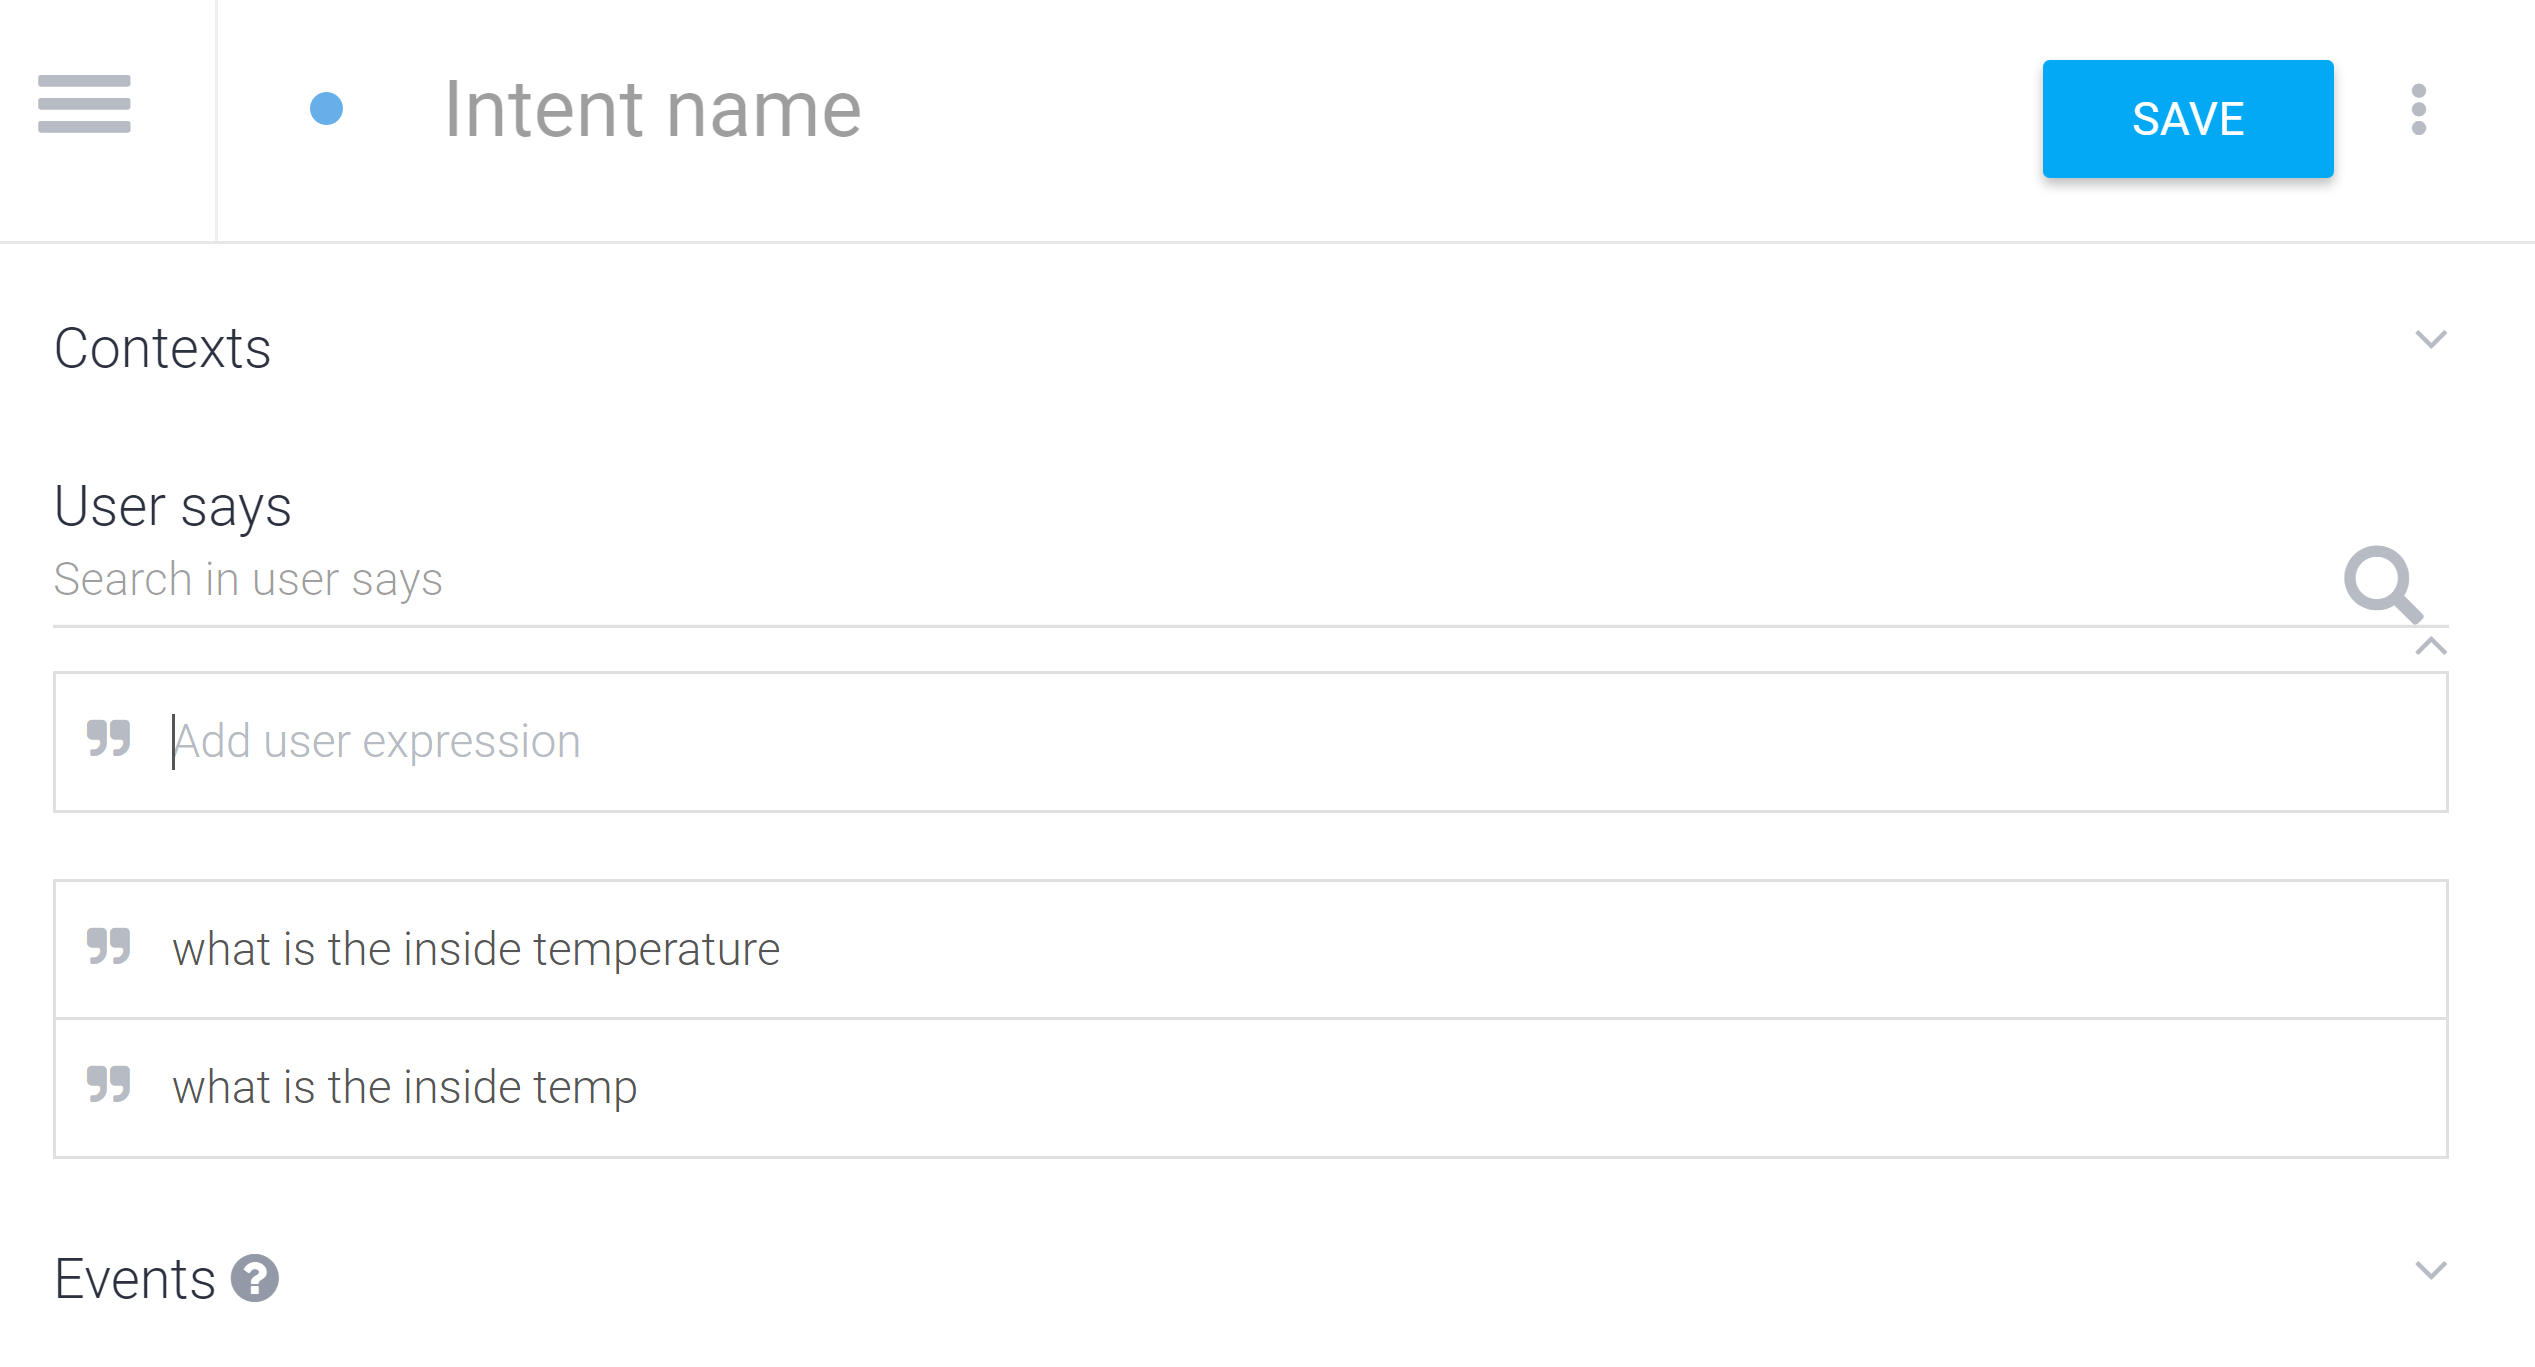
Select Create Intent

Provide a couple of phrases you will speak to Google Home. Don’t worry about any other settings for now. Select Save.
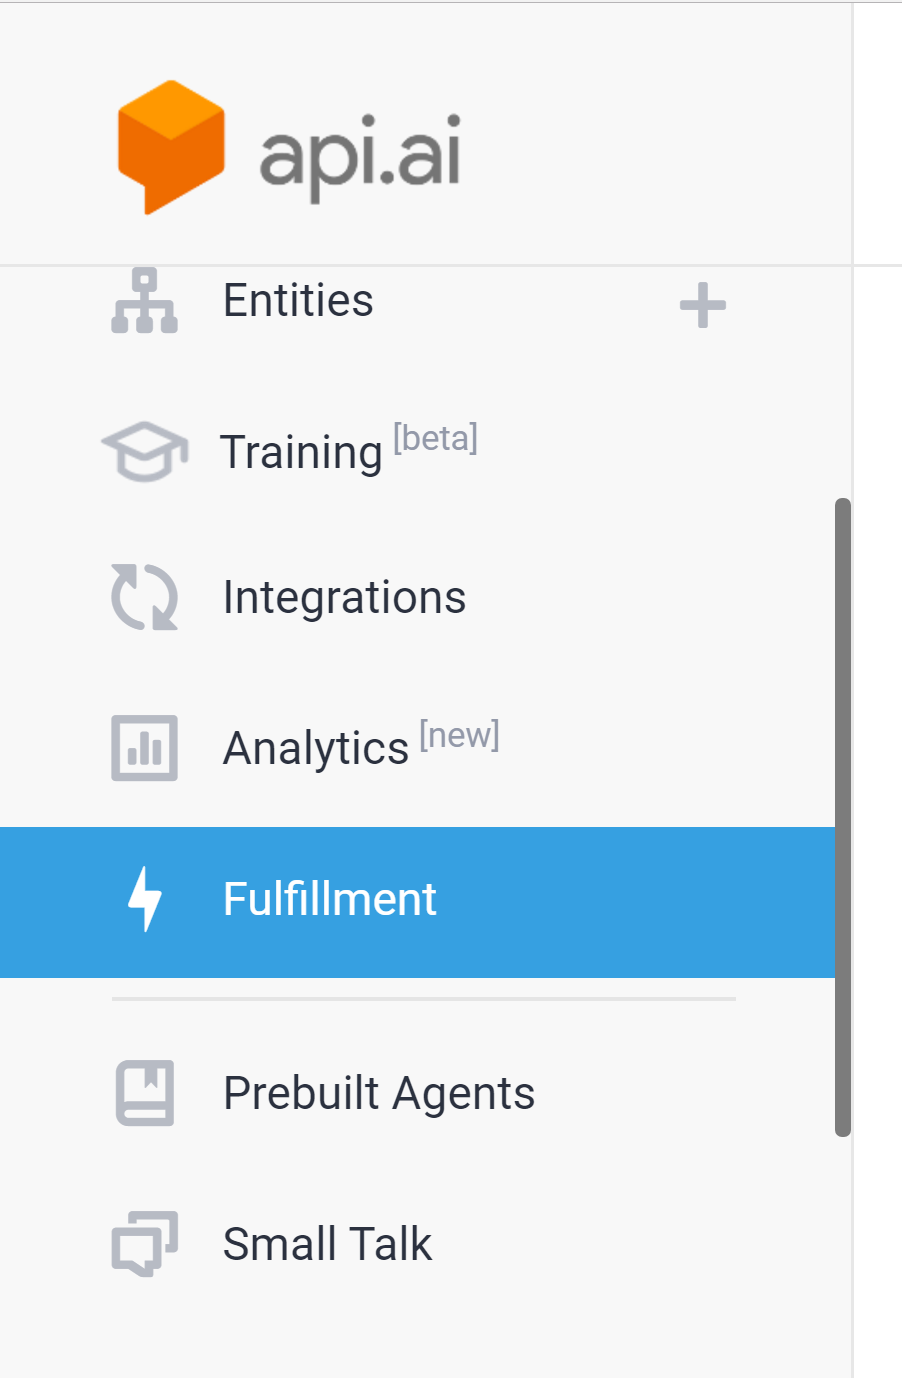
From the Left Menu select Fulfillment.
Enable Webhook and paste in the URL that you got after uploading the Function Script via the gCloud cli. Select Save from the bottom of the page.

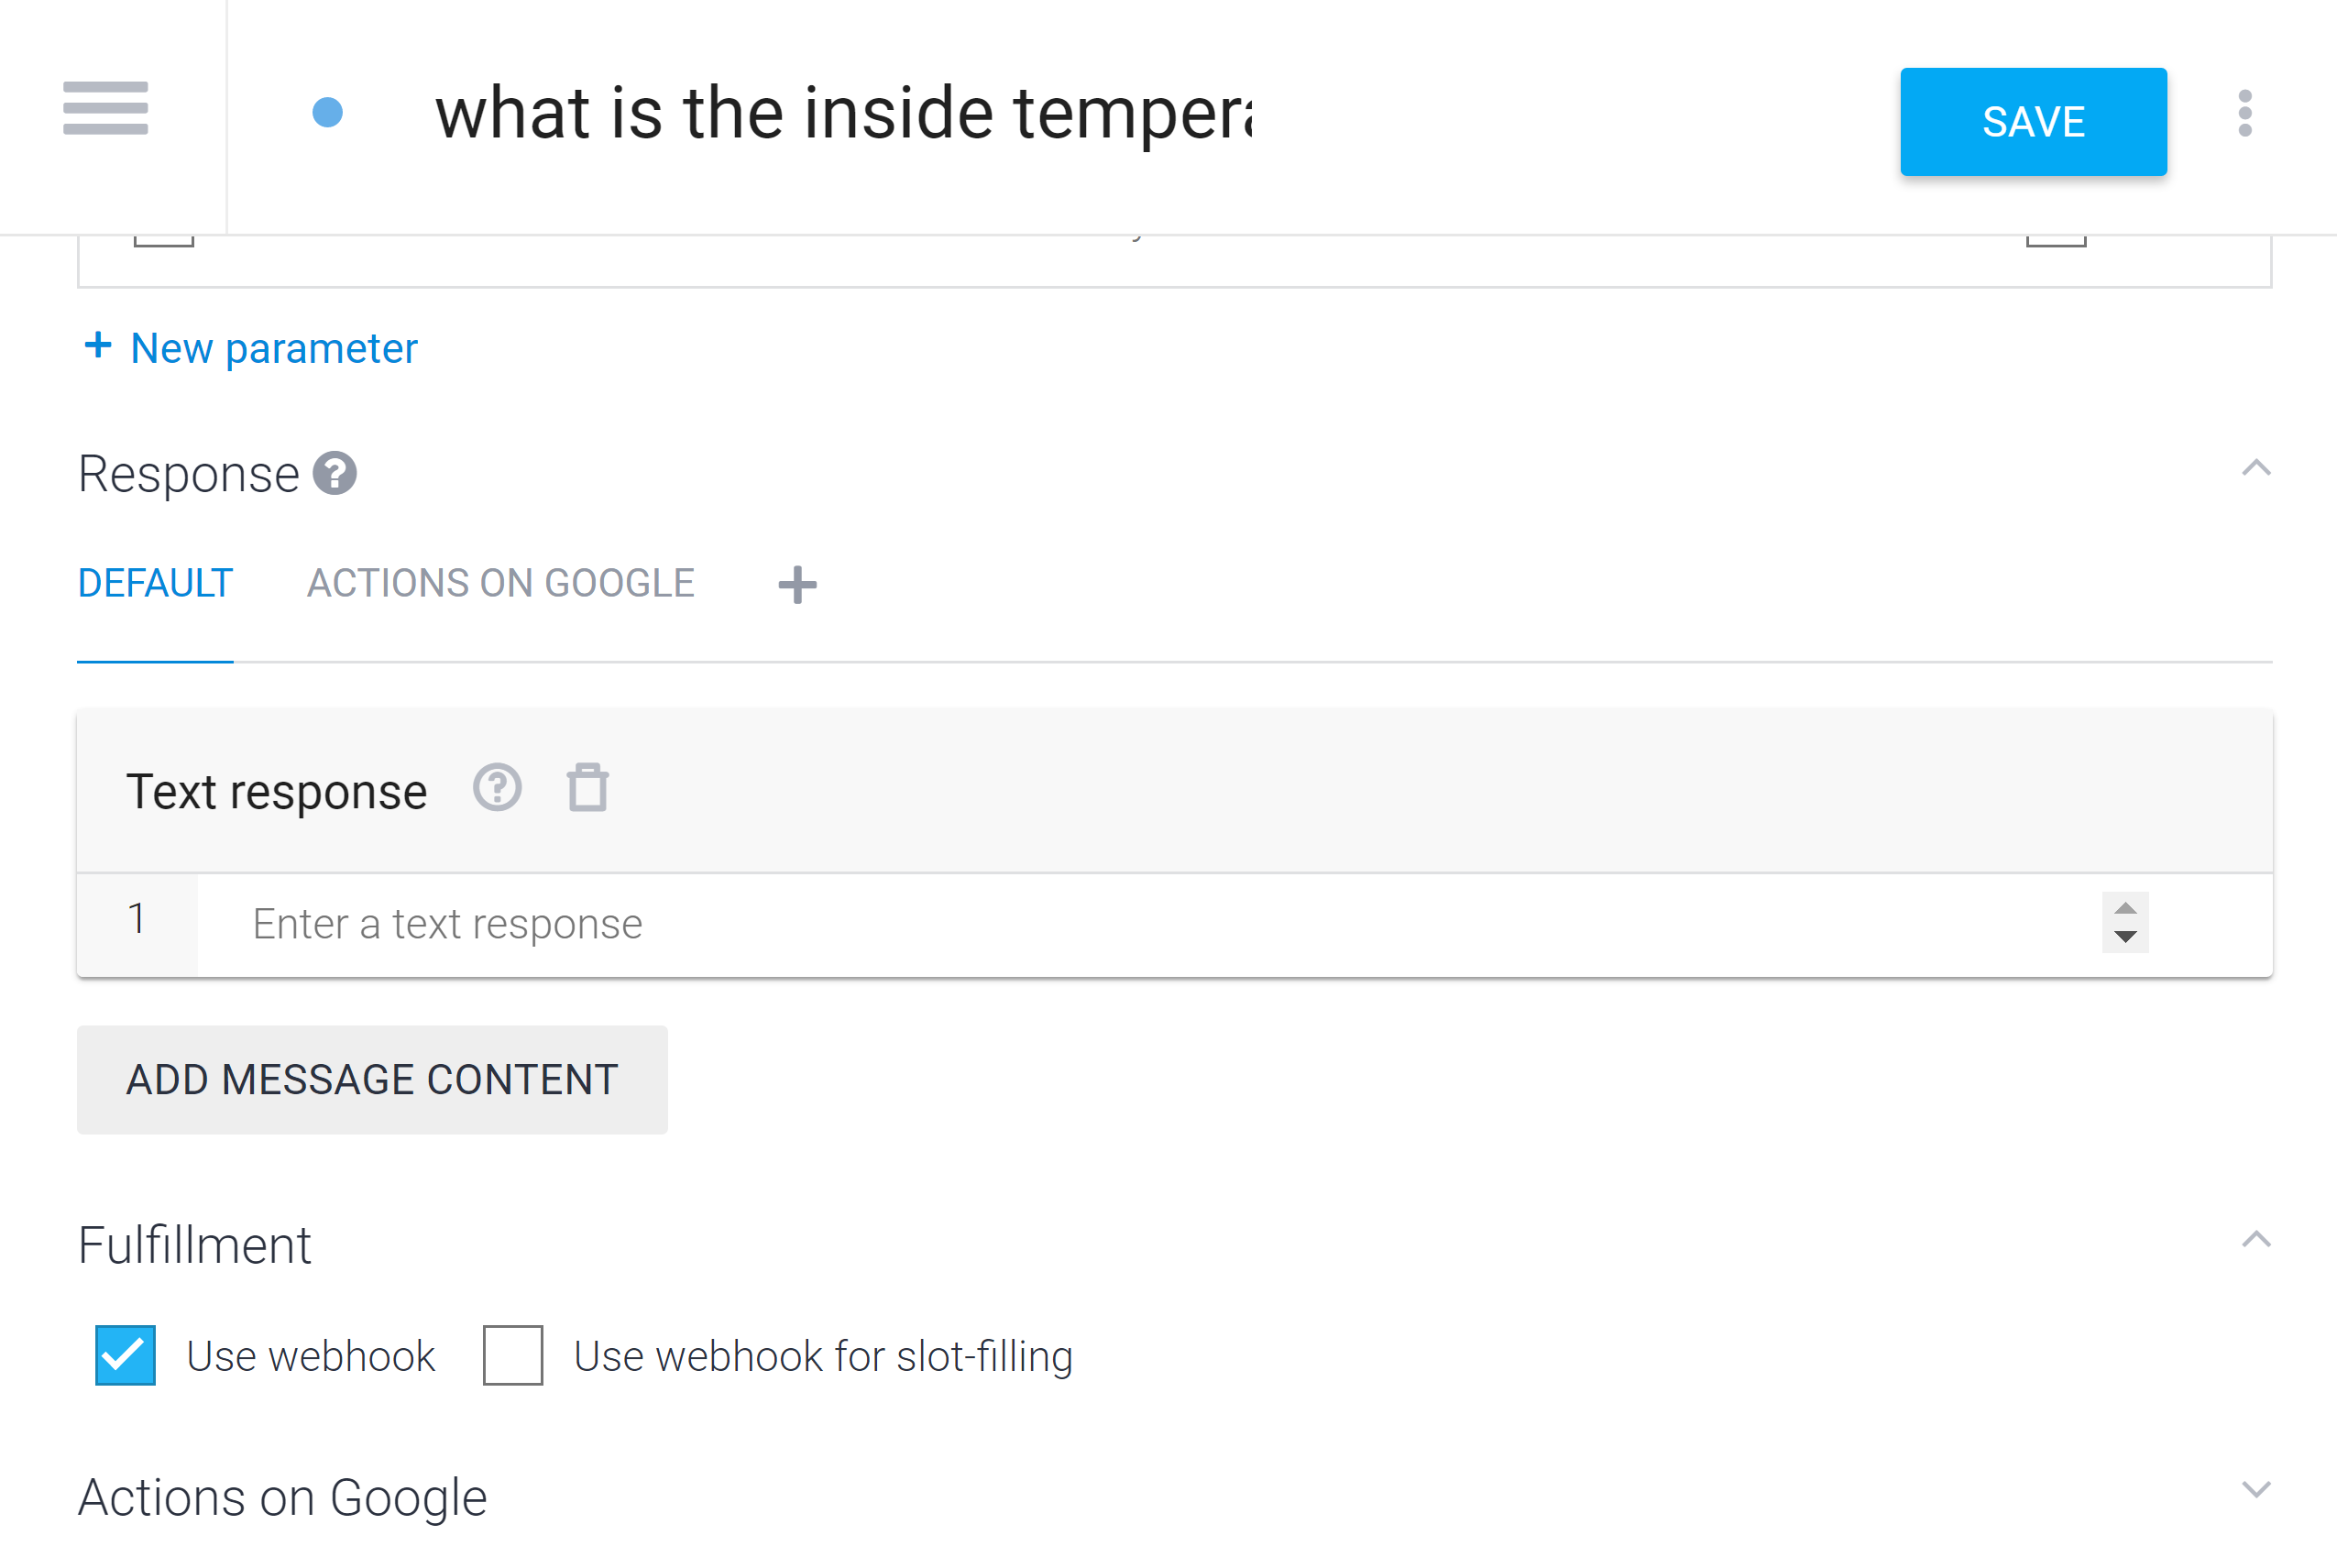
Back in Intents, scroll to the bottom and click Fulfillment and enable Use webhook. Select Save
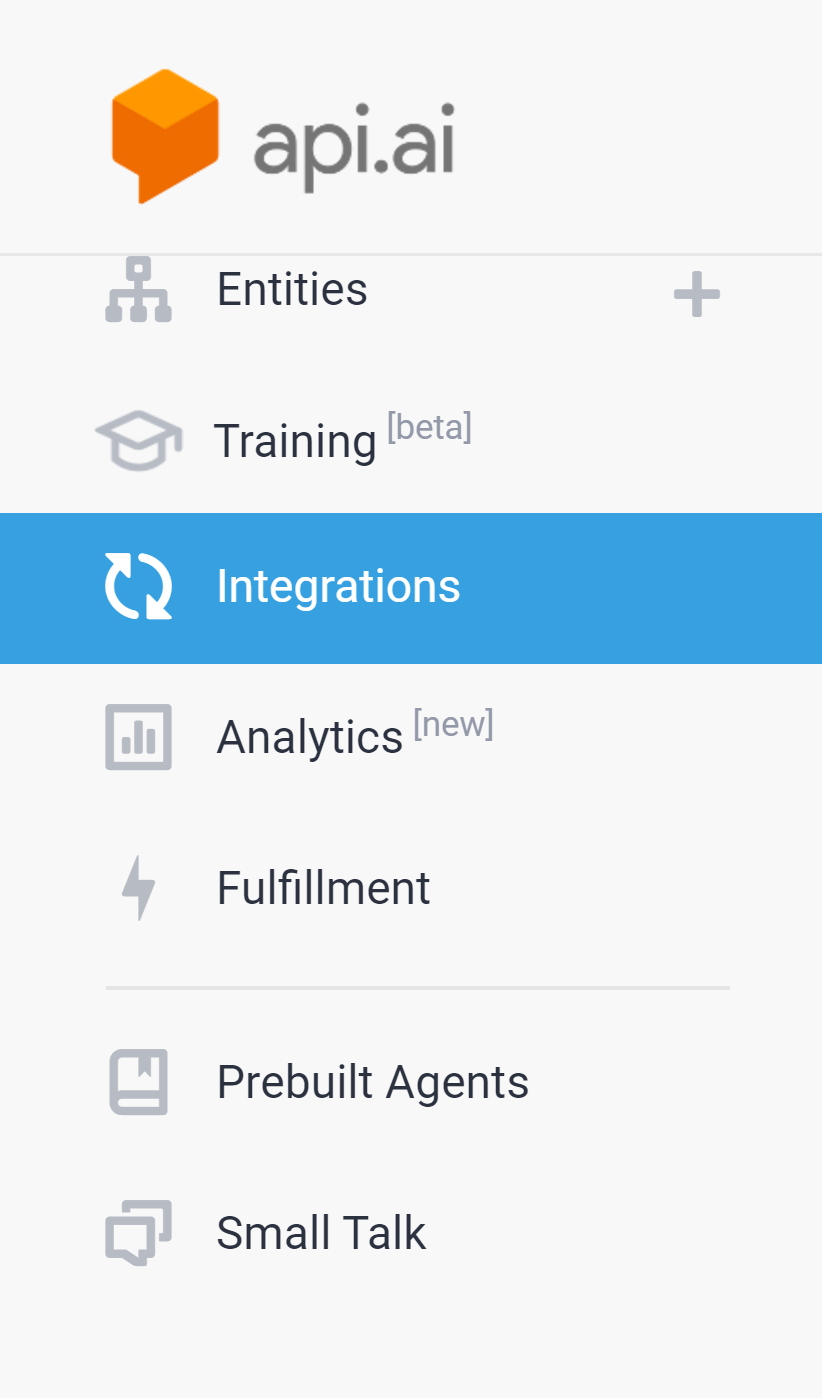
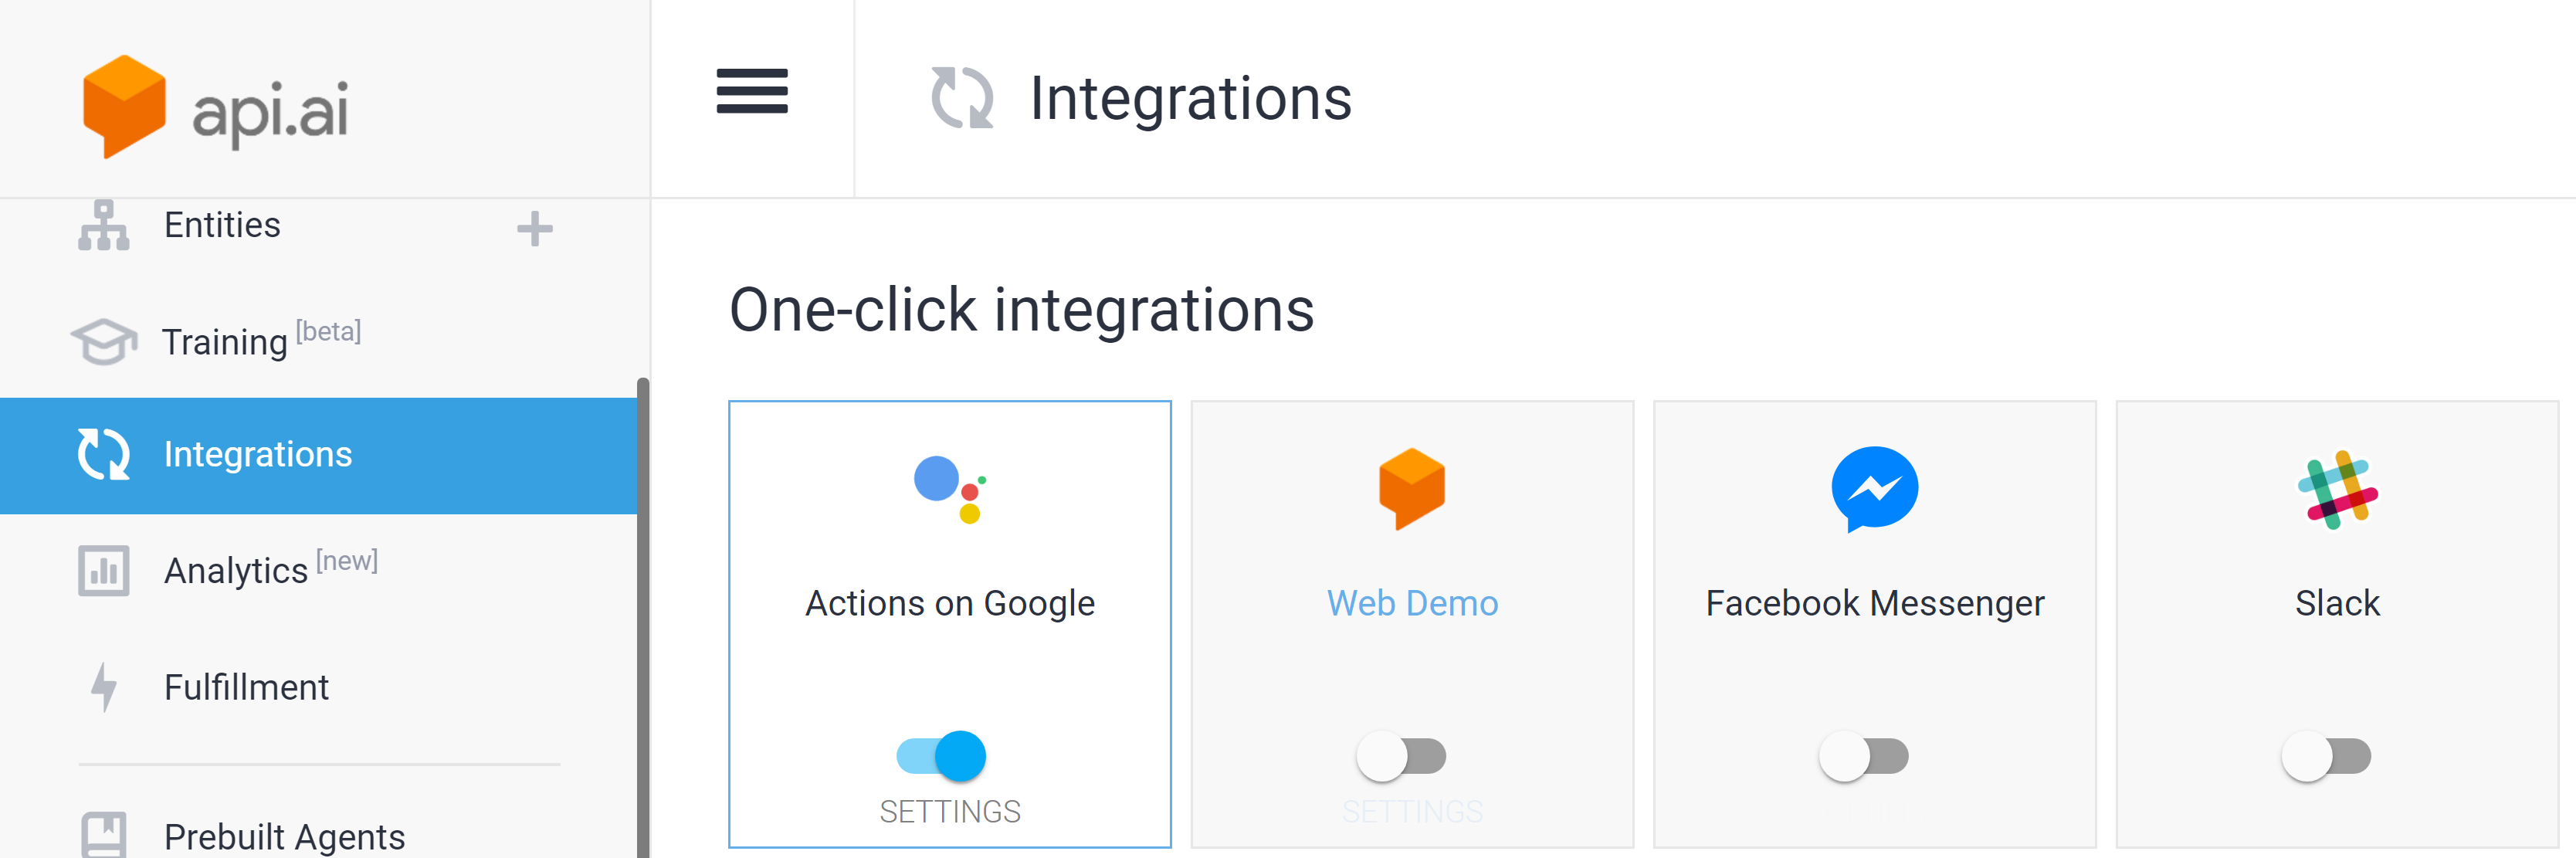
From the left menu select Integrations
Enable Actions on Google
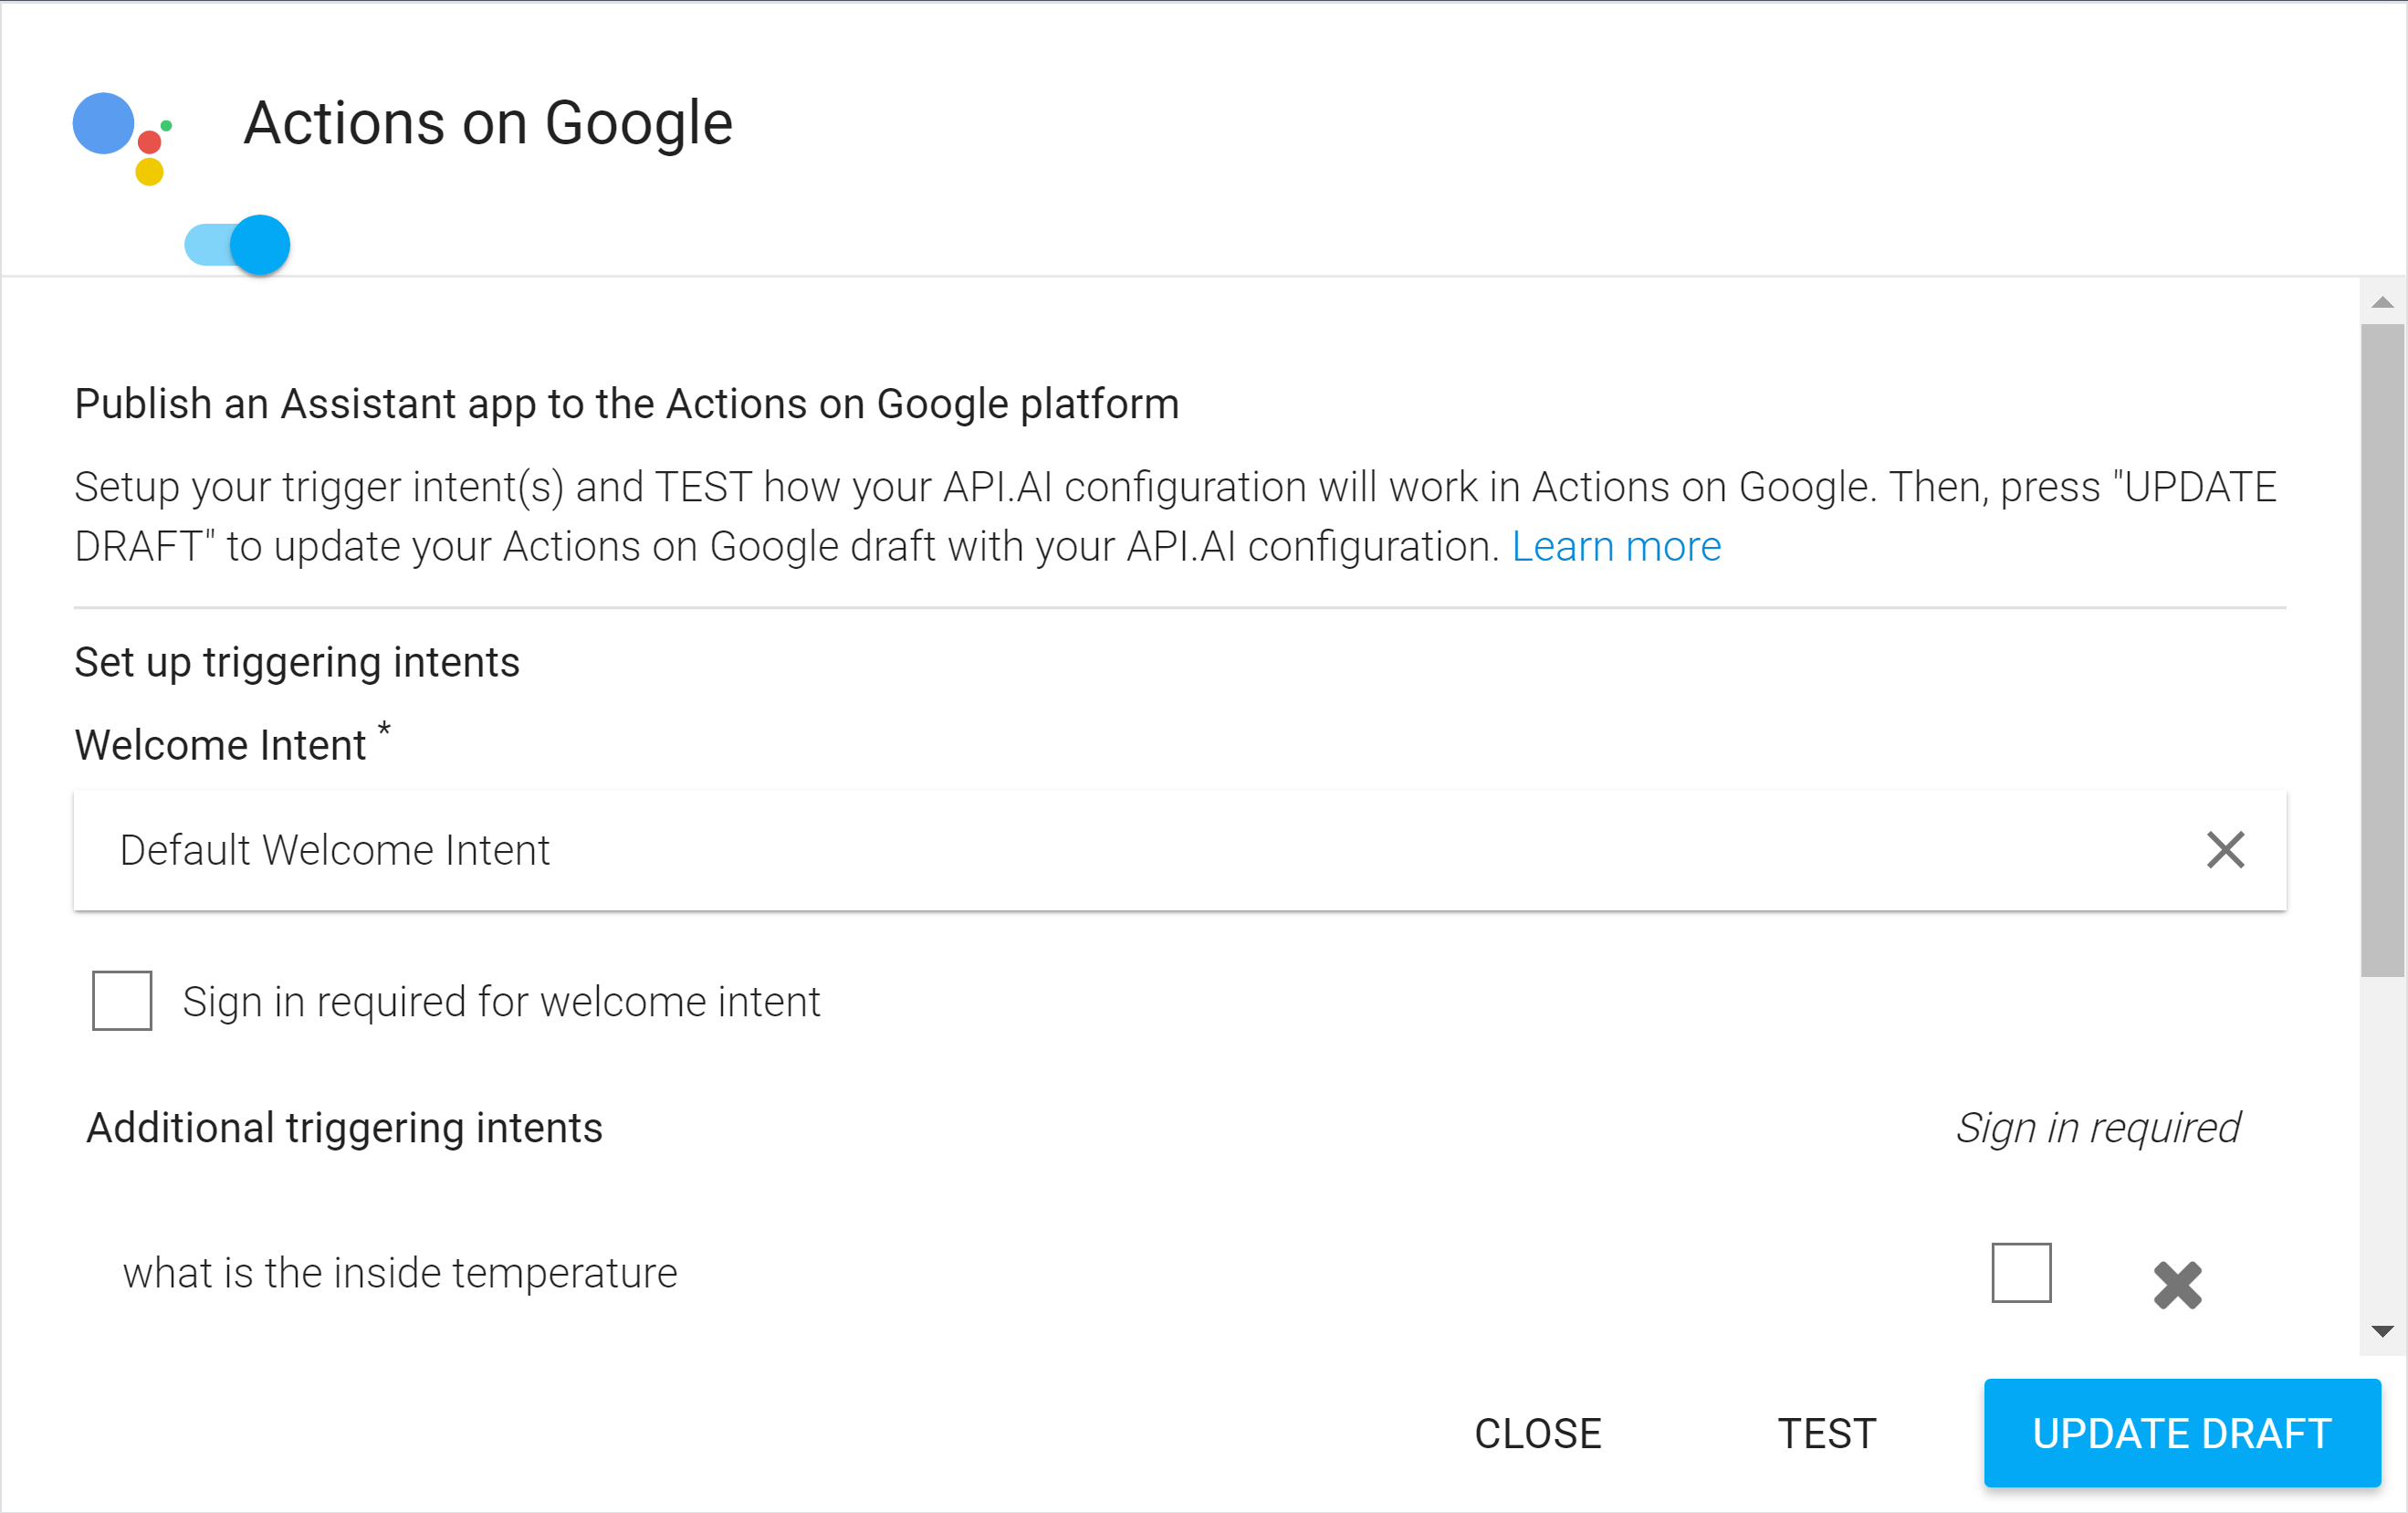
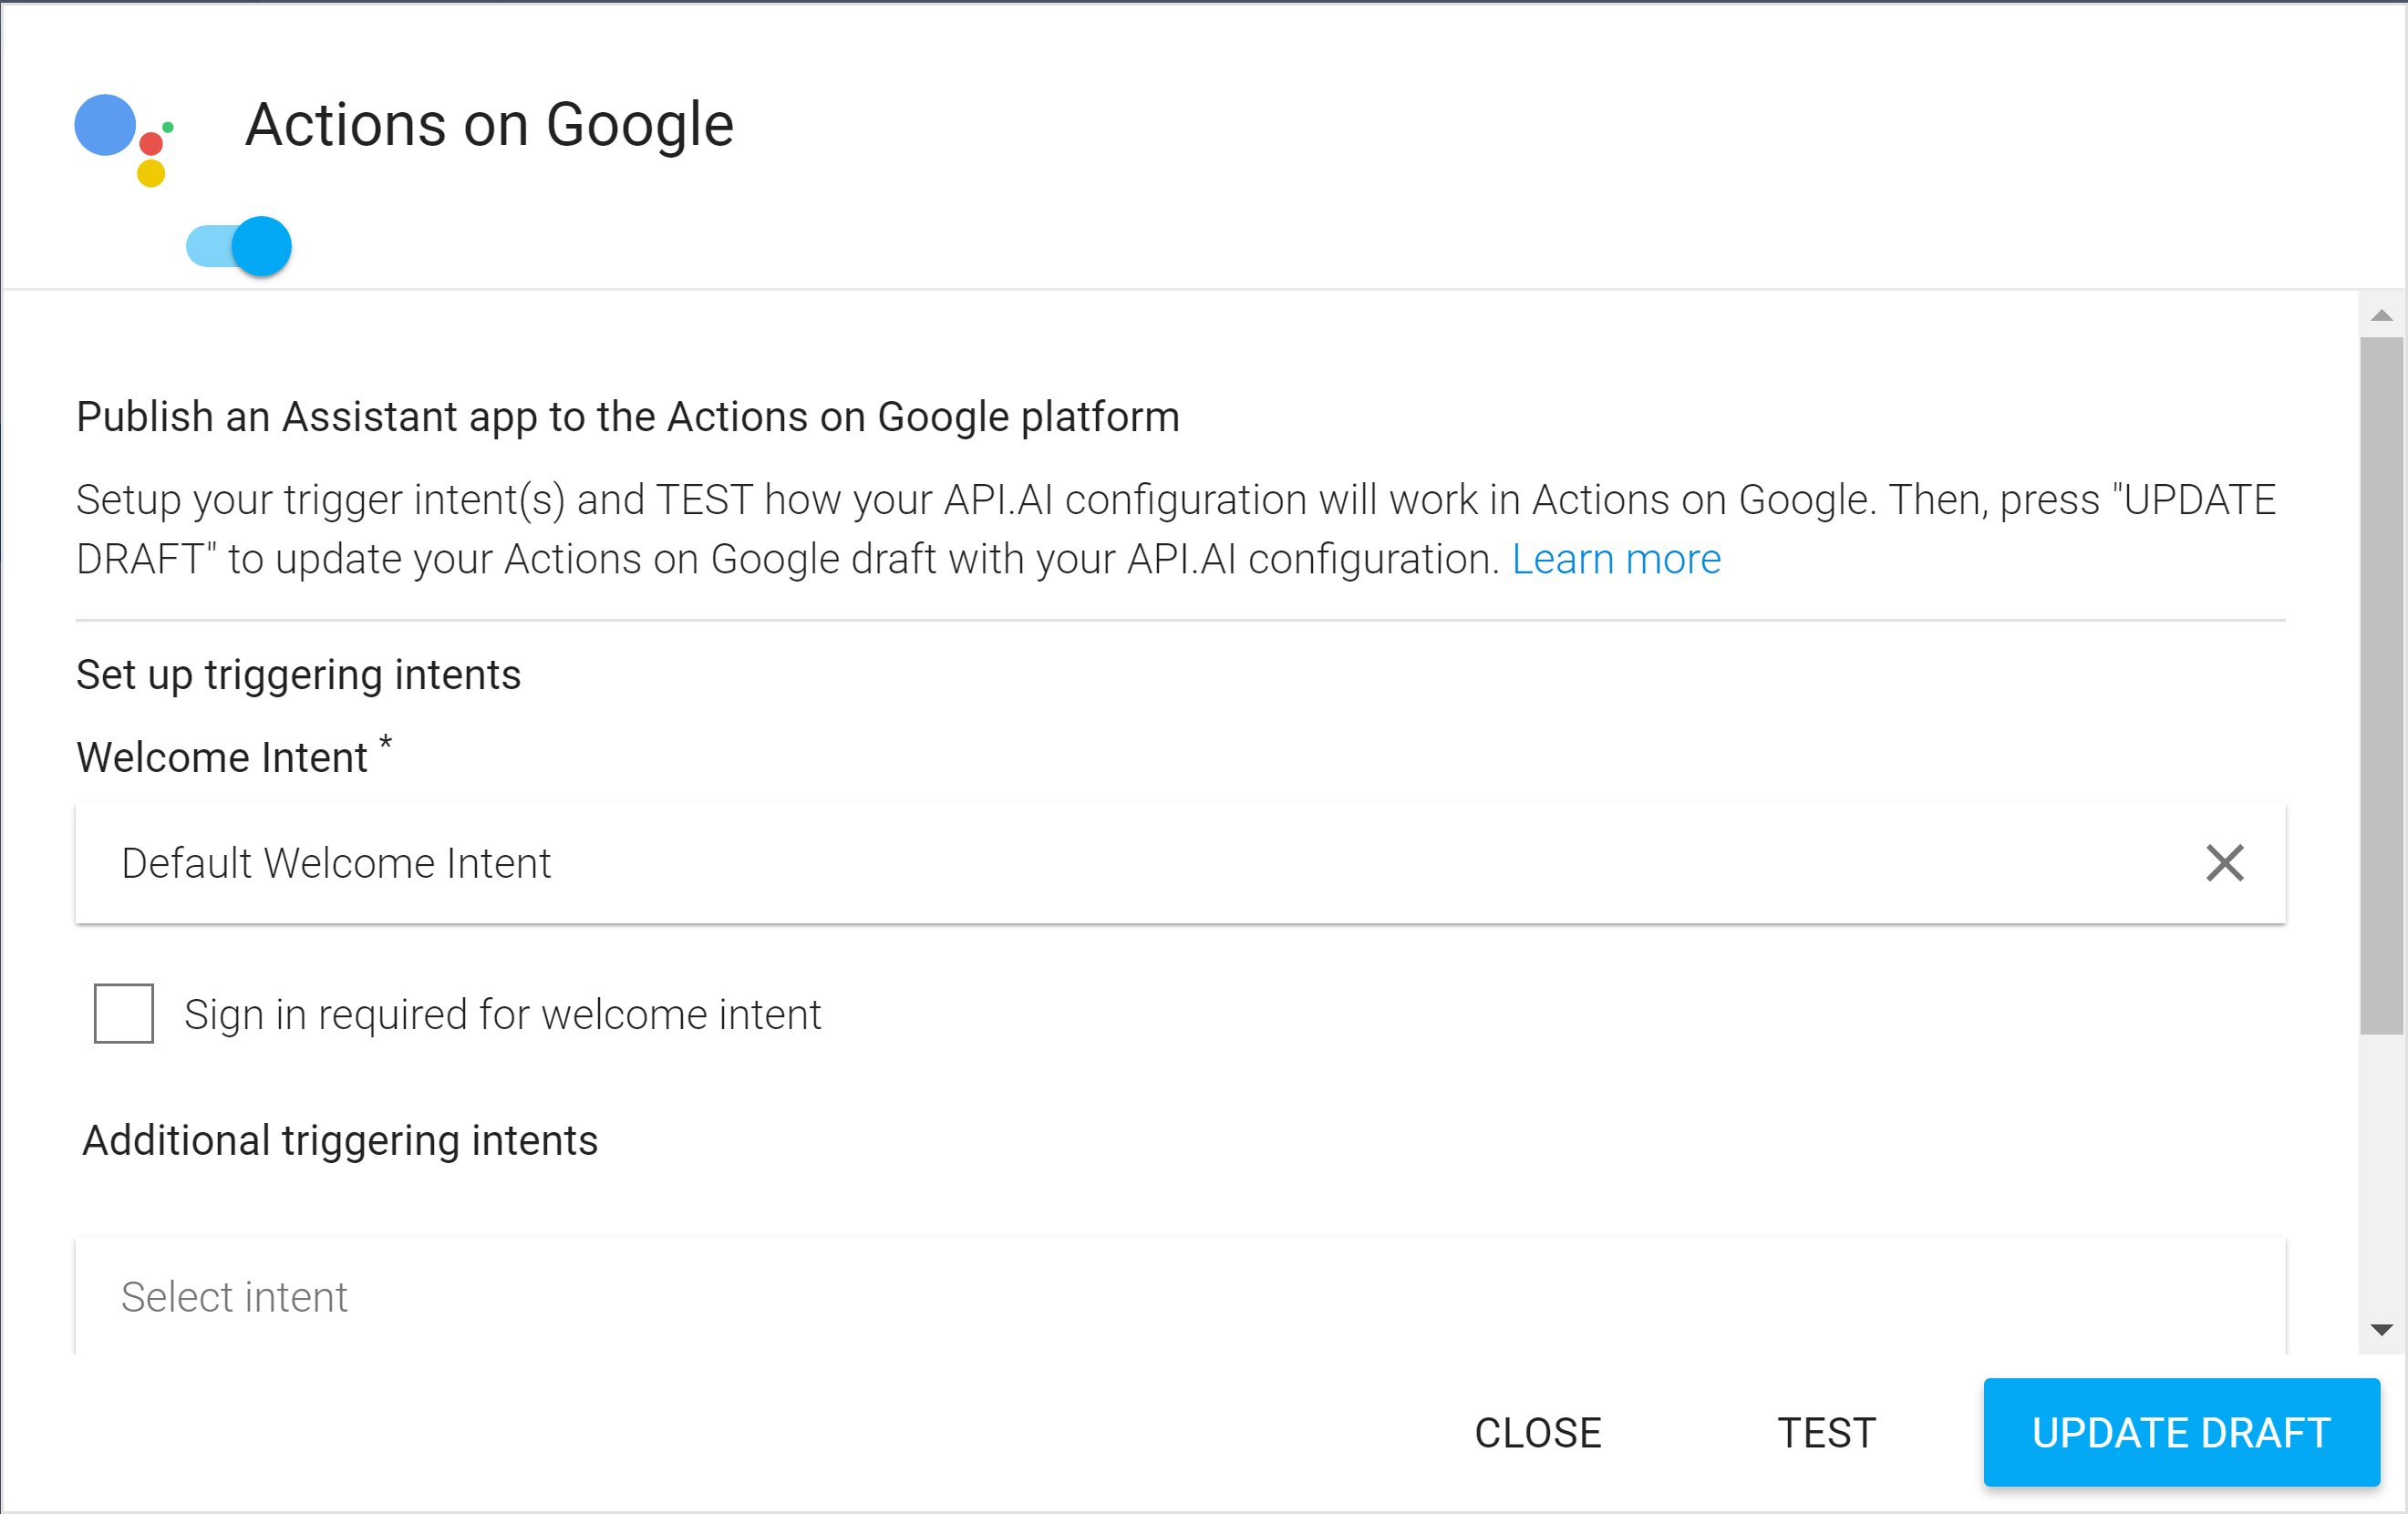
Open Settings and select Update Draft.
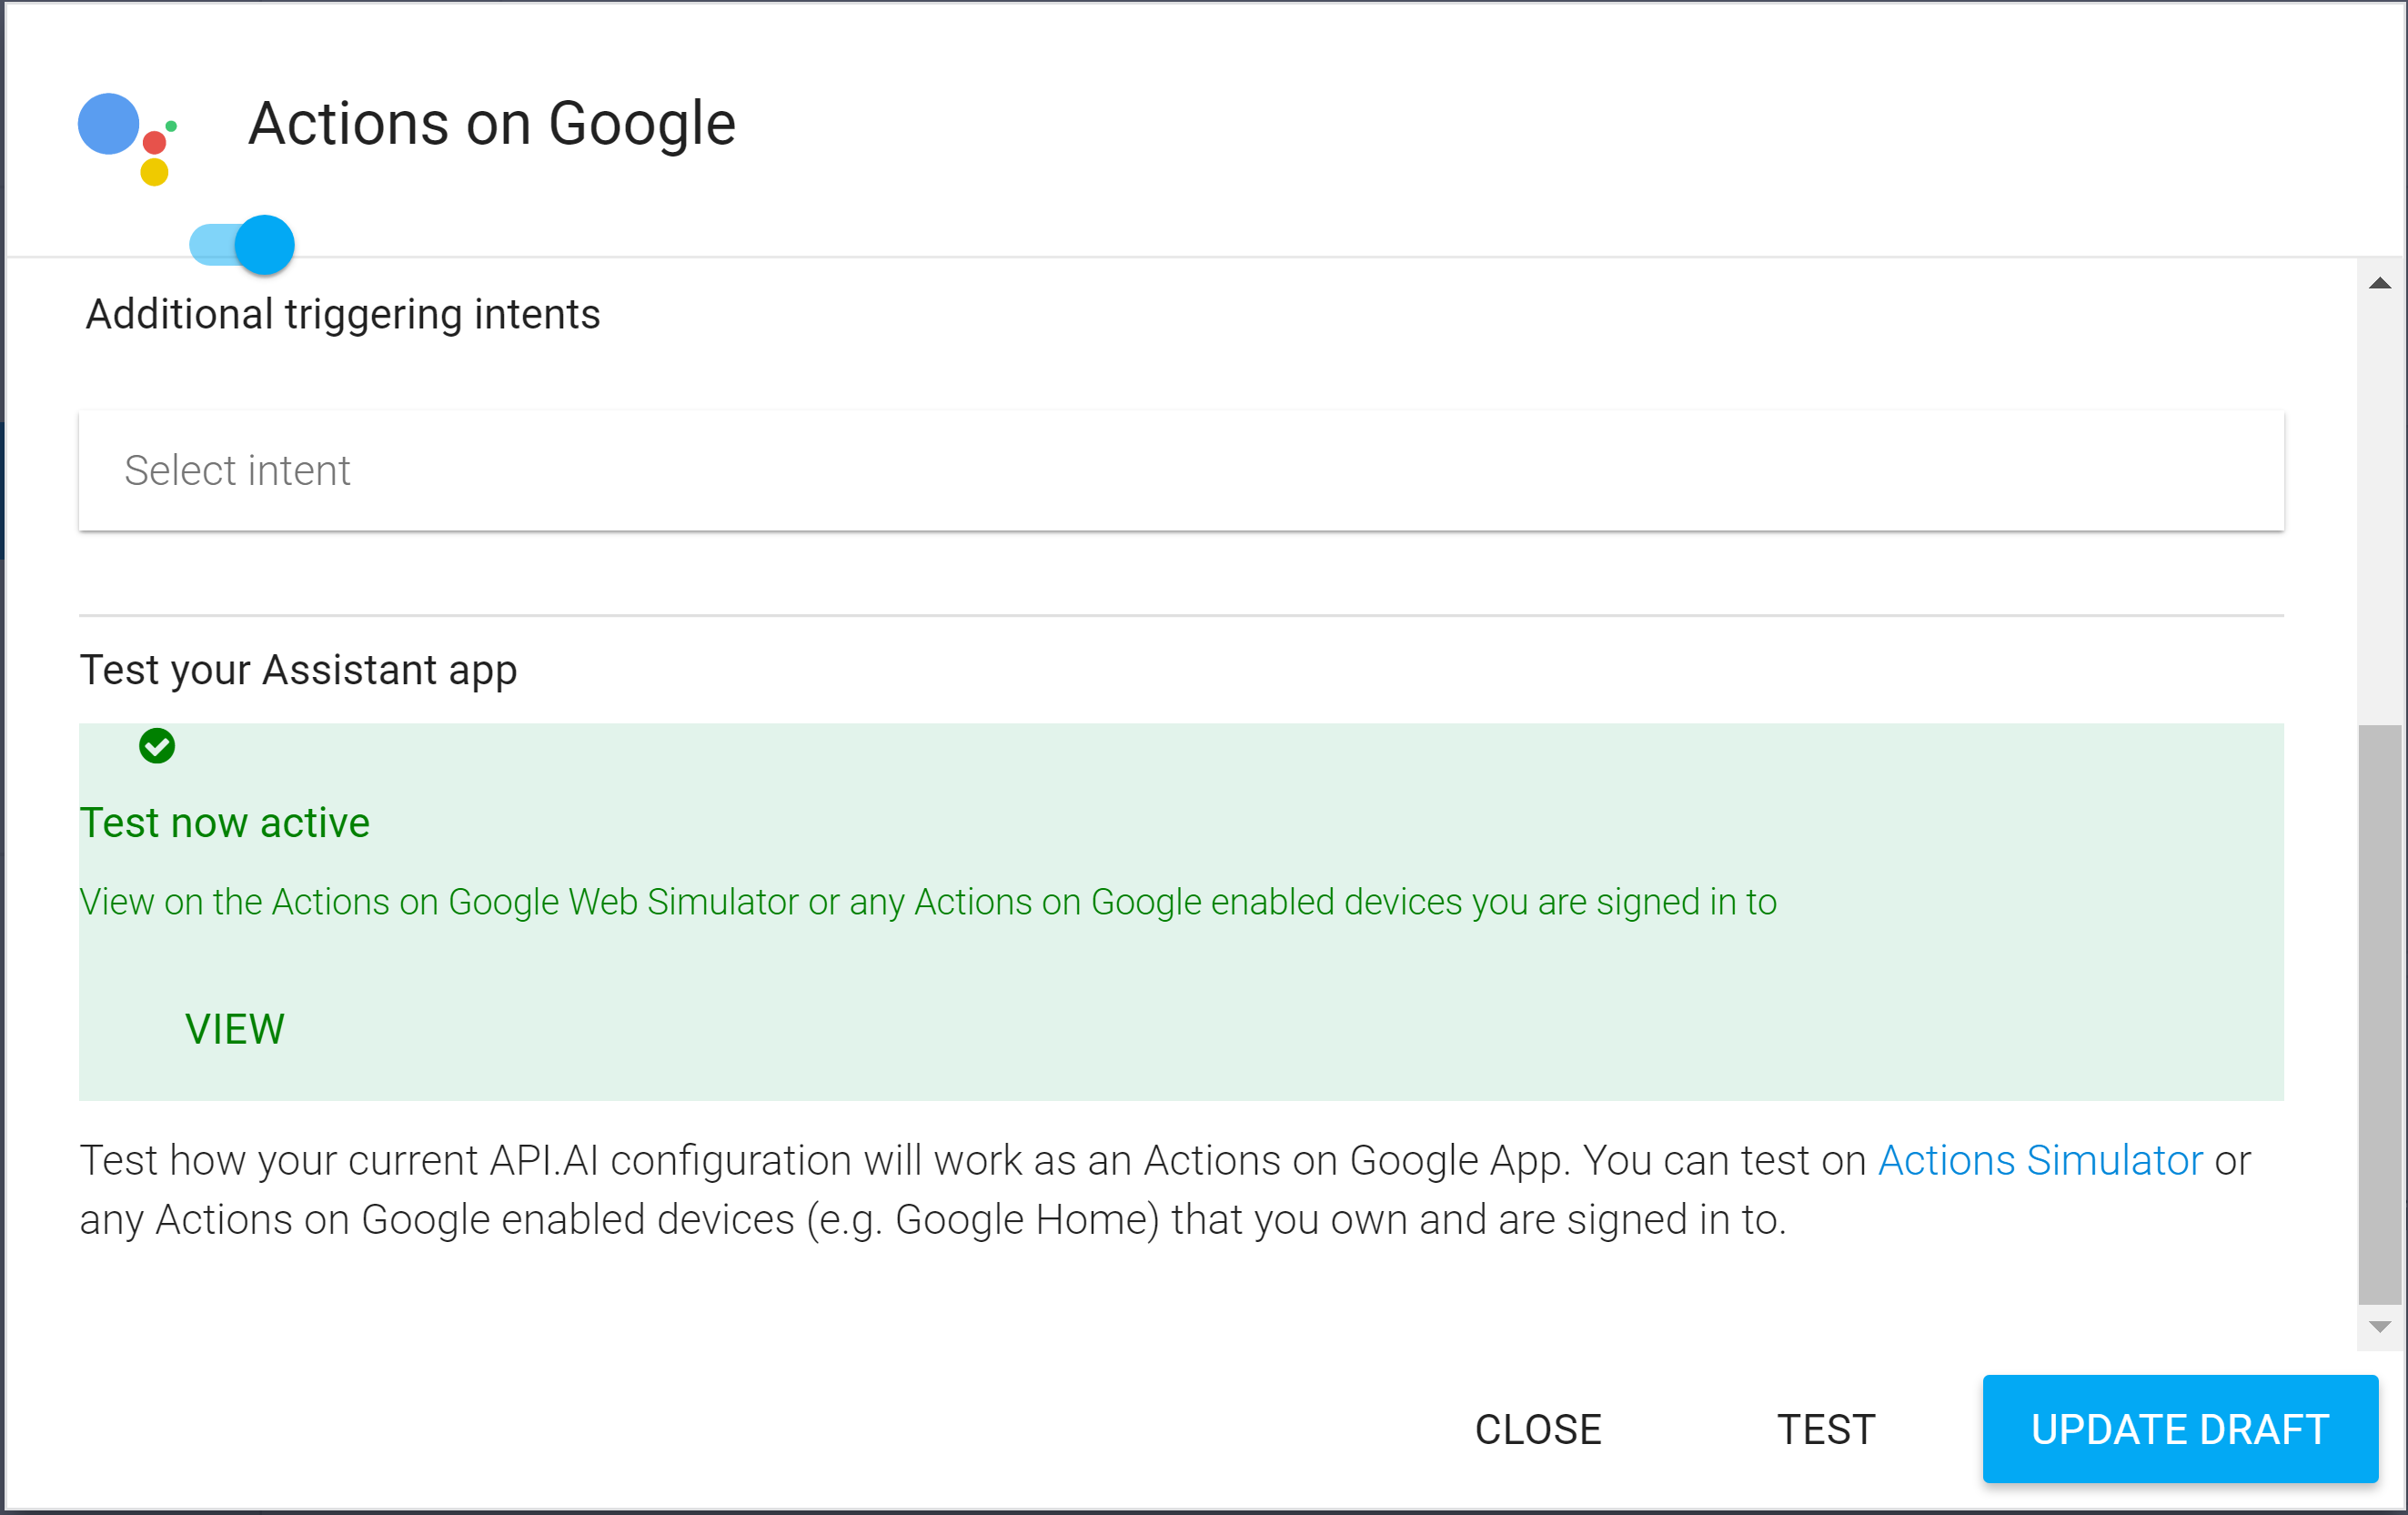
then select Test
Update: I did also remove the Default Welcome Intent and use one of my Intent phrases.
Test will new be active. Select Close
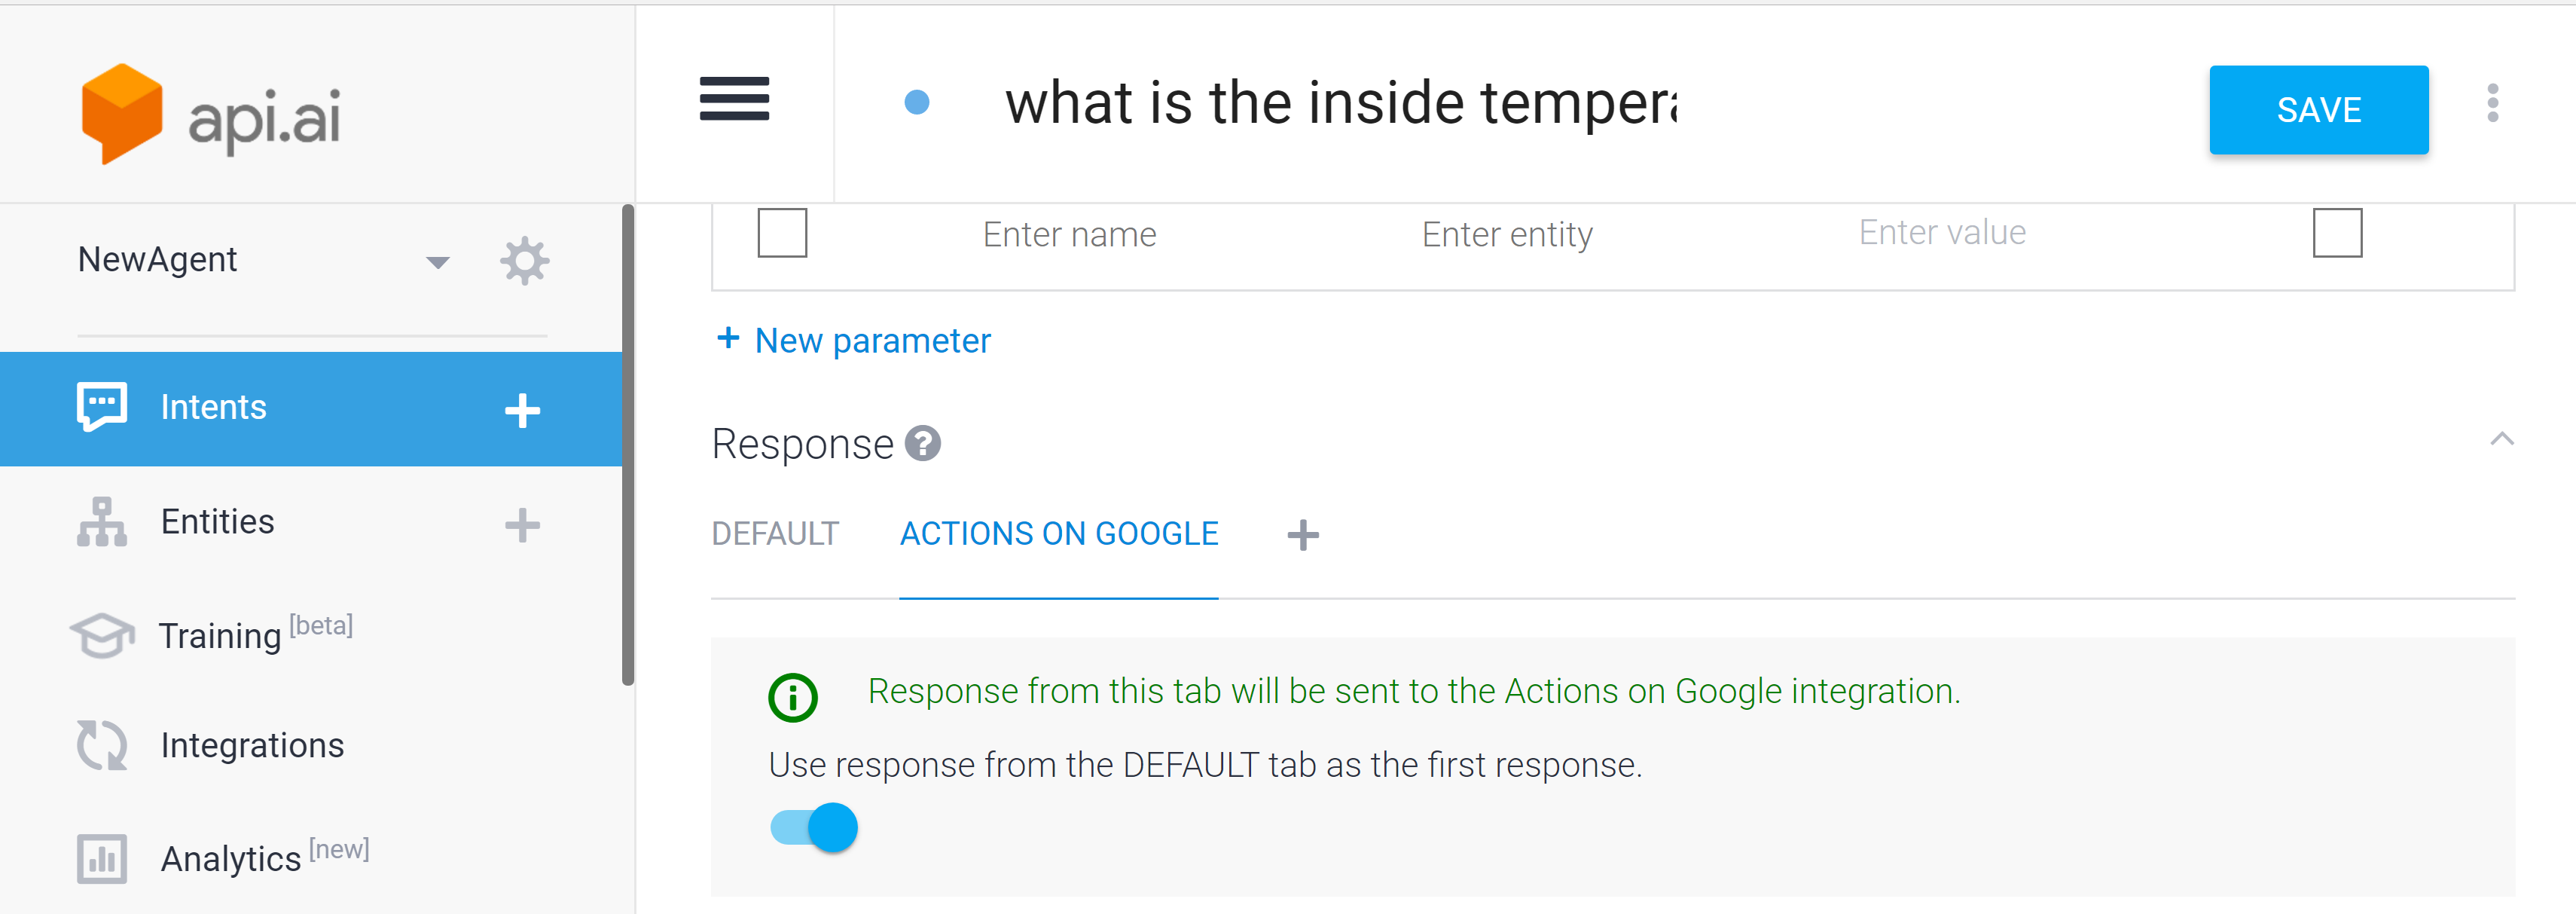
Head back to api.ai and select Intents. Under Response choose the Actions on Google menu and enable it. Select Save.
Testing the Custom Action via the API Console
Within the api.ai console in the right hand pane in the Try it now box type in your Intent. One of mine is what is the inside temp. This tests our integration and successfully returns the result from querying the API via our Function.
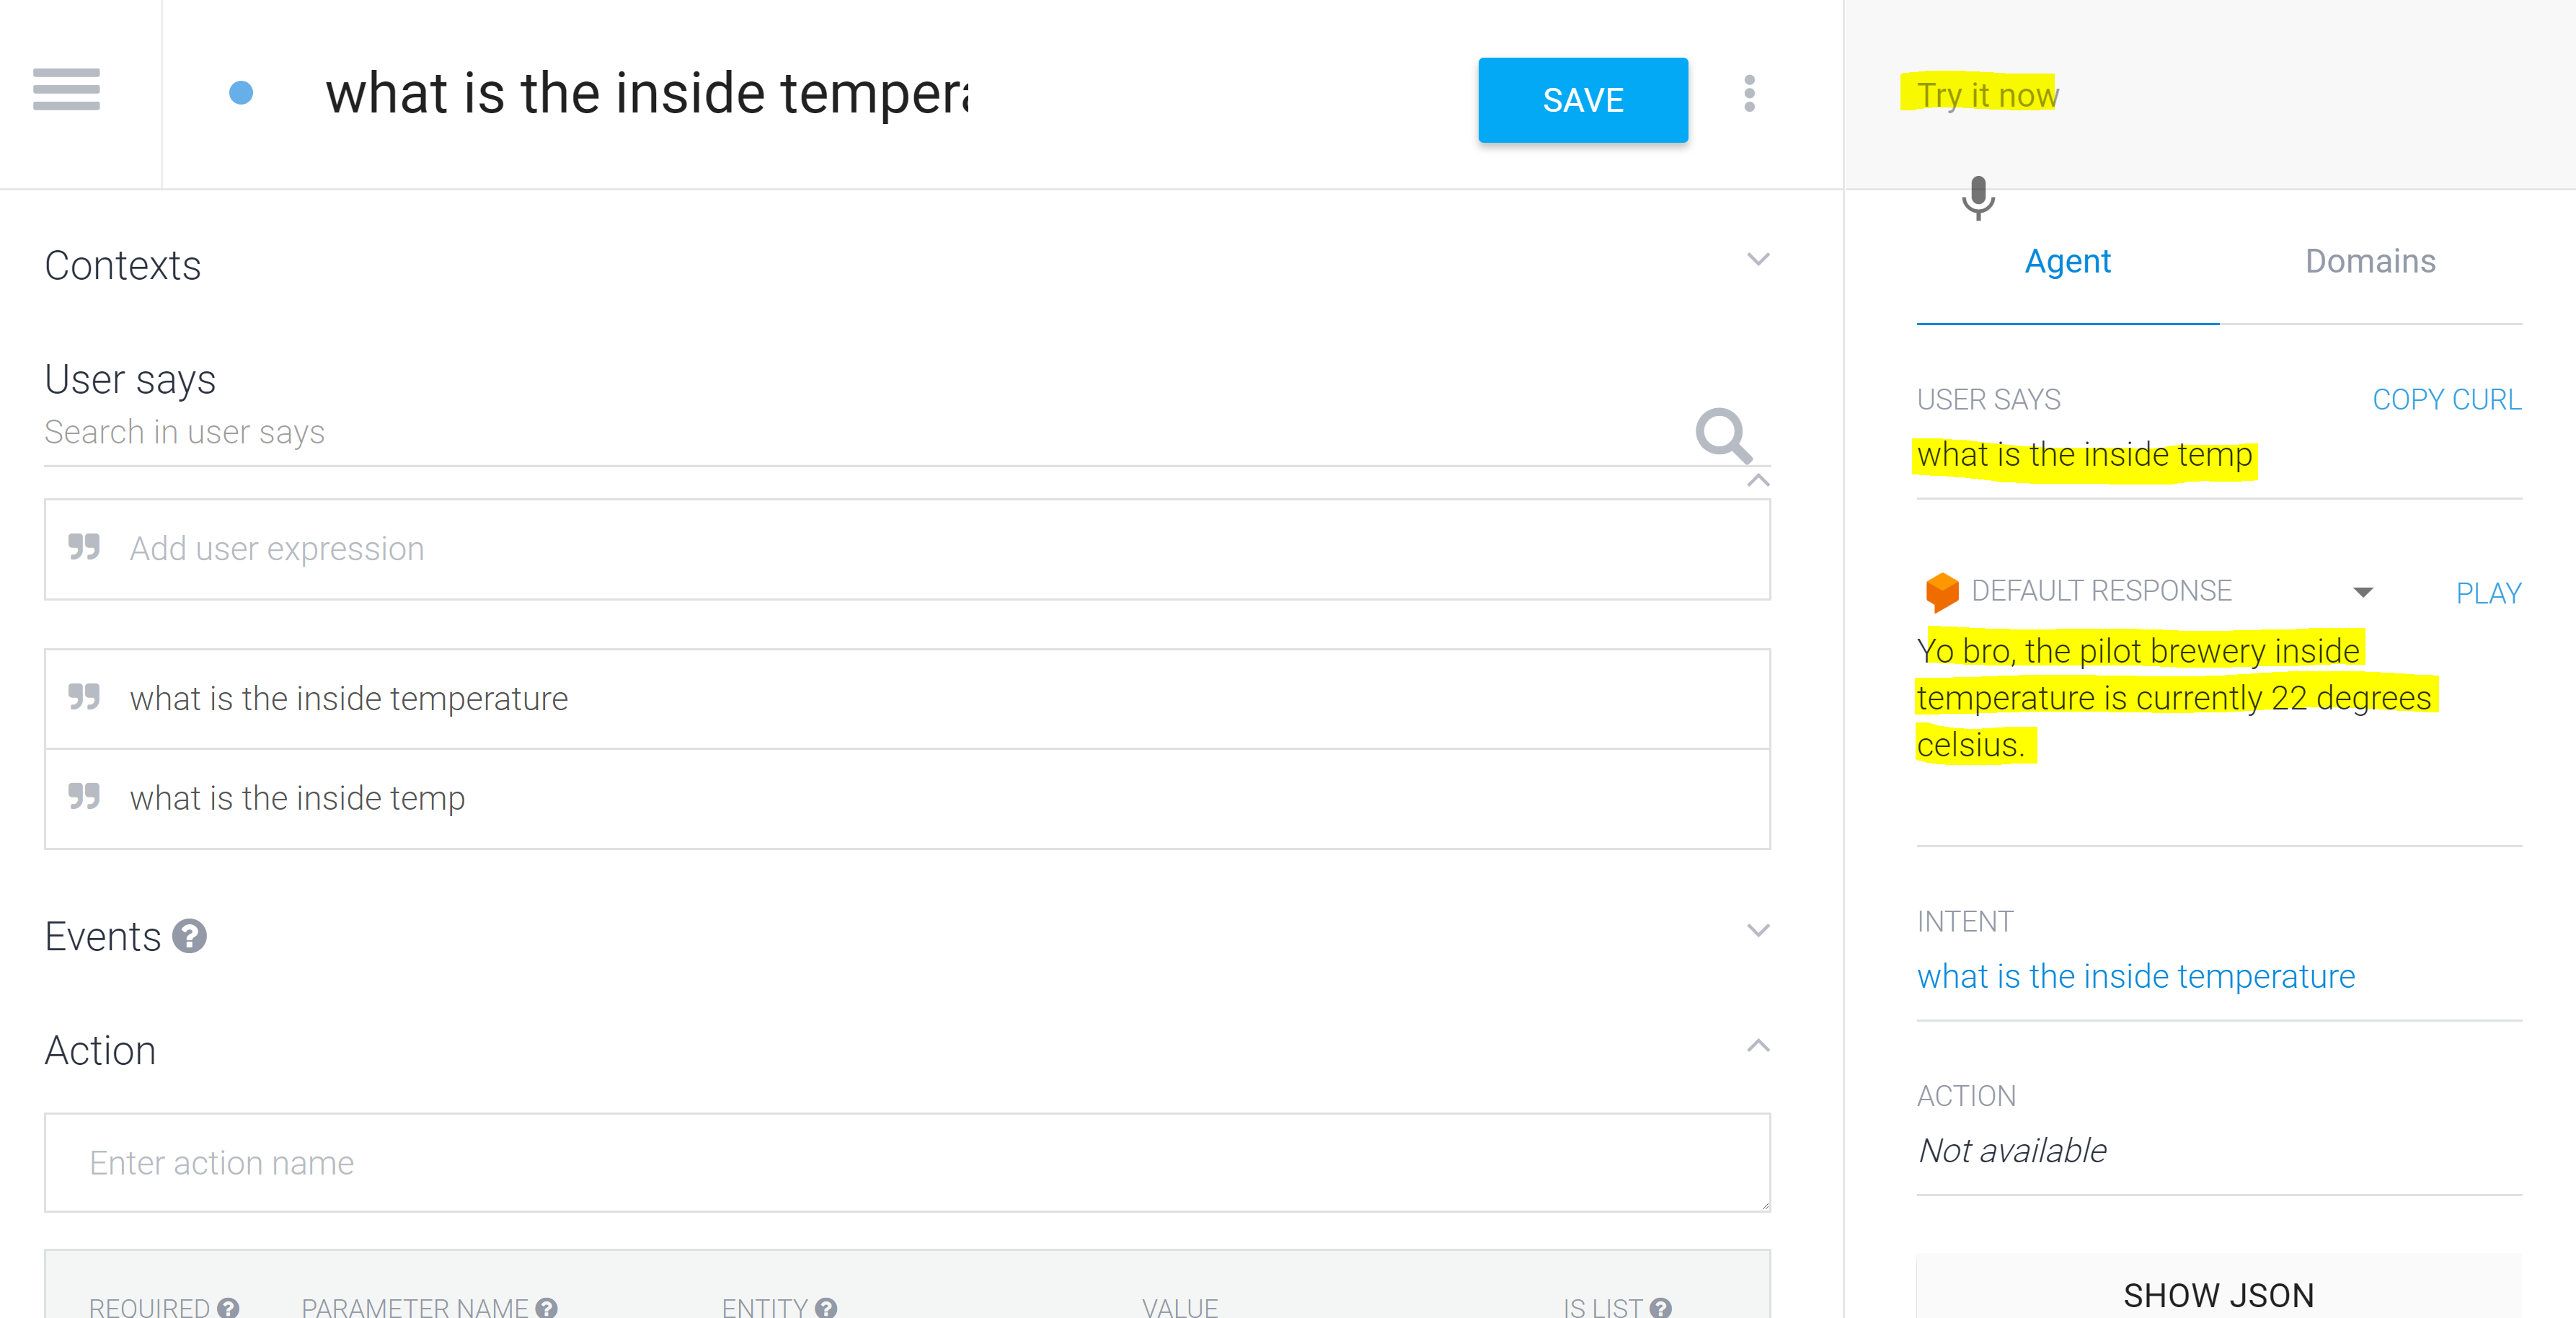
If you select Show JSON from the bottom right you can see the processing that went on. We can see that the Agent got the query, used the Webhook to go to Fulfillment to use the Function to call the API to get our information and provide the response.

Testing the Custom Action via Google Home
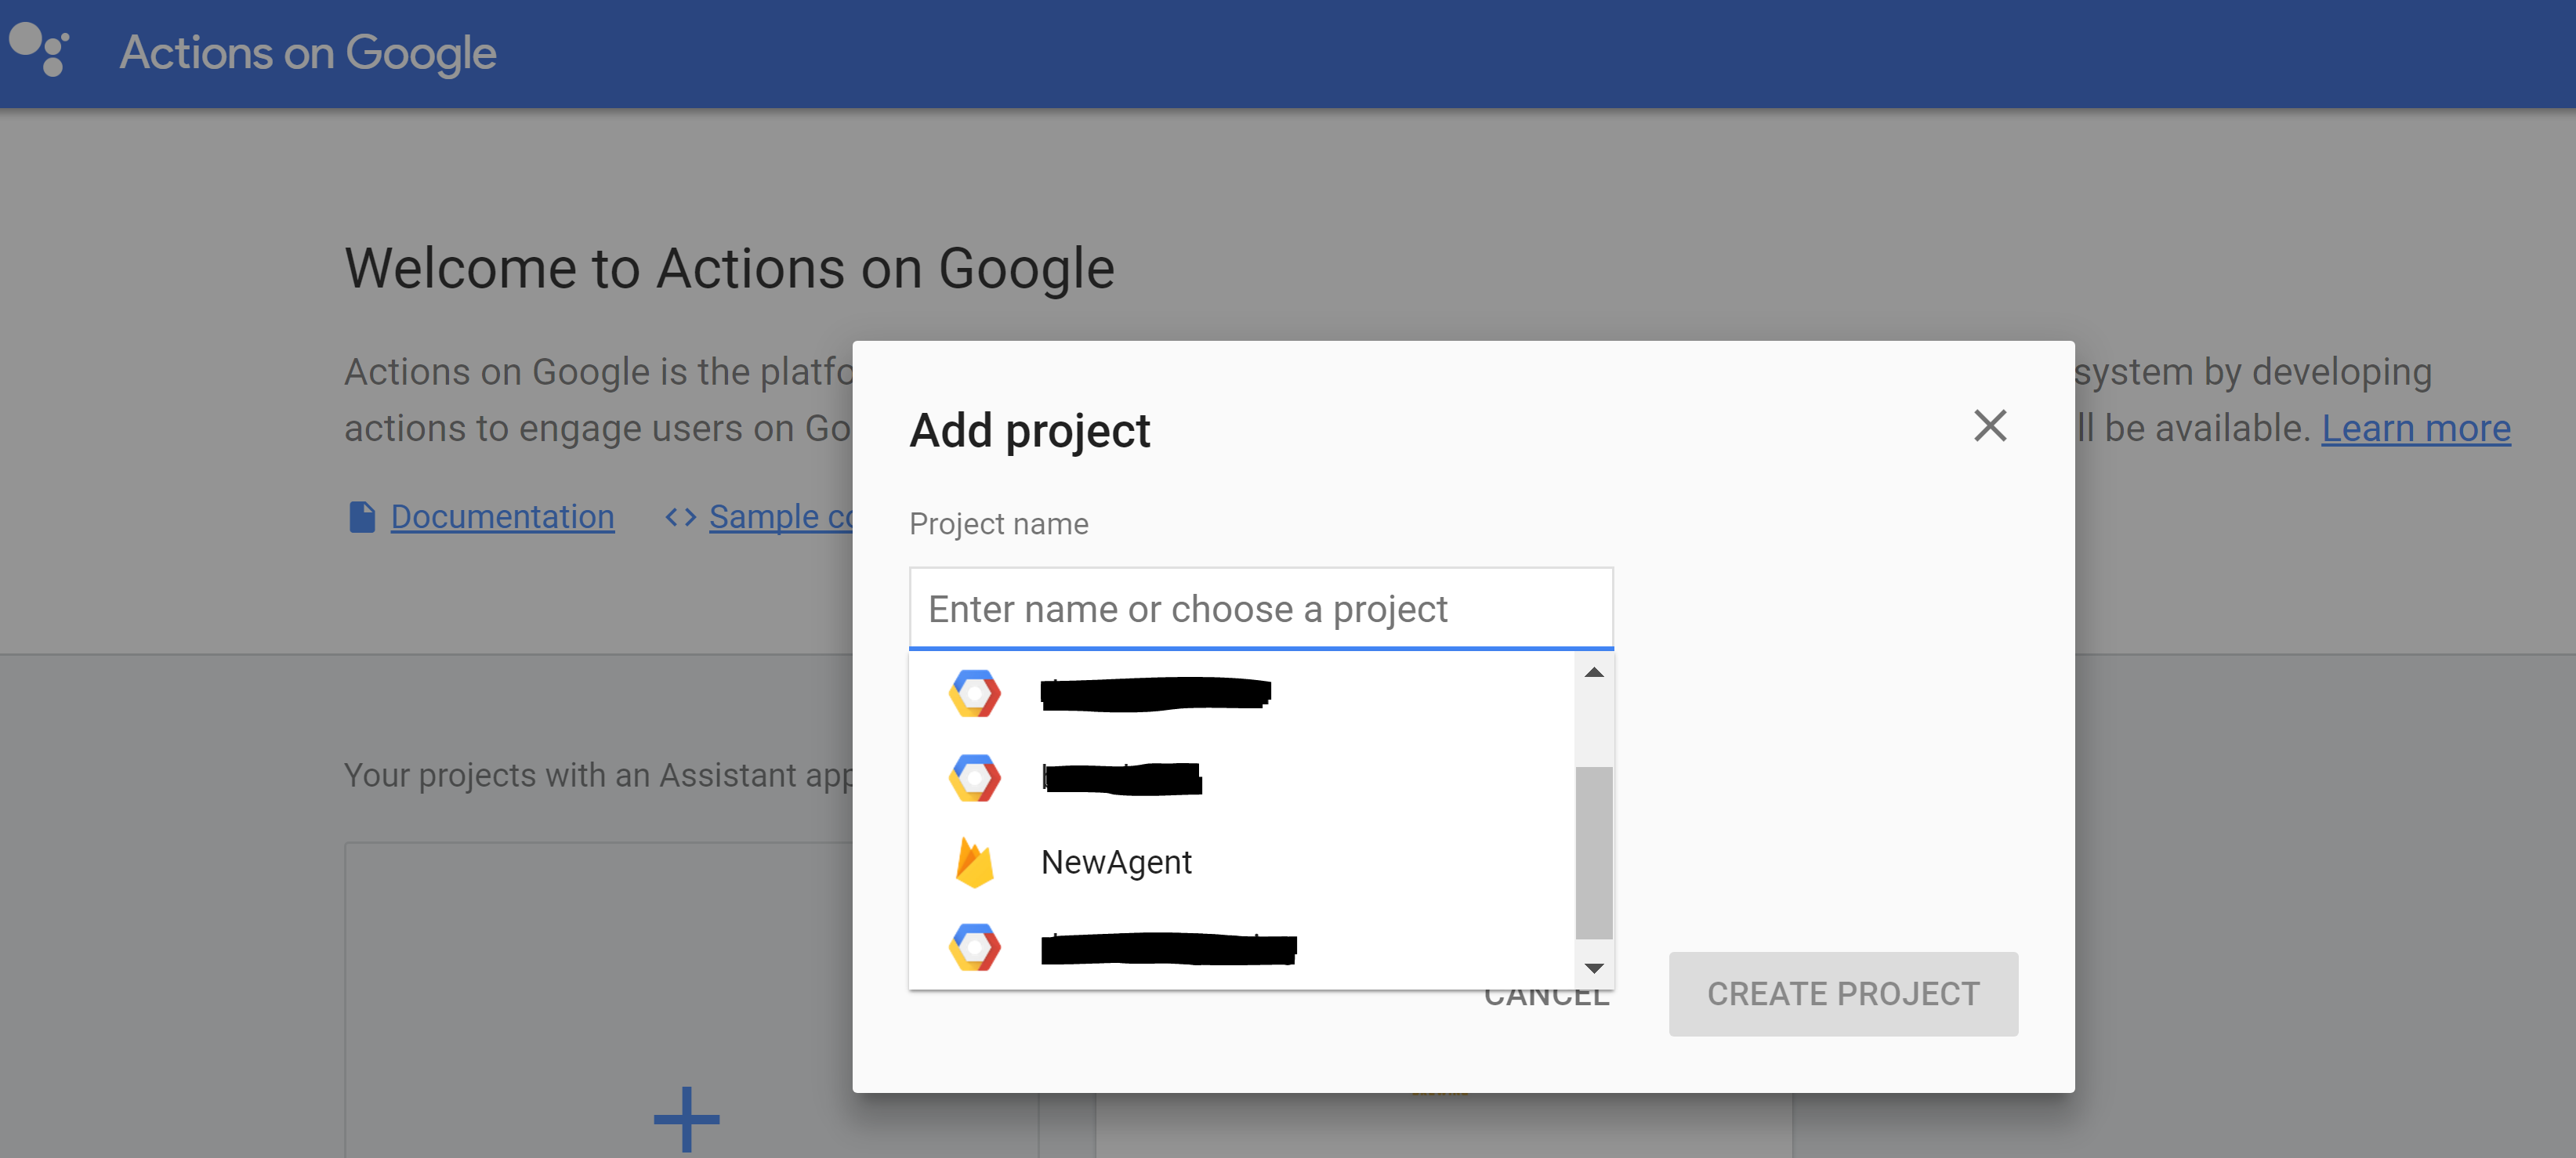
Go to Actions on Google https://console.actions.google.com/u/0/ and select Add/Import Project. You should see a project named NewAgent. Select it
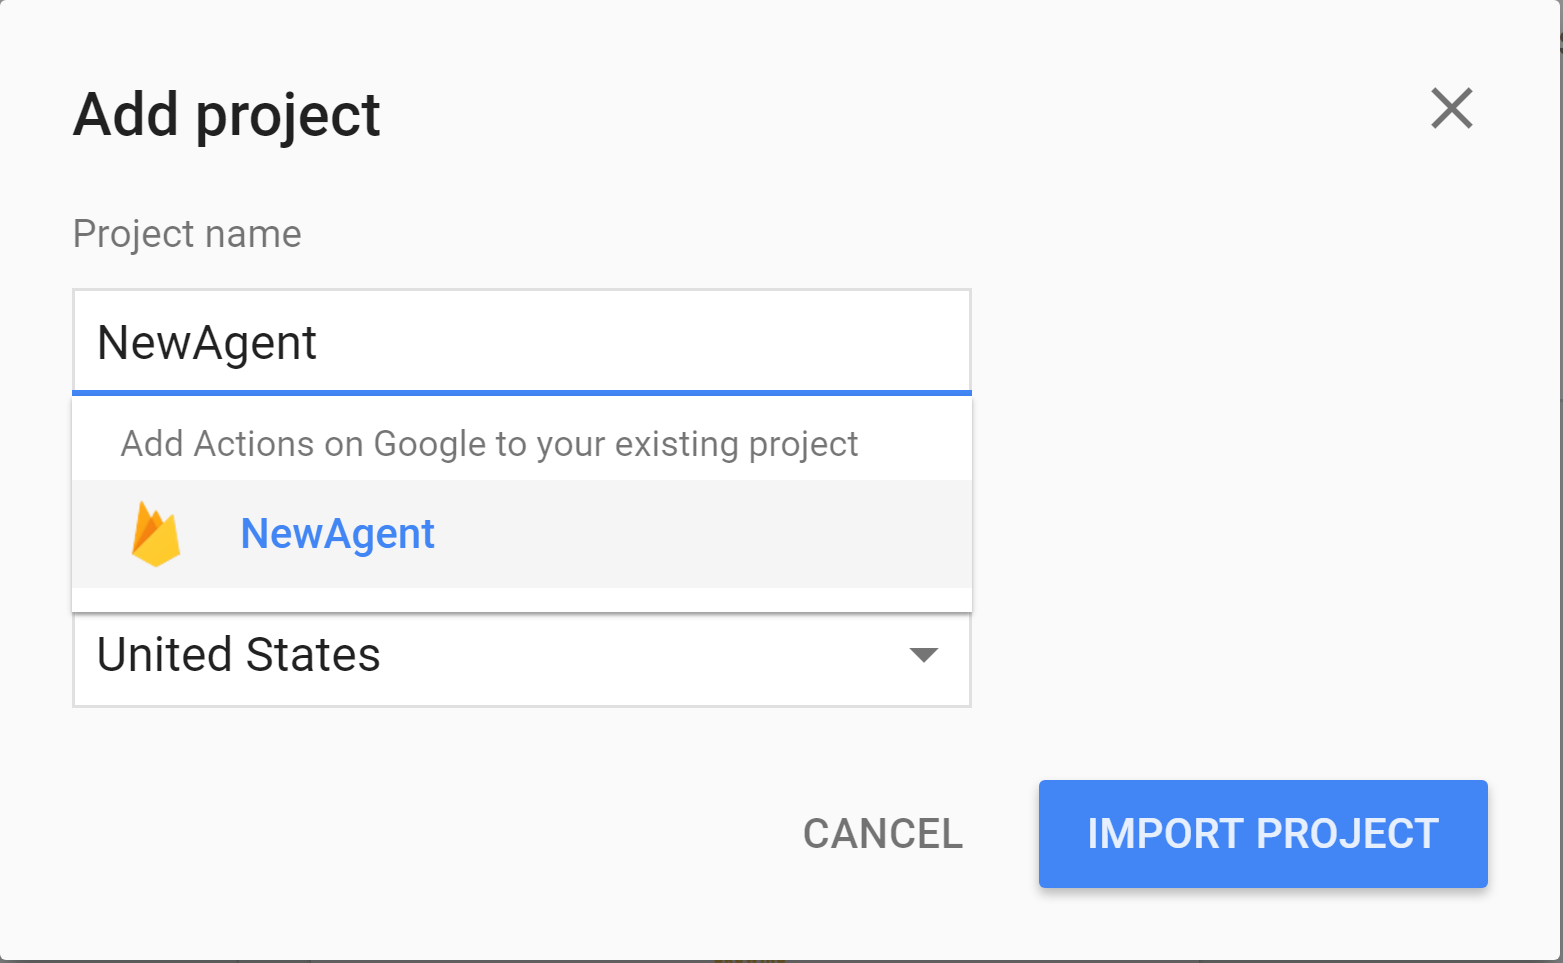
Then Select Import Project
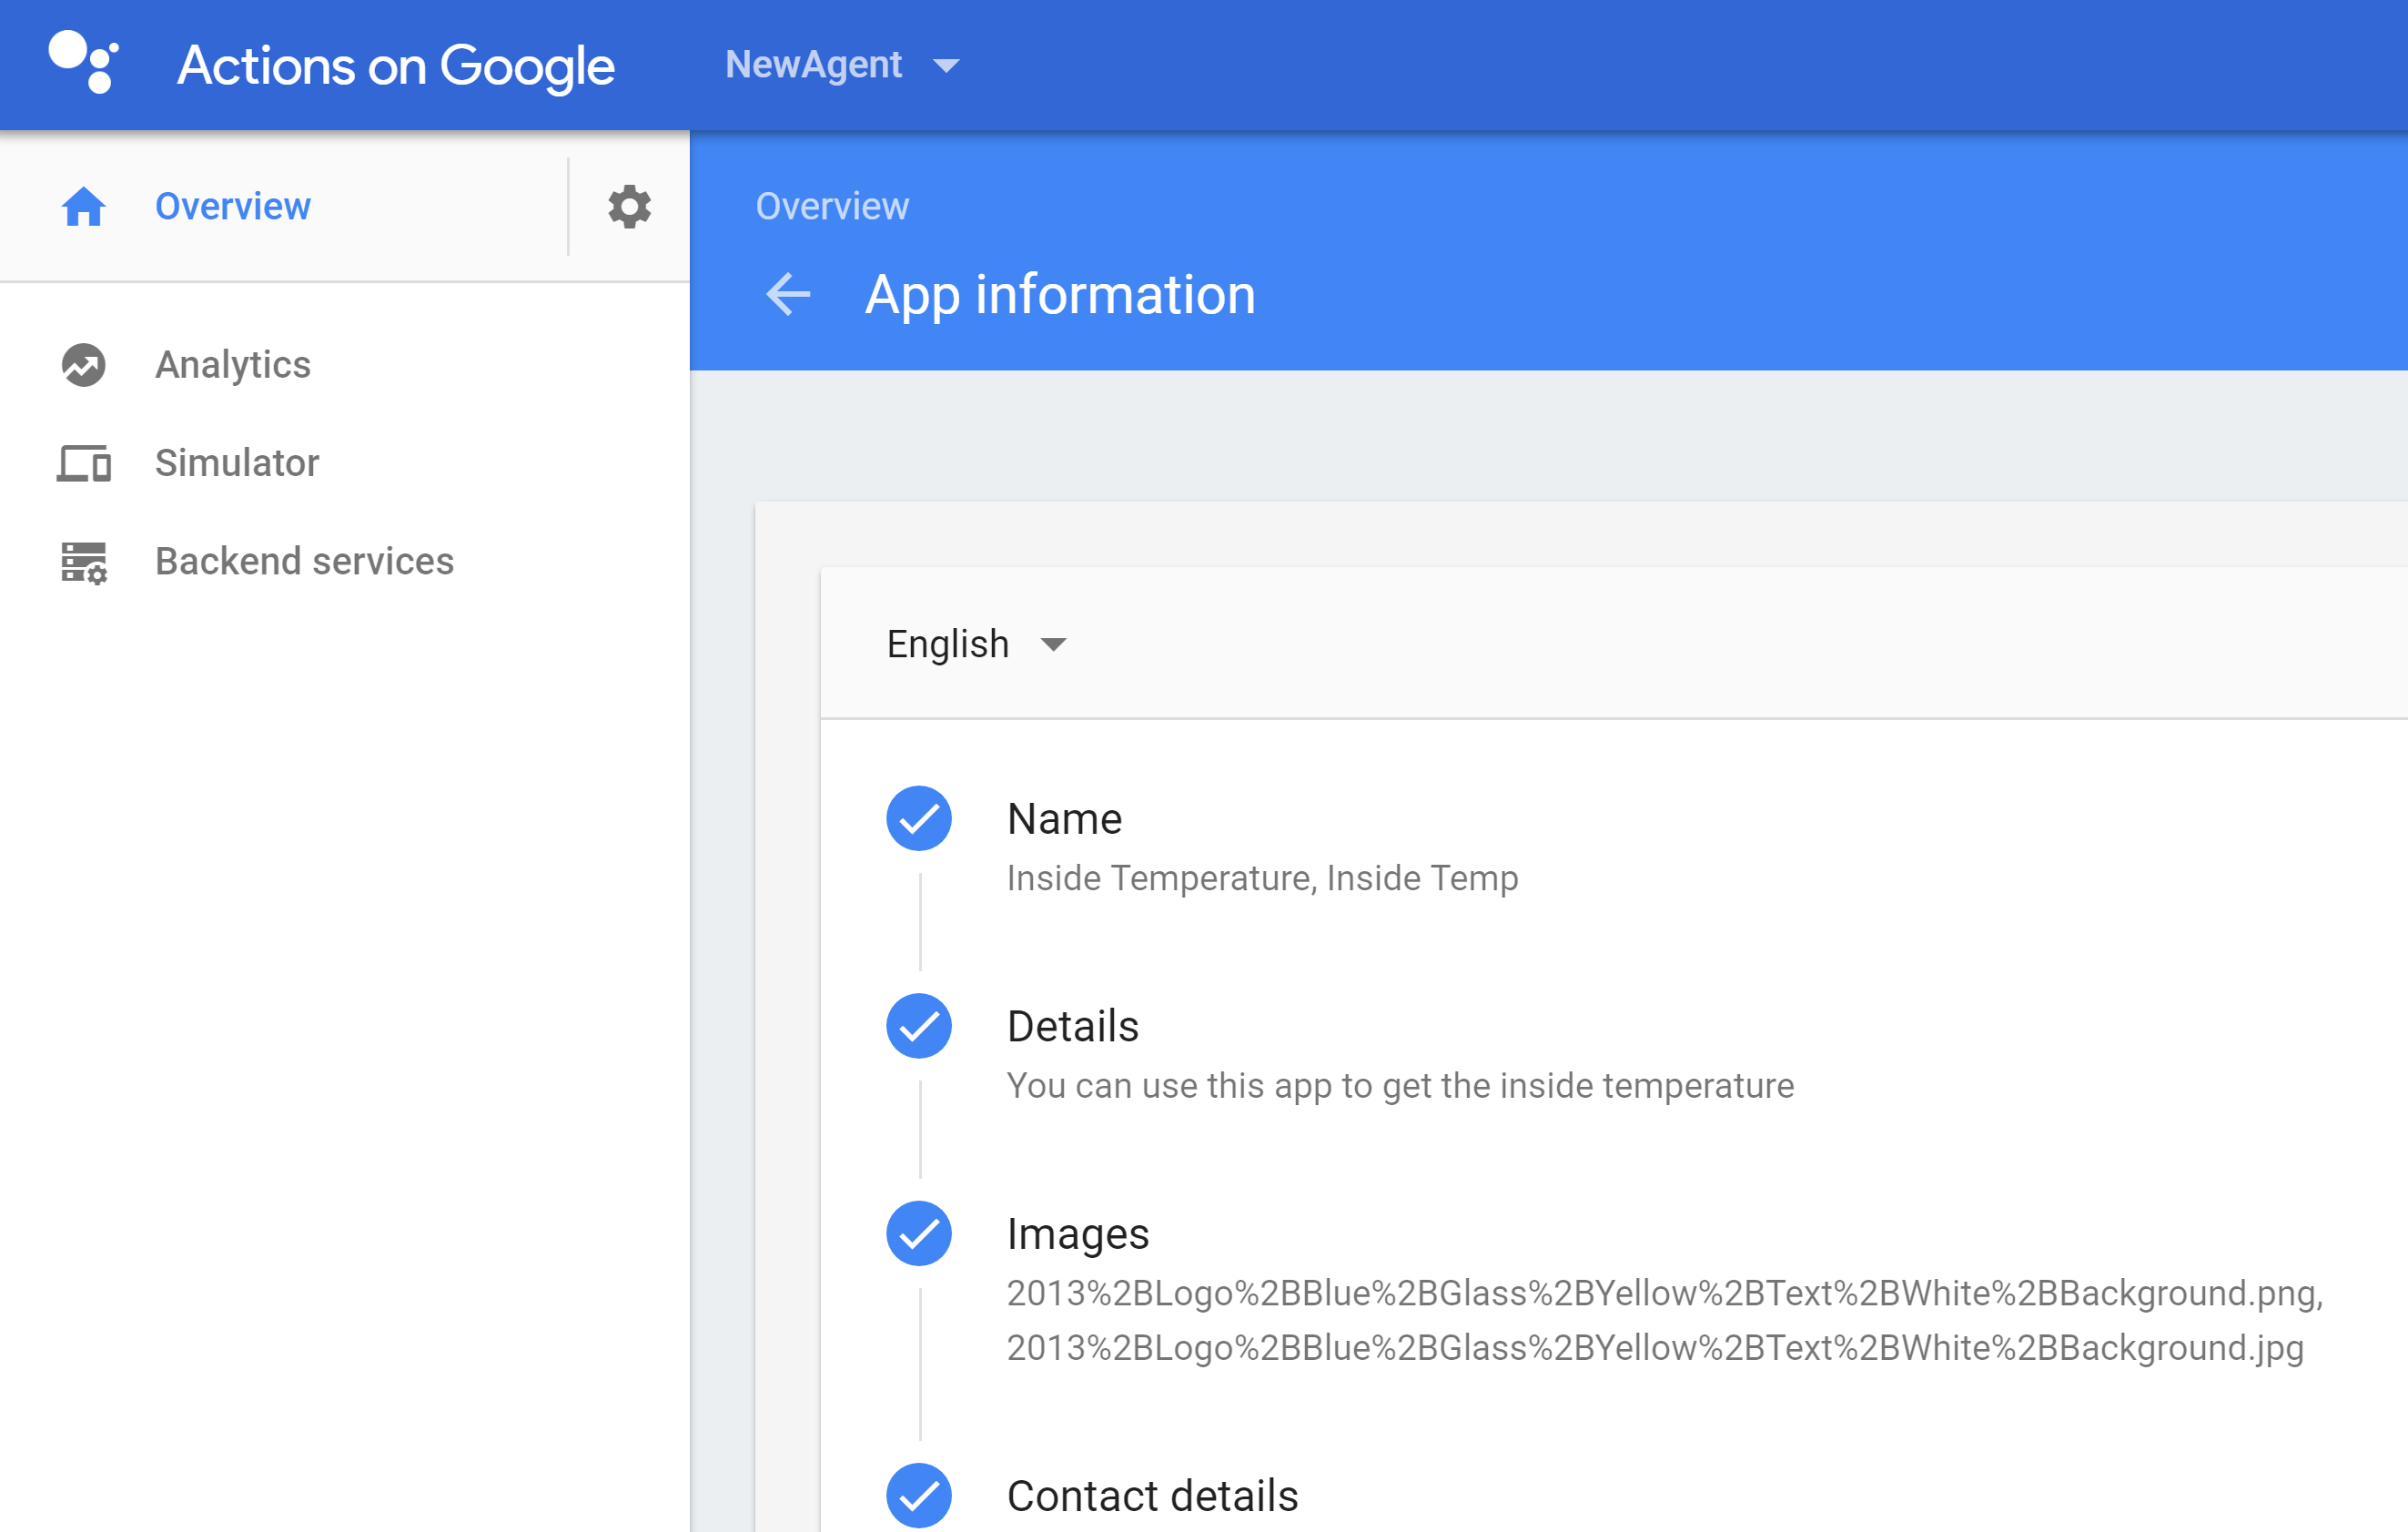
Step through to provide info for the Agent, including images etc as if you are going to publically publish this function. Select Save.
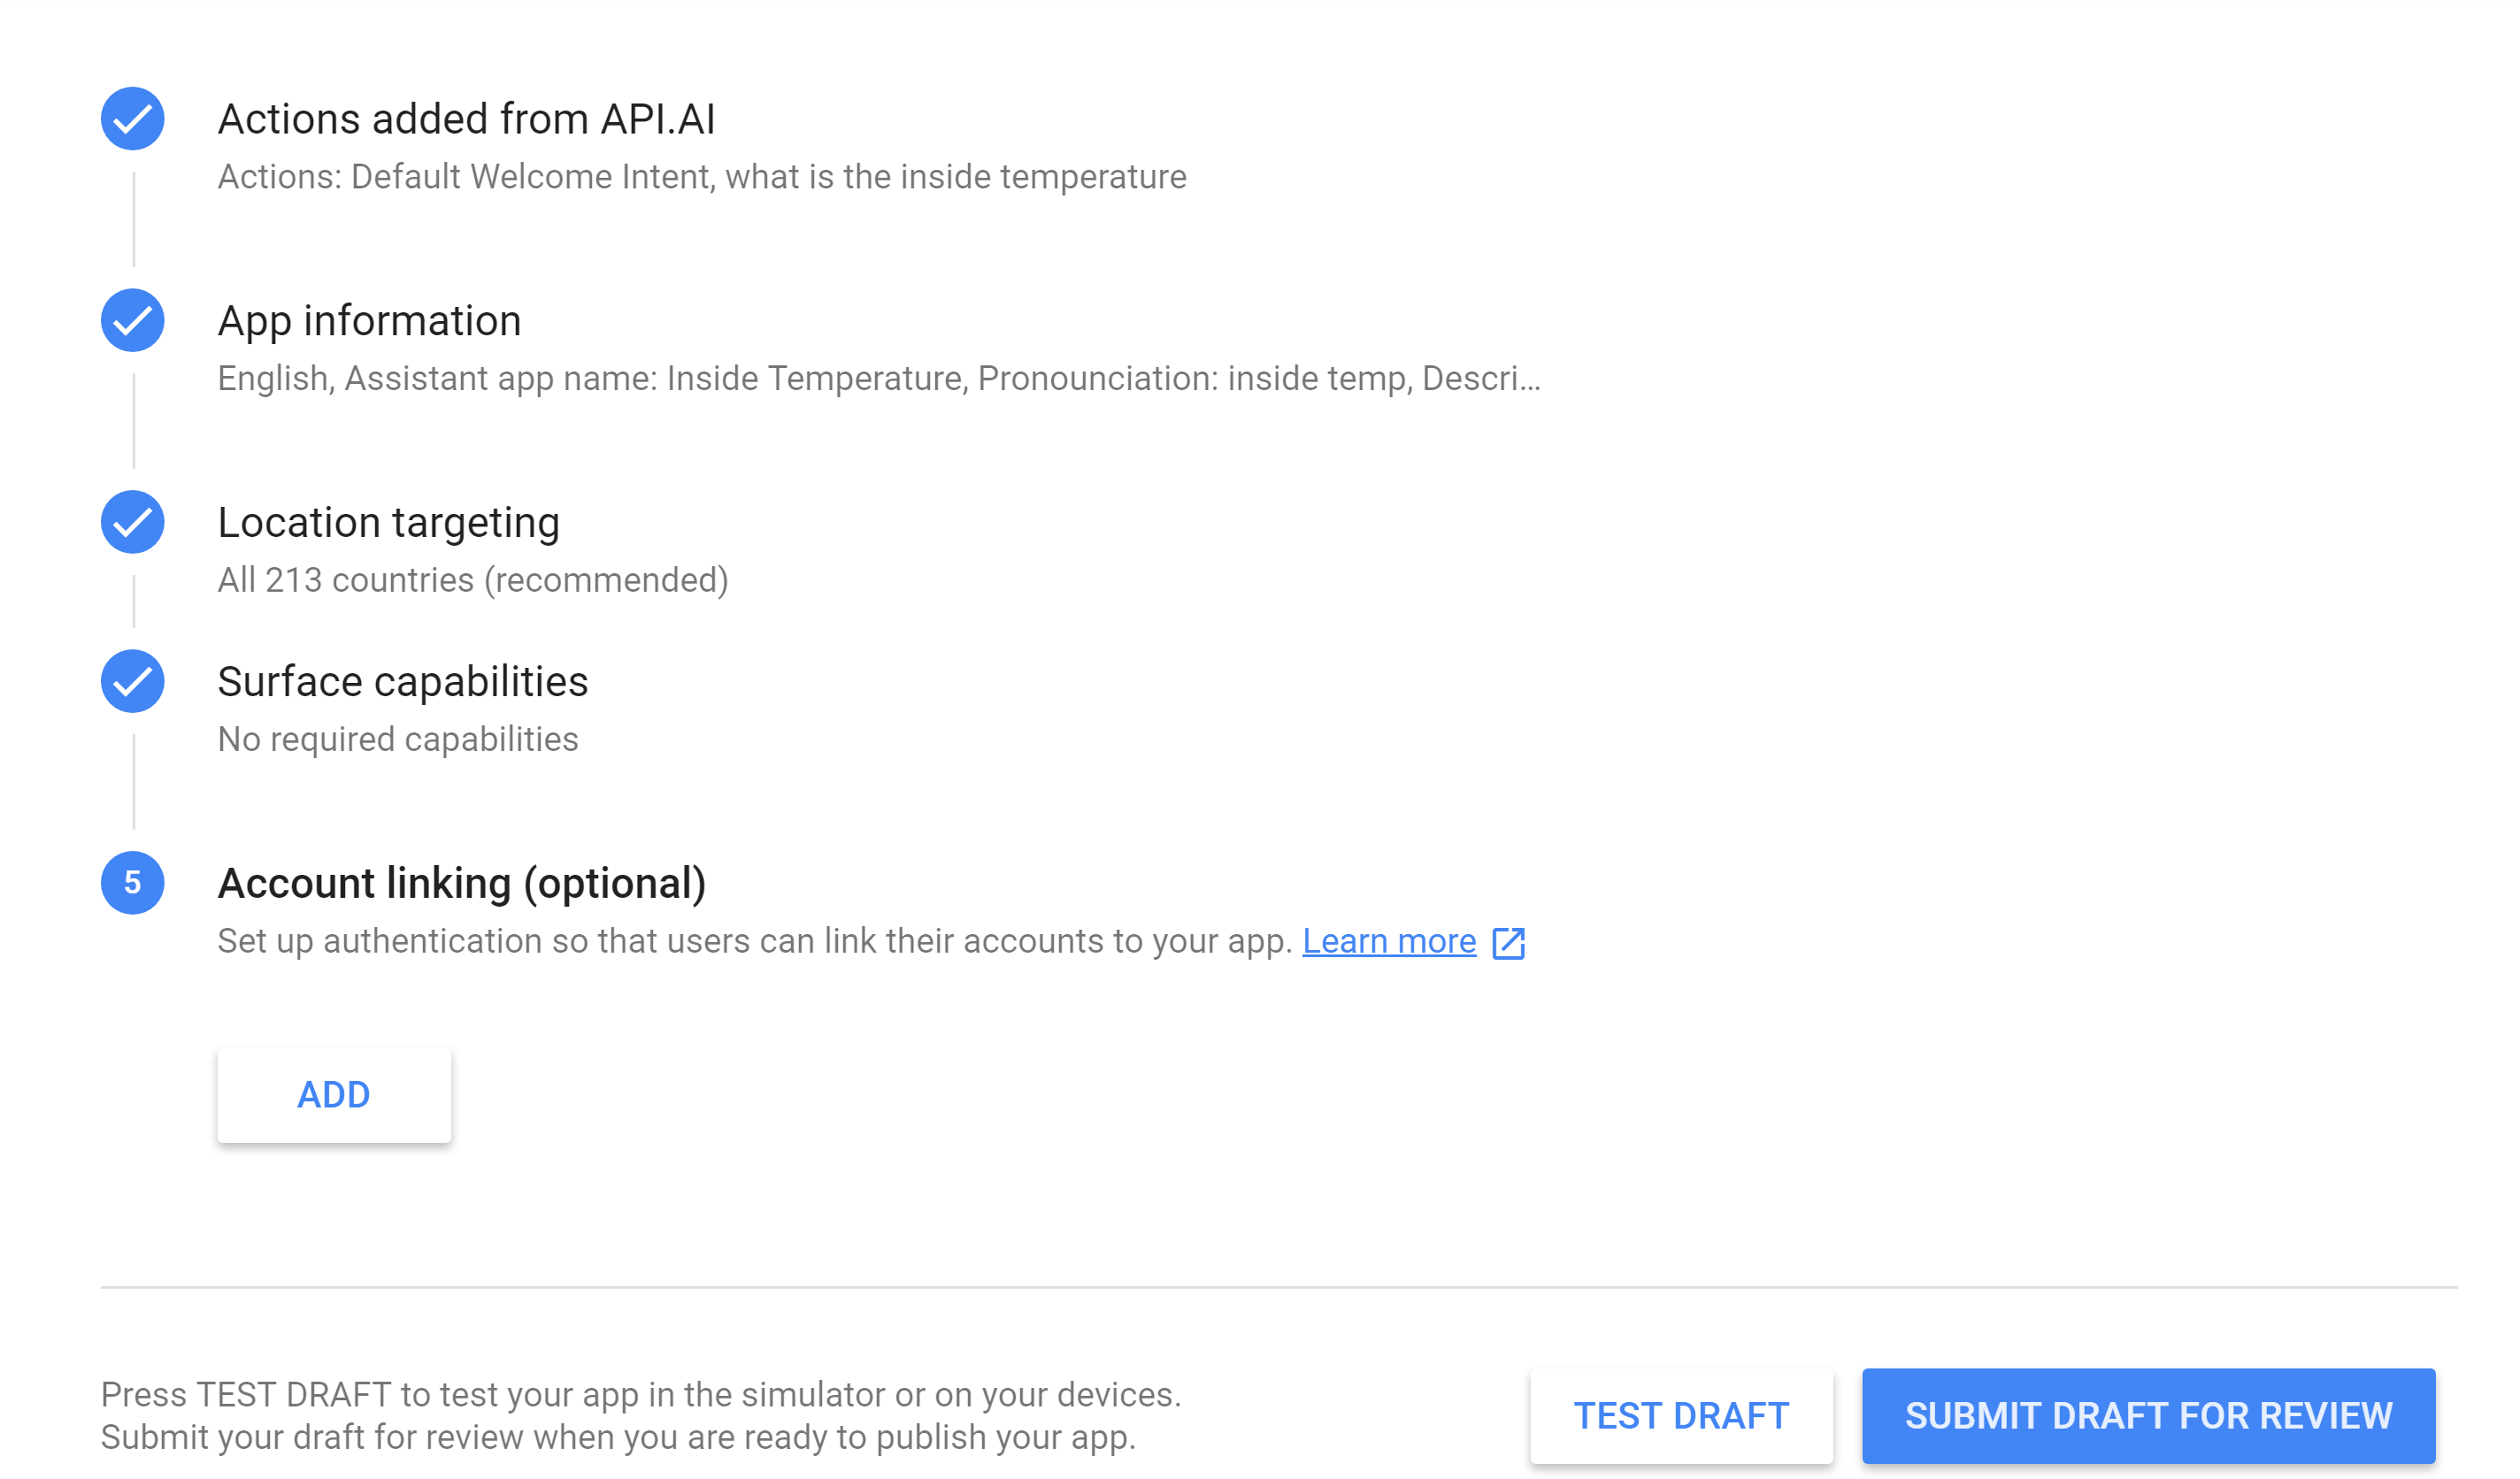
Finally select Test Draft. DO NOT SELECT SUBMIT DRAFT FOR REVIEW.
As we are in ‘test’ mode we follow the Ok Google wake command with Talk to . So for my project it is Ok Google, Talk to Inside Temperature.
And we are done.
Summary
Very quickly we’ve created a custom command that queries our own API to get data and have the response spoken to us. This can then be expanded to do any number of different tasks as long as you have something to query or update and the desire to do it from your Google Home.